Painted Quilt Patterns for Home Decor
Quilt Pattern wall art is everywhere! Today we are sharing an easy way to make your own. We re-made unused plaques for our project and transformed them into these beautiful decor pieces.
Time: 5 Days Cost: $5 Difficulty: Medium
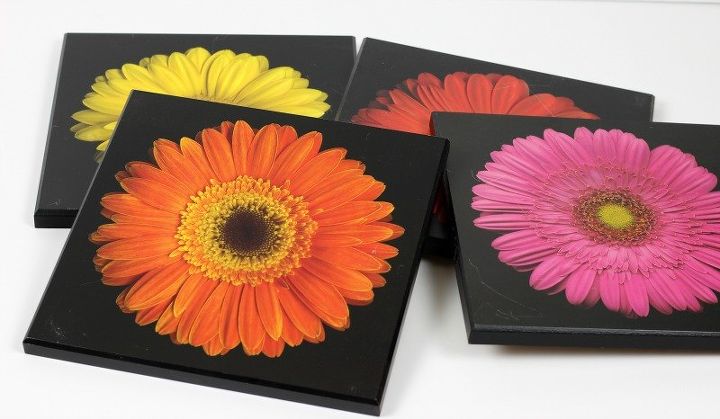
My daughter gave me these plaques to see if there was something I could use them for. They were made of manufactured pressed wood that was painted black and had a print of a flower glued to the top. It was not worth the effort to remove the flower print, or to try to strip these down.
I simply painted them with Waverly chalk paint in 'Plaster'. It took two coats to get good coverage. If you don't happen to have old square plaques sitting around for a makeover, substitute a square piece of wood.
I printed out some simple quilt block patterns from the internet and printed them in a size that would fit nicely on the plaques. I used painters tape to hold the pattern and place a piece of carbon paper underneath. I used a pencil and ruler to trace the pattern.
I used chalk paint to hand paint the quilt pattern on each plaque. I sealed each plaque with Waverly Non-yellowing varnish. Scrap wood was used to frame three of the plaques. Stop by the blog for more information as to how the frames were attached.
The fourth plaque was turned into a cute recipe card holder. I attached a wood scrap strip to the bottom of the plaque.
I removed the arm from a Dollar Store frame and glued it to the back of the plaque to allow the plaque to lean back for easier reading of the recipe. I used E6000 glue to attach the frame arm.
I hammered a small nail near the top of the plaque to hold a ring with a clip on it in order to hold the recipe. This was something that I happened to have on hand and was perfect for this. Alternatively, use a clothes pin or a binder clip.
Materials used for this project:
- Wood plaques or squares (had)
- Waverly Chalk paint (craft store)
- Wood strips (had)
- E6000 Glue (Wal-Mart)
- Carbon paper, pencil, ruler (had)
- Waverly Non-Yellowing Varnish (Craft Store)


No comments