How To Tile a Patio Wall in a Morning
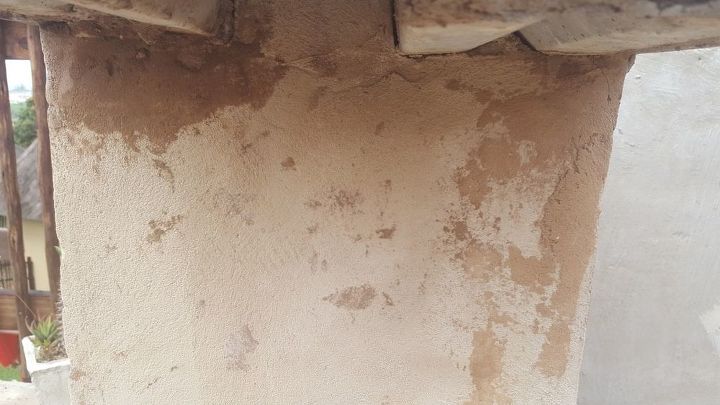
We recently had a some plumbing work done on our patio and the builders left this hot mess behind. Don't you just hate it when a builder does sloppy work? The contractor knew how to do all the plumbing bits, but when it came to finishing things off, he didn't have a clue.
This is our holiday home and when we're there we spend a lot of time on the patio enjoying this view.
The last thing I wanted was to get distracted by the mess the builder left behind. I'm a bit anal when it comes to things like that. We had two choice, get someone to fix the problem for us or do it ourselves. Not much of a choice really when you don't have a lot of money so we went for the DIY option. Because we don't have a tile cutter we decided to use pebble tiles. You can just use a pair of scissors to cut the mesh.
We chose a dark grey adhesive to match the darkest colored pebble on the sheet and mixed it according to the instructions.
Using a trowel we applied the adhesive evenly onto the rough, yucky patio wall and then squished the pebble tiles into the adhesive.
The best thing about using pebble tiles is you can just use a pair of scissors to cut it when it doesn't quite fit into the space. Note to self: Please wear gloves the next time . I think I lost all my finger prints tiling the patio wall.
We didn't buy enough tiles to go all the way around - it's a budget thing, so I removed some of the pebbles from the mesh and made a hubby a big, fat heart just to remind him how much I love him.
The adhesive works really well as a paint too ;-)
Okay so I lost my finger prints somewhere on that wall, but I really think it was worth every second. I'd love to hear what you think about the makeover? To see the full tutorial, come say hi on the blog. Maybe you can help me find my fingerprints somewhere?
Suggested materials:
- Pebble Tiles
- Adhesive


No comments