
Easy Valentine Wreath
My Mom gave me a pillow with a heart that she had embroidered on it. She called the embroidery "Chicken Scratch." It's a way to help her keep busy. The embroidery was red and blue on a red and white gingham check. We had a Valentine's Day Challenge, but I couldn't enter the pillow, as it was hers, not mine. Also, I didn't feel like the colors showed it off in its best light. So I DIY'd it.
Time: 3 Days Cost: $5 Difficulty: Easy
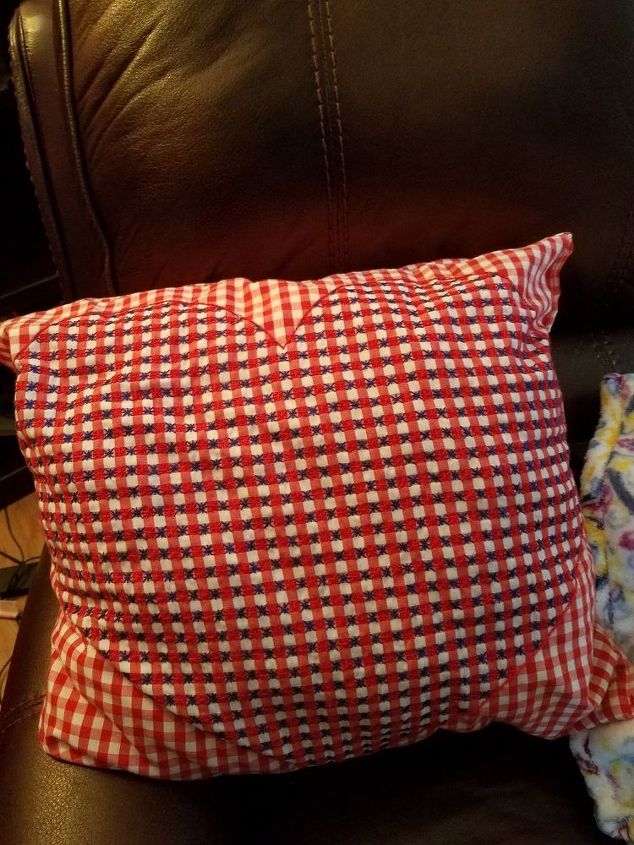
As you can see in the first picture, there was no contrast to speak of in the pillow. I ripped the panels apart, saving the stuffing for a later project. I experimented with the back panel to see if bleaching it would help. It didn't, because it was poly/cotton, not cotton material and thread.
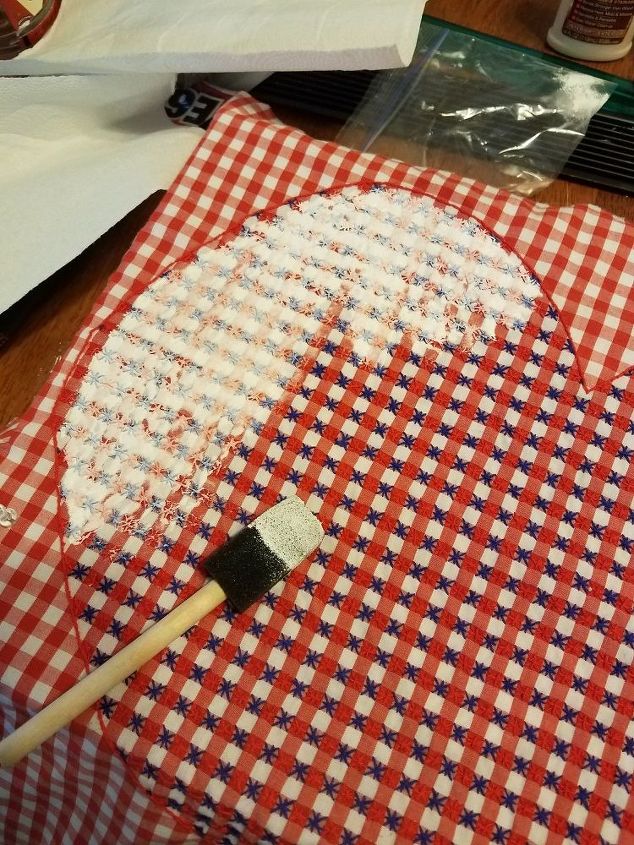
Soaking it in strong black tea didn't help, either. I then tried painting it, and that worked really well to provide contrast. For painting, I used about 2 parts white Gesso to 1 part white acrylic paint. Then I dipped the brush in water and went over the paint while it was still wet to allow it to penetrate the embroidery thread and fabric. I allowed it to dry, then assessed the finished product.
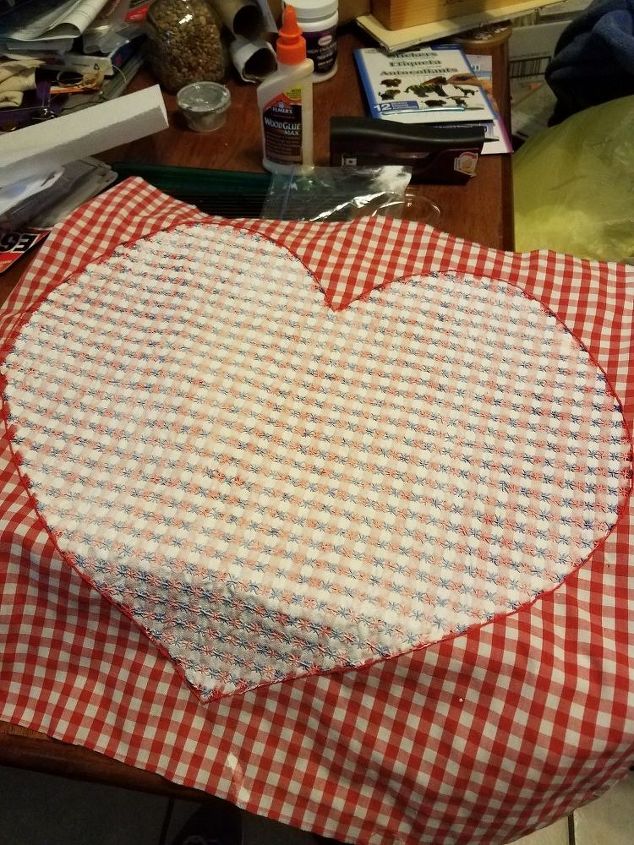
Now it was all white, not showing the embroidery thread. I just wanted to tone the blue down, not hide the embroidery. Next, I used a red Sharpie to go over the rows of red embroidery. I didn't have a white Sharpie, so I used a white paint pen to go over the blue thread.
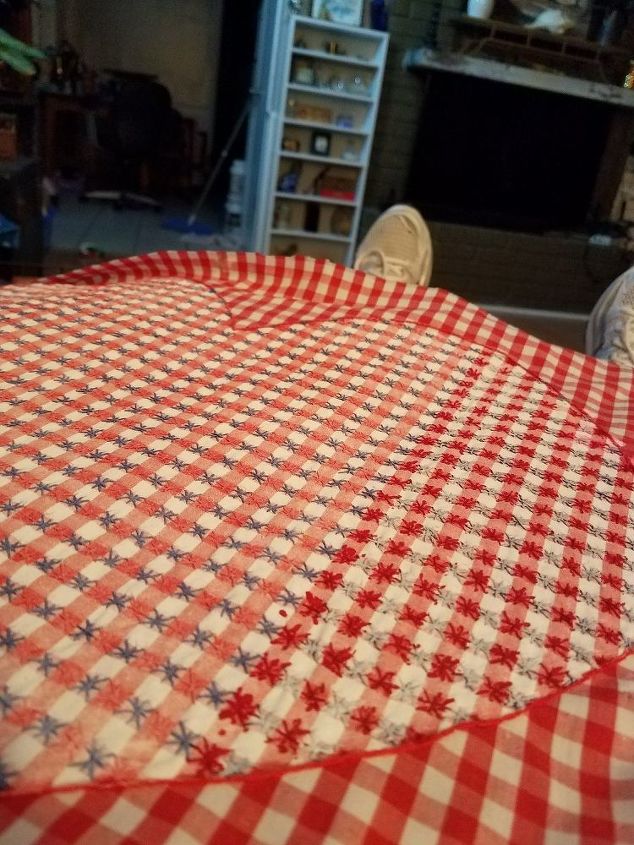
That's what I'm talkin' 'bout! I wanted the thread work to show, but not be so red, white, and blue. This is after I did the first few rows of red over red and white over blue. I was very excited to see how it worked out. (By the way, my mother hasn't seen it yet but she did give me permission to use it however I wanted to in my project.)
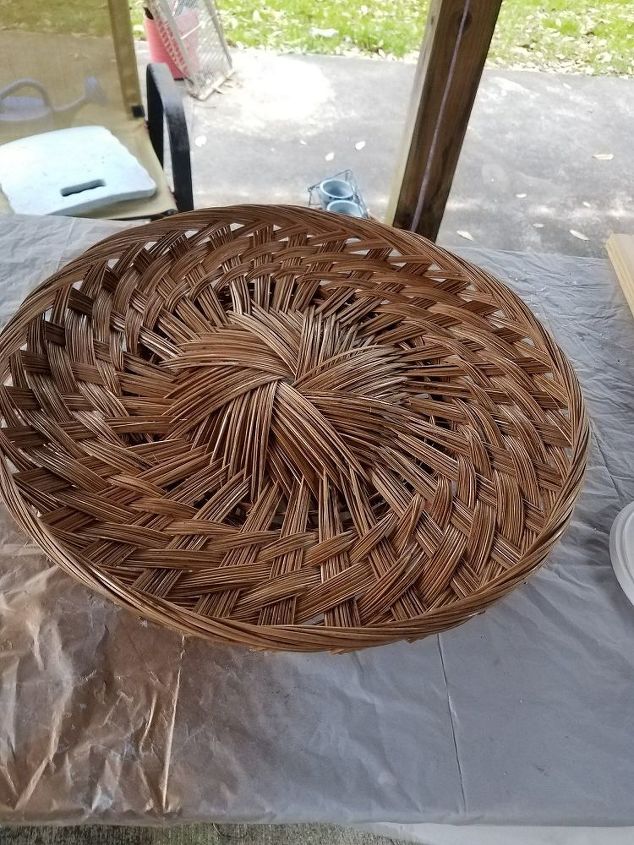
I needed a background for the heart, so I selected a wicker basket I had previously purchased at a thrift store.
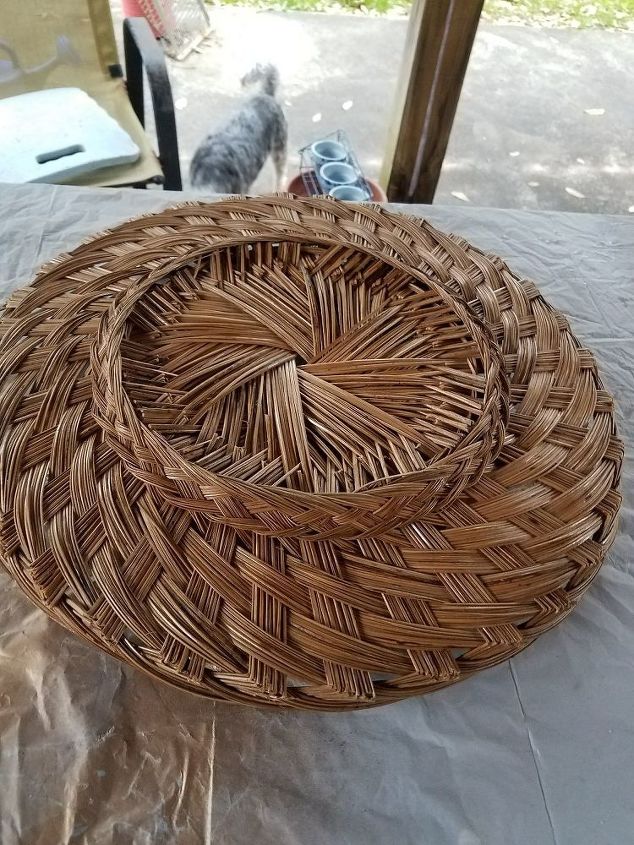
You understand those impulse buys - it's a great deal, and you have to have it. Even if you don't have any idea how you're going to use it - yet!
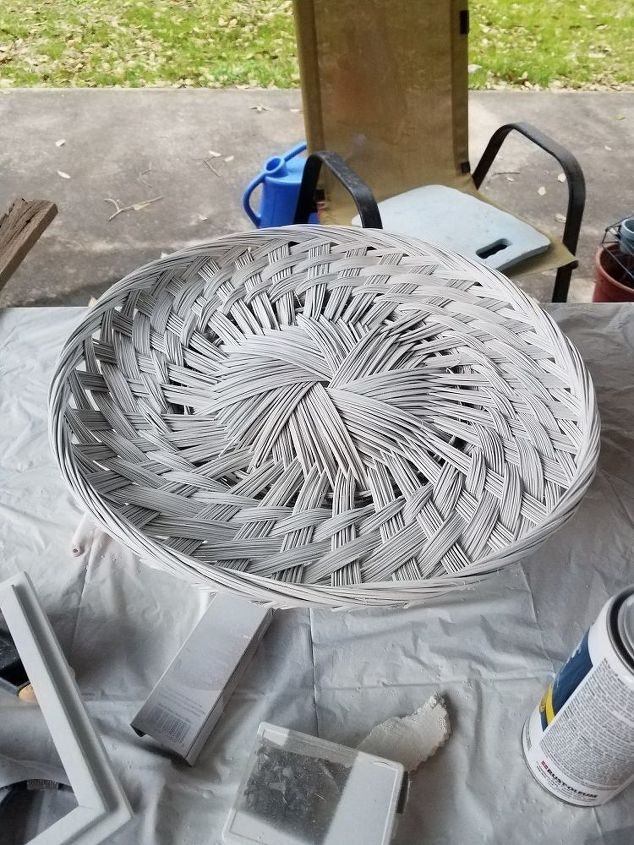
Of course, the original brown wouldn't work, so I painted it with my favorite Zinsser 123 spray primer while waiting for the heart to dry.
After the heart dried, l trimmed it and frayed the edges for a more shabby chic look. Then it was time to put it all together.
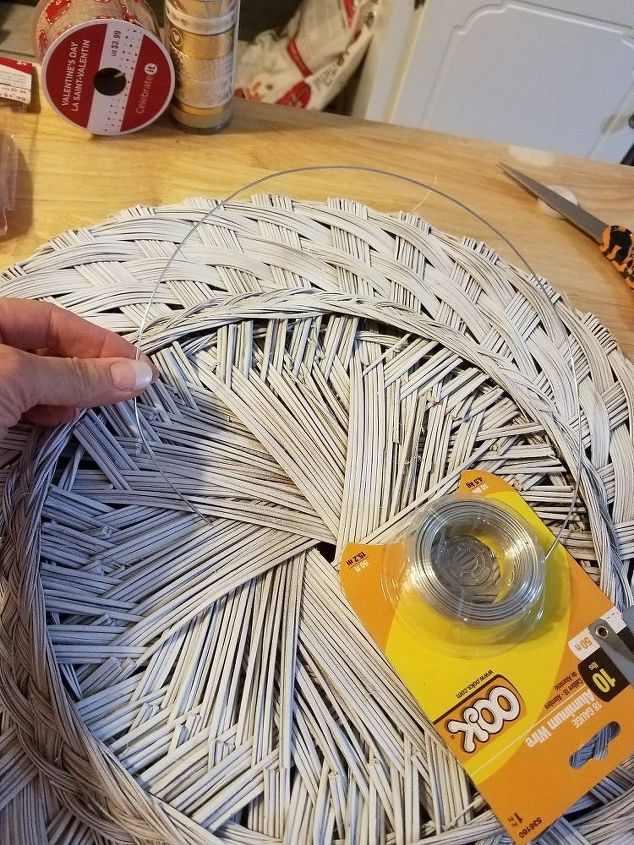
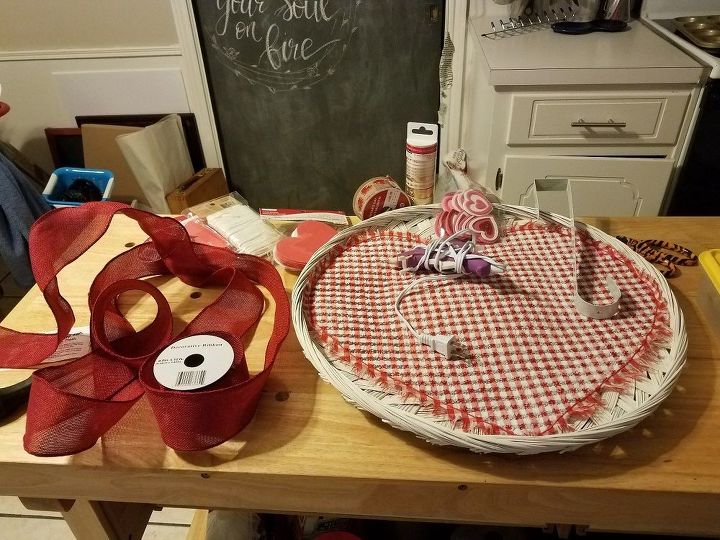
First, I fastened wire to the back of the basket so that I could hang it up. Next, I hot glued the heart to the basket, then trimmed it in red ribbon around the outside.
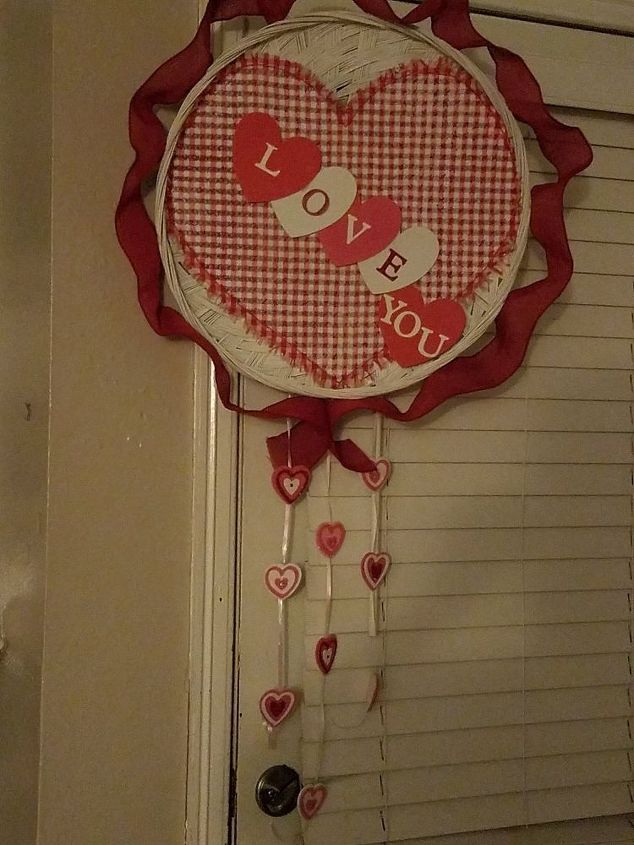
For the message, I glued red, white, and pink foam hearts on the inside of the fabric heart, and printed "LOVE YOU" on the Cricut, then glued the letters onto the foam hearts. It still needed something, so I attached some ribbons to the bottom and put stick on felt hearts on the ribbons for a little more oomph!
I know that the hand embroidered heart is custom, but others may want to use puff paint and make their own x's and o's on a piece of red and white gingham. It can be customized and attached to a basket, embroidery hoop, or other frame as you choose. I'm listing common materials sources, even though most of the things I used were already on hand. I listed the time as 3 days, because it took several afternoons to paint over the heart, as it would to embroider or paint with paint pens.
I really like how it turned out, and hope my Mom agrees! I'm definitely going to keep using this for a few more years!
Materials used for this project:
- Checked fabric (Fabric store)
- Basket (Amazon, Craft stores)
- Zinsser 123 Primer (Amazon, Lowes, Supermarket)
- Paint pen, marker (Amazon, Craft Stores)
- Gesso (Amazon, Craft Store)
- White acrylic paint (Amazon, Craft Store)
- Ribbon and Hearts (Michael's)
No comments