How To Make Decorative Shelves The Easy Way
Decorative shelves can be a simple and easy diy project if you have a wooden box. Just paint and hang on the wall for instant style in your space.
Time: 2 Hours Cost: $10 Difficulty: Easy
I’ve had these wooden boxes just hanging out in my garage for a few months now. I don’t know what I was waiting on. It didn’t dawn on me until I started looking for decorative shelves for my office that these would make perfect shelving modules. And I was right! This makeover/repurpose rates a 10 on my top easiest DIY projects list. It was ridiculously easy.
Before staining the wood, I filled all the holes with wood filler and allowed it to dry. If you don’t have holes, skip this step. Then I sanded the whole box with my Orbital Sander with a 220 grit sandpaper. Be sure to wipe all the dust off before staining. I used a wet paper towel. Quick and simple.
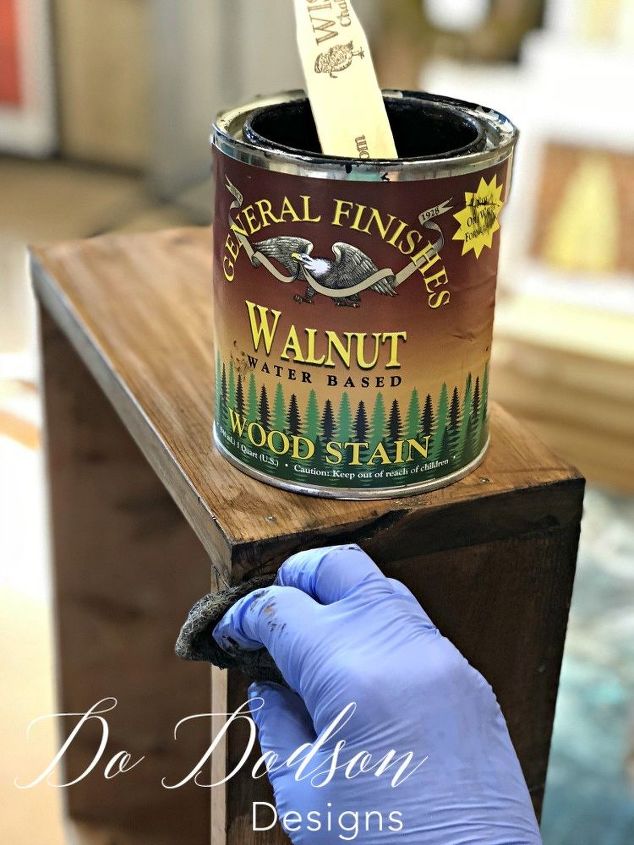
With the cheese cloth I applied the Dark Walnut Stain to the wood and allowed it to fully dry. Not all stains are water based, but since I’m using a water based top coat, it’s a must. Oil and water don’t mix and you run the risk of your finish failing. The general rule is water on water and oil on oil. Of course there are exceptions to every rule.
Minwax Polycrylic top coat is my go to on easy DIY project like this one. I simply applied one coat to the decorative shelves with a “disposable” chip brush. Seriously, these brushes are a one time use for me. I hate cleaning brushes.


No comments