
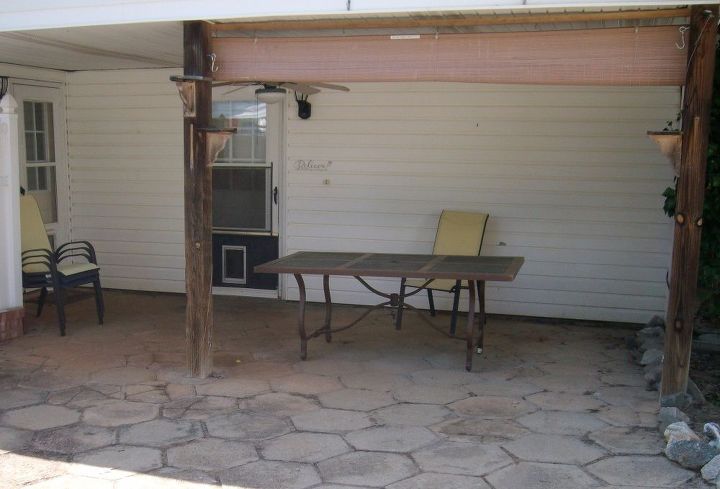
Look at Her BLOOM'N Patio! A Patio Transformation
A few tubes of black caulk, some paint and a little imagination can transform your patio into a magical garden spot that will delight you and your company for years to come.
Time: 60 Hours Cost: $80 Difficulty: Medium
The first step is to decide on a design. You really can't go wrong with giant botanical images because flowers are all shapes, sizes and colors and much easier for those who may not be as artistically inclined. If you can color in a coloring book, you can create lovely art on any wall in your house. Inside or Out.
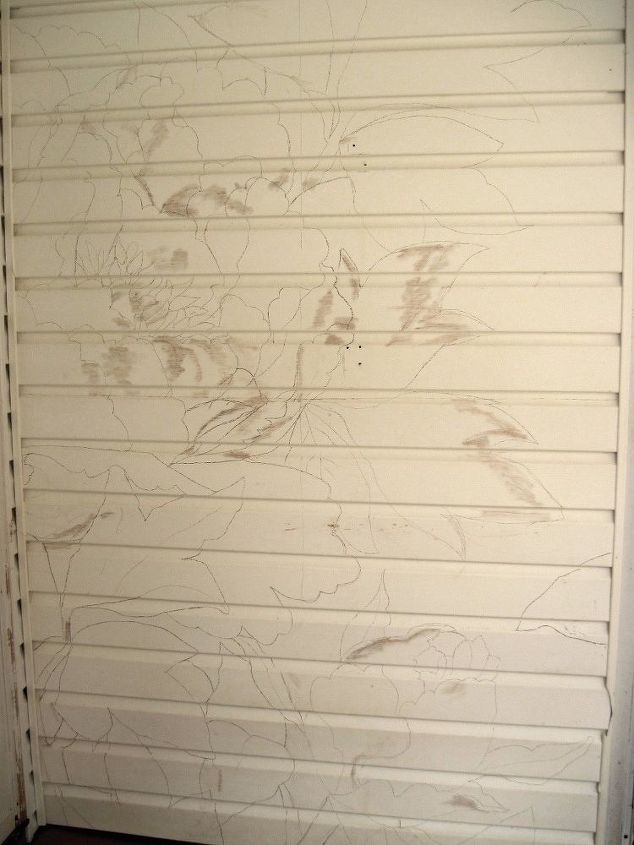
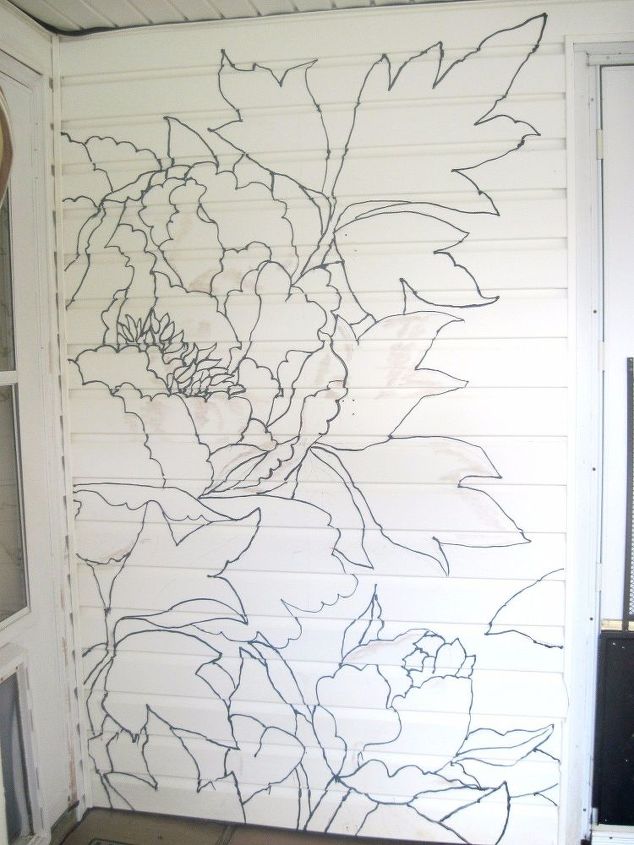
Once you have your design determined, sketch in onto your wall. I recommend using pastel chalks so that you can wipe them off easier once your caulk has dried.
If you have a way of projecting an image onto your wall space, you can simply trace the outlines onto the wall. Remember those old over head projectors back in the 1970's. Those would work wonderfully for a project like this.
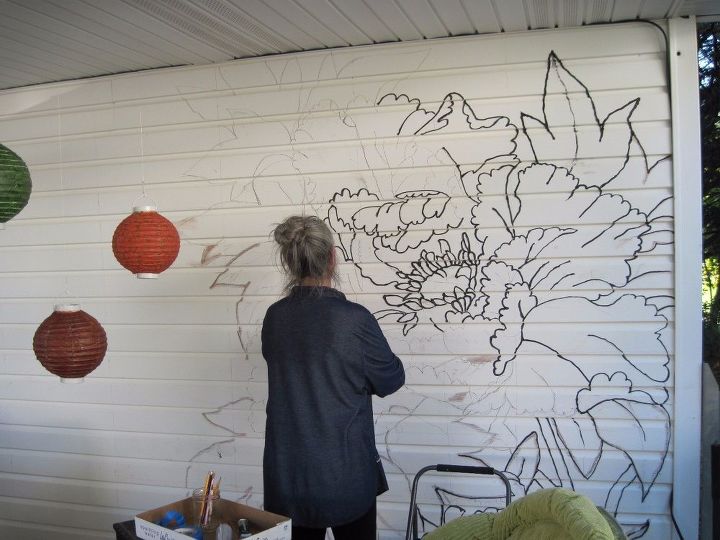
Using a caulk gun, apply the black caulk simply follow the lines you sketched. NOTE: It is good to keep a wet terry cloth rag handy to wipe off any mistakes and to clean the tip of the caulk tube from time to time.
Let the finished caulk dry for a few hours . Using your finger, push down any little tips that might be sticking up. The caulk should still be flexible enough to gently push in any caulk lines that might be sticking out. I also went over the lines and gentle push on them to make sure they were adhering to the siding.
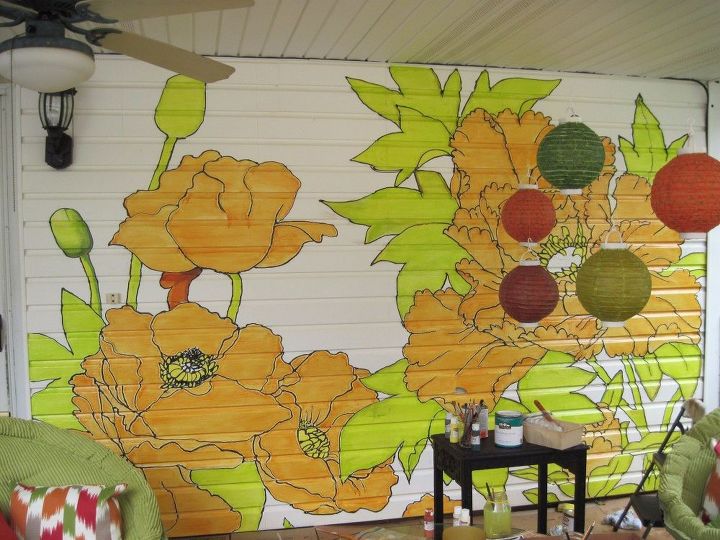
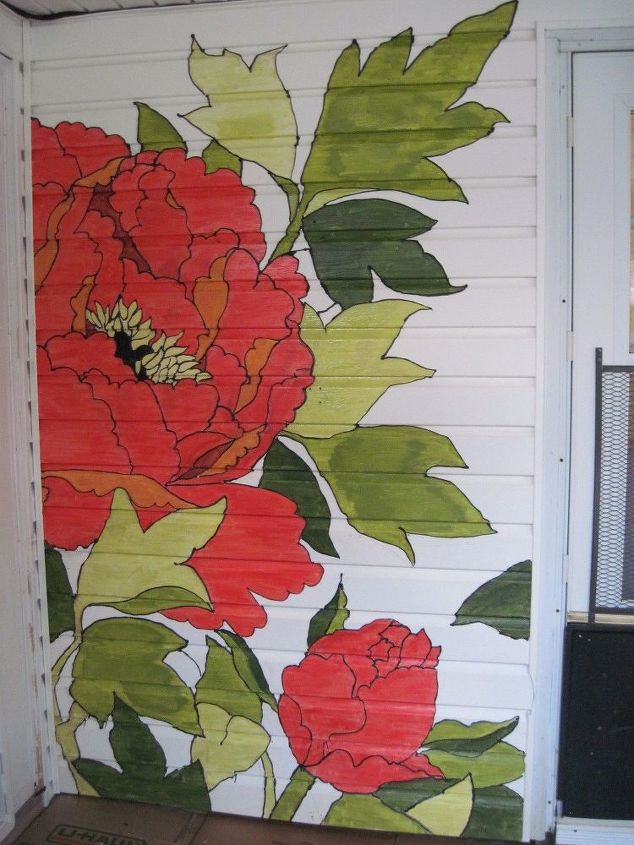
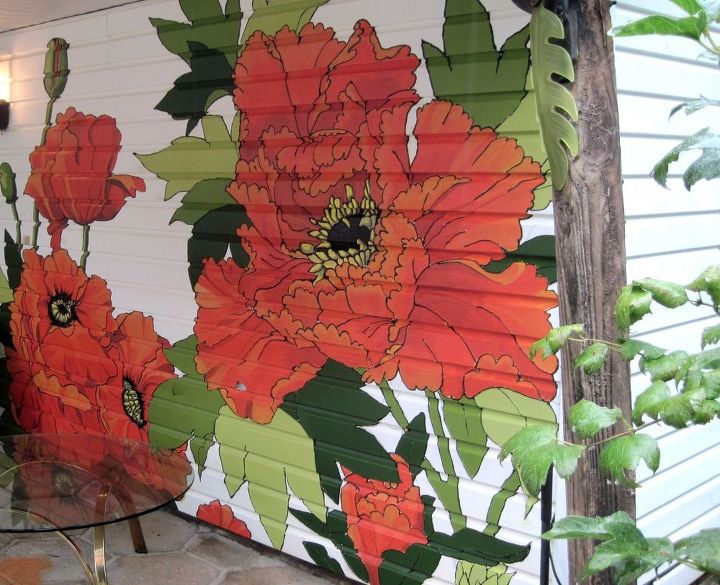
Paint a base coat into all your shapes to better determine were the colors will go. Sometimes it is difficult to discern which shapes are part of the flower and which are part of the leaves, etc. But once the base color coat is there, everything becomes more clear.
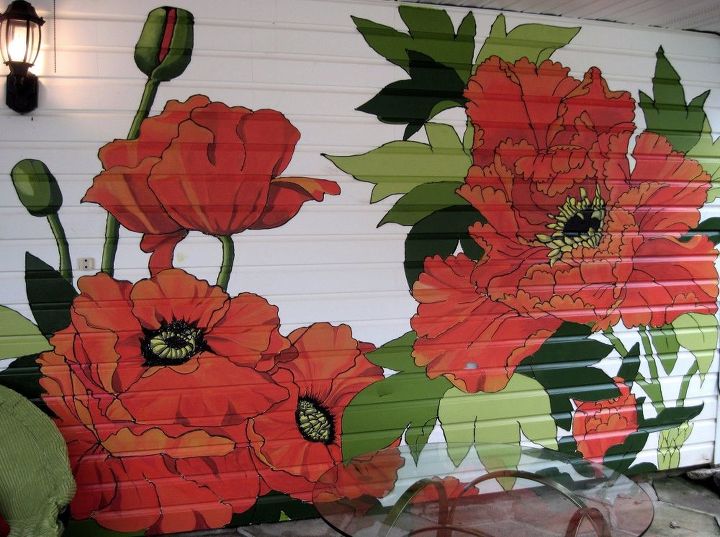
I decided to go with a vibrant poppy red and then mixed that with yellow to get the highlight colors. The cool thing is that if you are not happy with a color choice, you can simply paint right over it once it dries.
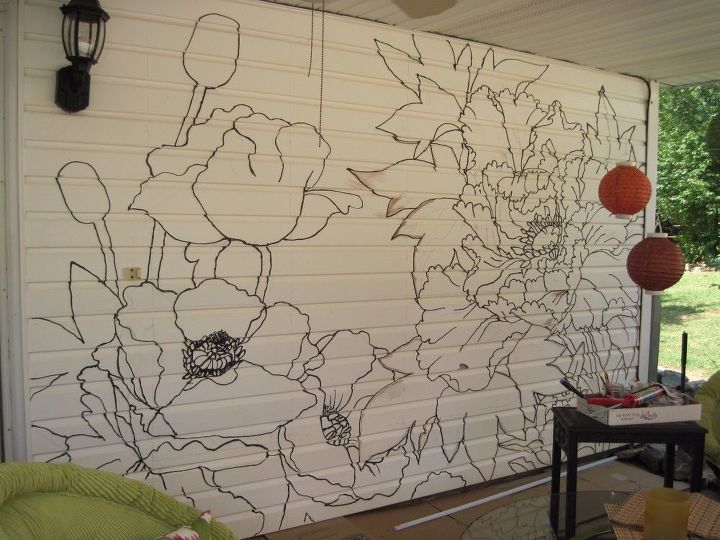
Once I finished this wall, I decided to also paint the wall to the left of the door leading into the in-law quarters. Here is a step by step of that wall. More clearly showing the stages.
Now Caulk in your lines and let dry
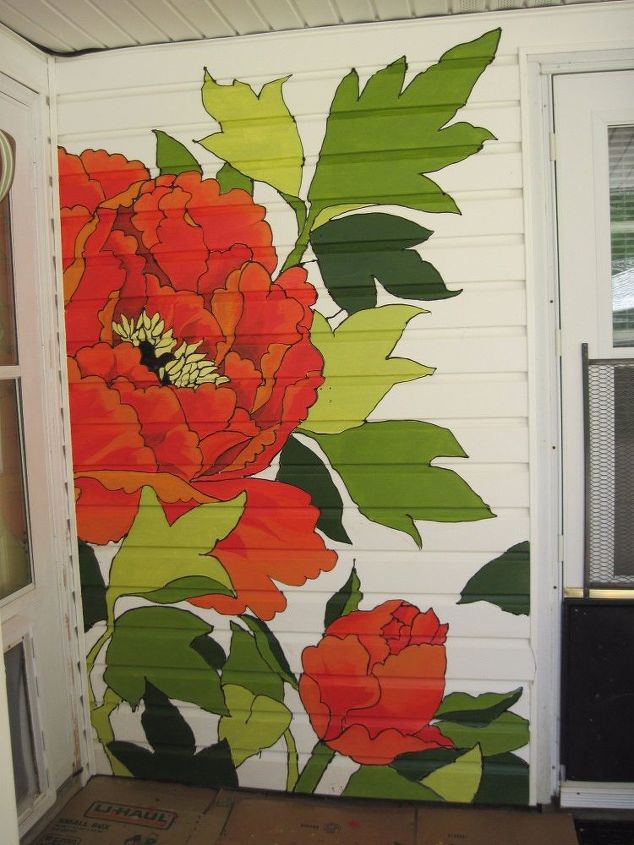
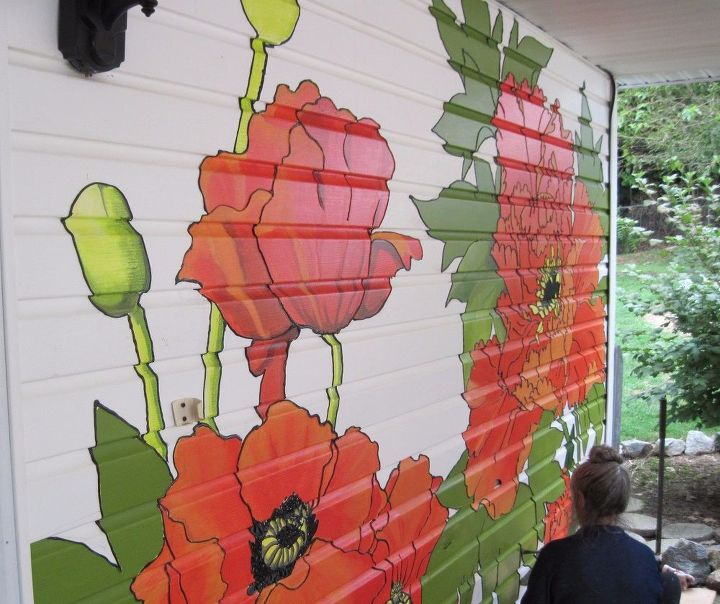
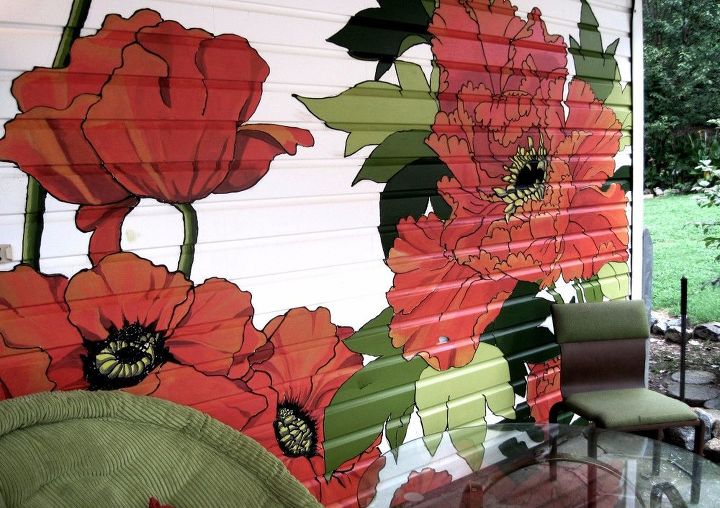
STEP FOUR: Add your details, Highlights, and contrast colors
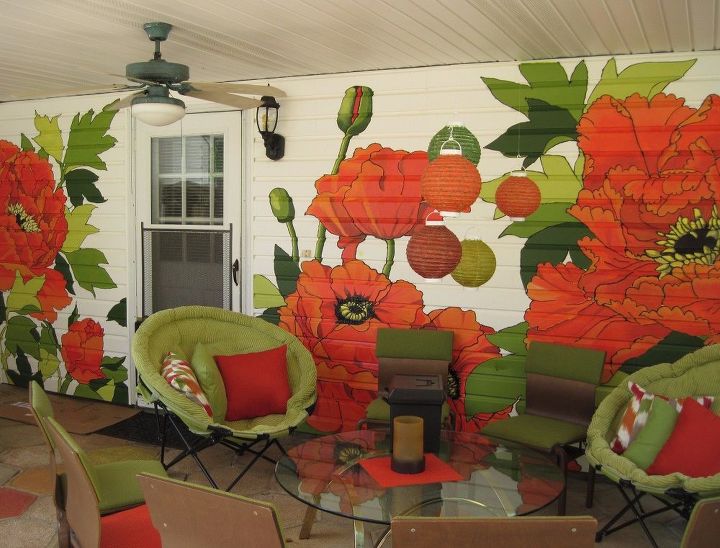
All of the chairs and the glass coffee table came from Second Hand Stores. Total cost for all that you see was under $150. Never buy new if you don't have to!
Now, put on you thinking cap and get busy! You could do a field of daisies or even just broad leaf grasses in different colors of green. Oh, that would be subtle, yet beautiful. Hey, I might do that on the garage doors. The most important thing to remember is--Have Fun!
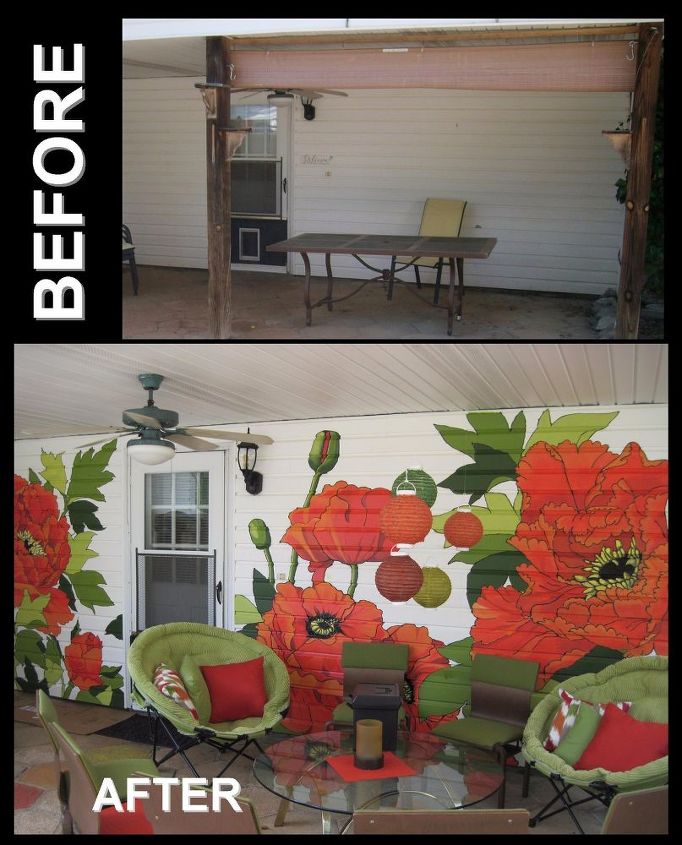
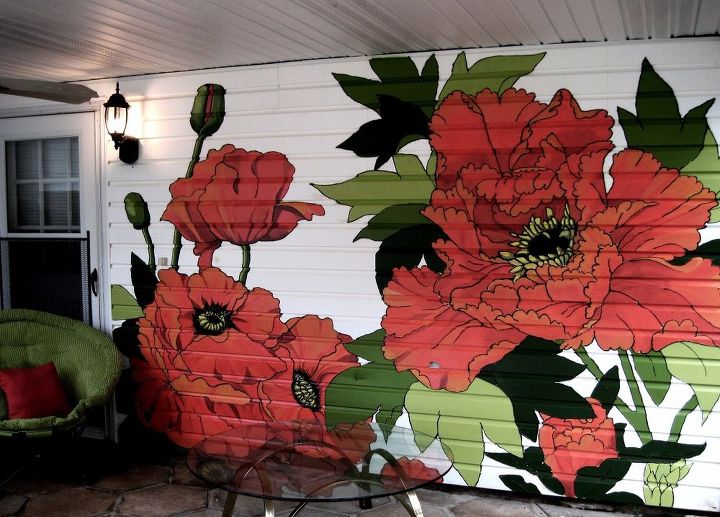
Now that is truly a transformation!
Materials used for this project:
- Paintable Black Caulk (Online)
- Gloss Latex exterior Paint (Lowe's)
No comments