West Elm Inspired Pouf Using a Vintage Silk Scarf
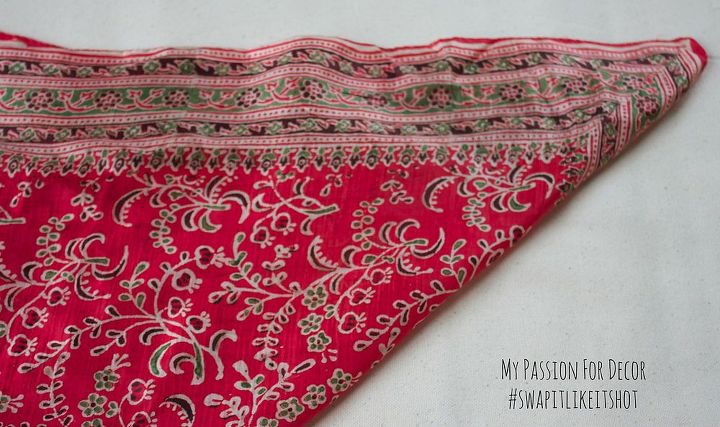
I was sent a beautiful, red vintage silk scarf from a blog friend. My challenge was to repurpose this flea market find into something new. There were 10 bloggers in total that participated in this challenge and we all brought something fun and creative to the table.
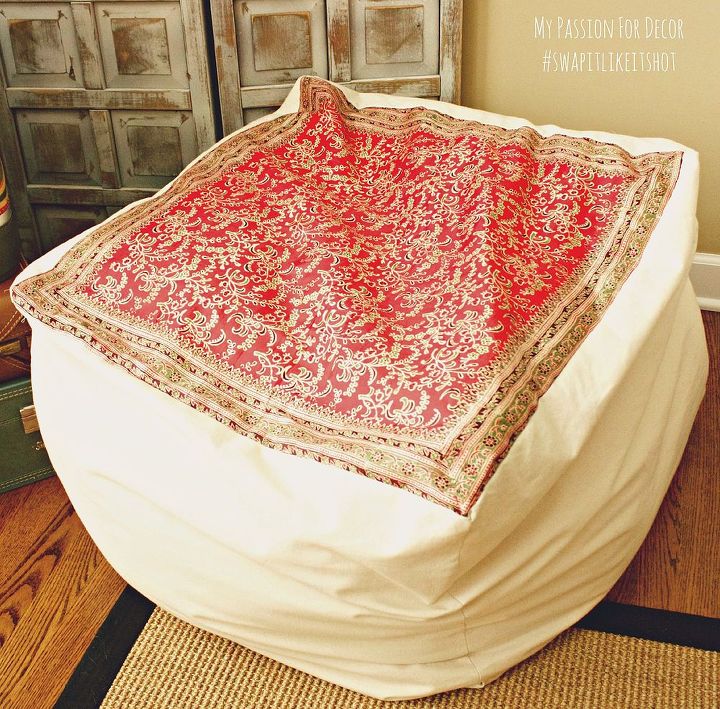
I had been inspired by a pouf I had seen in a West Elm catalog. I had considered purchasing the pouf, but for $249 I was convinced I could make my own for a lot less. A long came this gorgeous vintage scarf! As soon as I laid eyes on it I knew I wanted to use it for the top of my pouf.
I searched the web for tutorials and found quite a few. However, after reading them I was convinced I had 'learned' enough to do this on my own, without following a tutorial. I'm a very fly by the seat of my pants seamstress (not really even sure you I can call myself a seamstress!) I busted out my sewing machine and got to work.
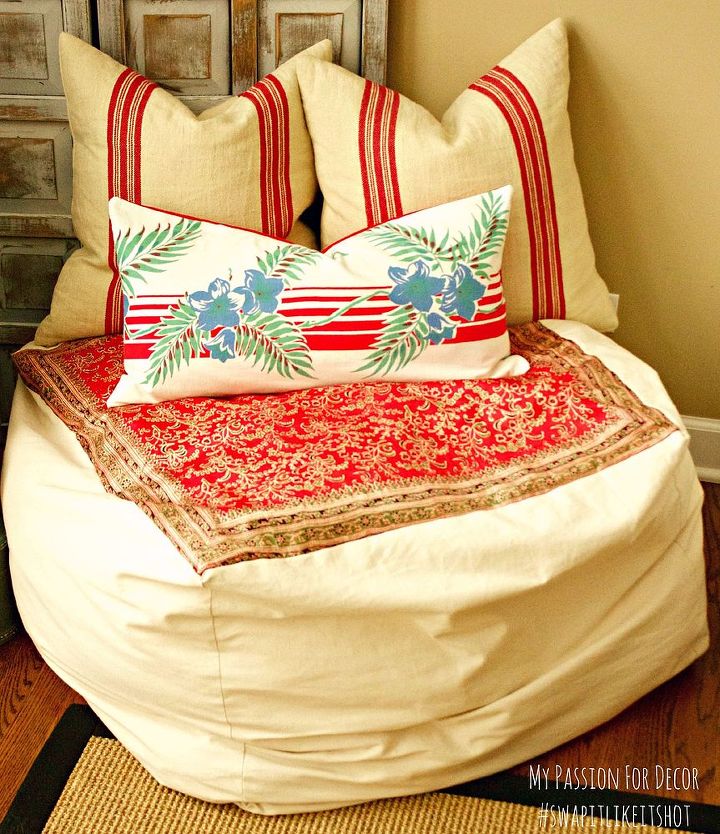
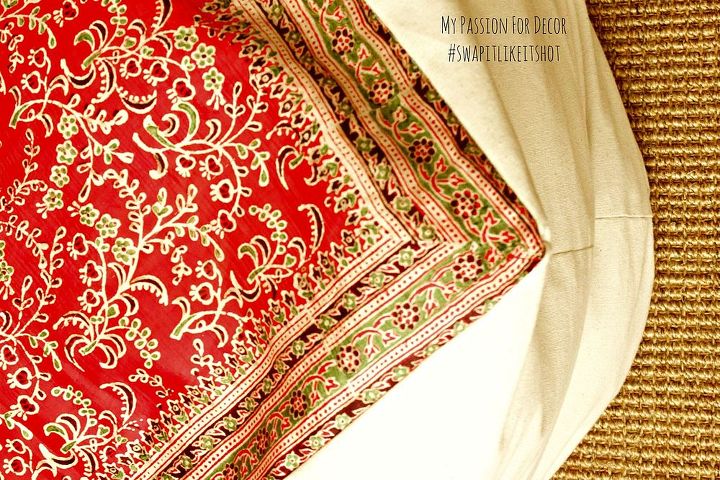
I started by measuring my scarf. This was my jumping off point. I knew I wanted the scarf to form the top, so the rest of the pouf was just measuring squares of canvas fabric and sewing them together to make a cube. I took the scarf and a piece of canvas cut a bit larger and sewed the scarf on top of the canvas. Then I began measuring and cutting my pieces of canvas. Well.....I began to realize this pouf was going to be HUGE. I adjusted my sides a few inches thinking this would make a big difference. However when I was done sewing everything together (and attaching a zipper on the bottom of the pouf) I came to the realization this was just going to be the biggest pouf known to mankind!
Luckily for me, I had lots and lots of down pillow inserts lying around (yes, I am a huge pillow hoarder). I did buy 4 down pillows from IKEA at $6 each to help fill in some gaps. When all was said and done I put around 15-20 down pillow inserts and bed pillows inside the pouf.
When I was finished with the whole project, I stepped back to admire my work. I loved my down-filled pouf/seat/chair! It's a very comfy place to sit and read a book. My son decided he wanted to put the pouf in his play room to sit in while he's playing his video games. He has a sofa in the play room already, so that tells you how comfy the pouf is.
More details and other projects on the blog....
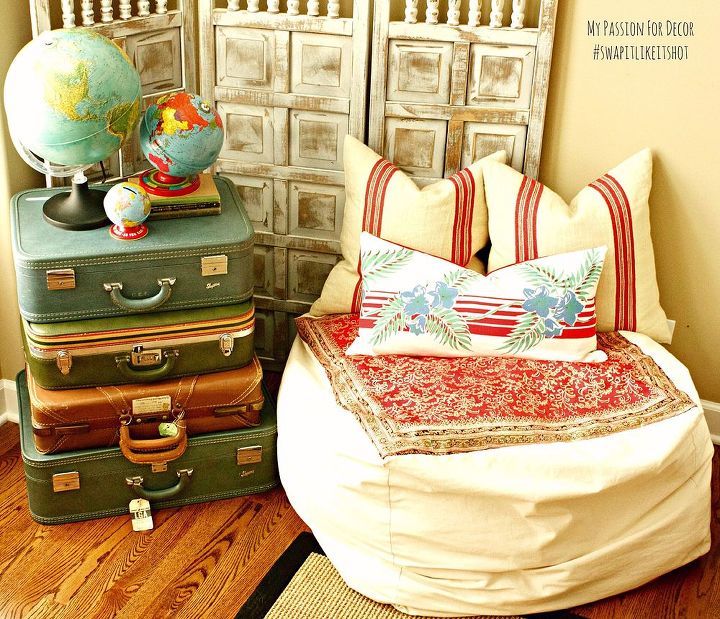
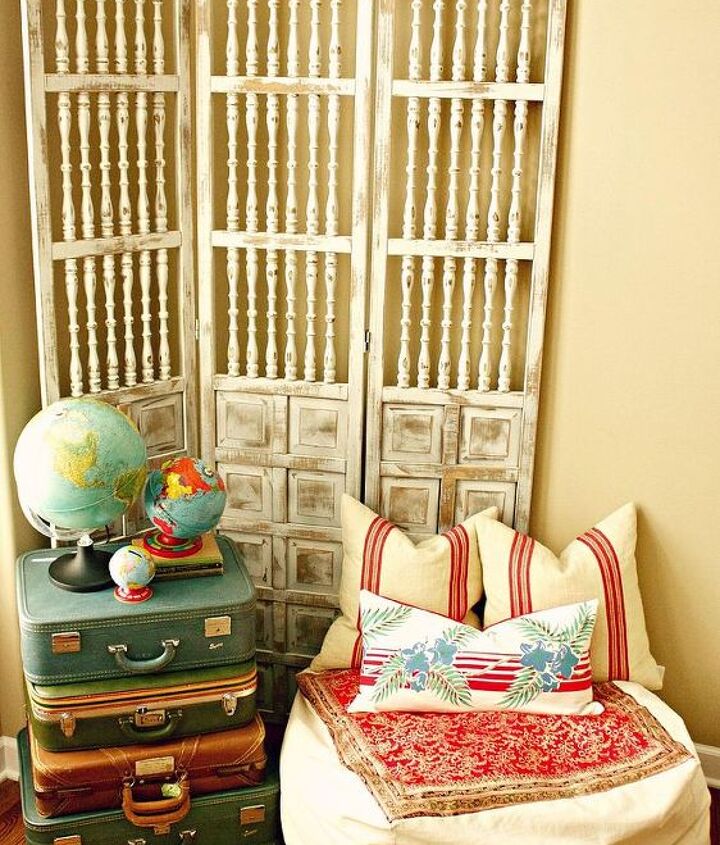
This is the finished pouf/seat styled for some pictures. I like how all the colors work together and pop off the cream canvas fabric.
I've only taken one sewing class, so I'm not a professional seamstress. However, I really do love sewing! It's almost like therapy. That would make my Mom so proud.

hello firends
ReplyDelete