Lamp Gets a Country Girl Makeover Using License Plates!
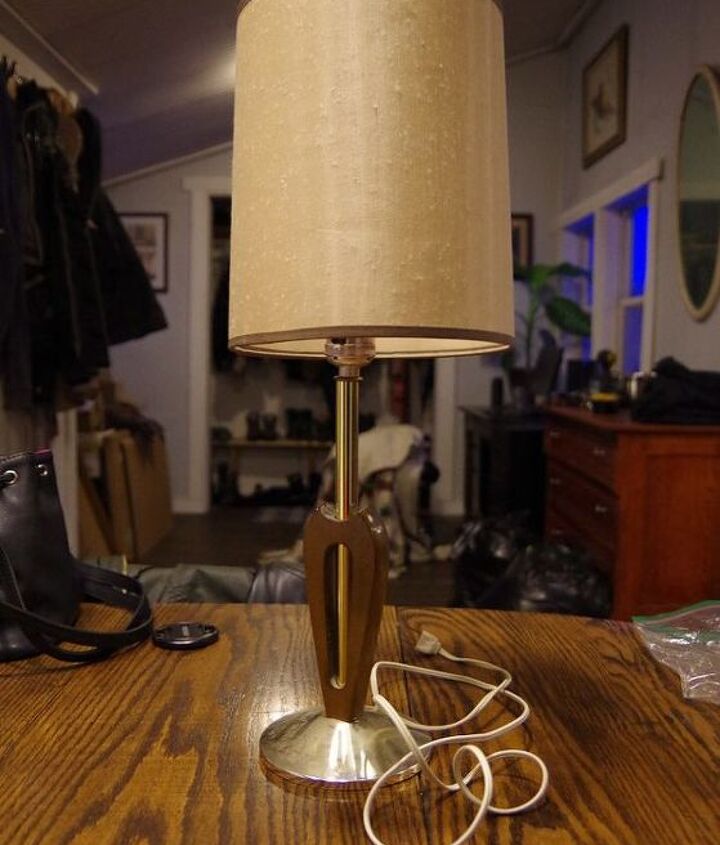
My new guest bedroom and library needed a reading lamp for the bedside table so, of course, I went thrifting! I found this little dude for only $6 and then went directly to walmart and found what I decided was the perfect burlap lamp shade. From there it was time to decide just how I was going to transform this little lamp into something country and fun! Using two old MN license plates I got to work!
Time: 1 Hours Cost: $20 Difficulty: Easy
At first I had four plates to work with and I stood them up and tied them together making a rectangle. That was big enough to cover the round, gold base but it was WAY too big for the shade. So I kept the two license plates that were mine (my very first plates ever actually) and experimented trying to bend them. It worked easy! I bent each plate in half lengthwise by pressing them over the edge of my counter. Then, using twin again, I tied them together into a much smaller rectangle and slid it over the top of my little lamp. Then it was time to figure out that ugly base!
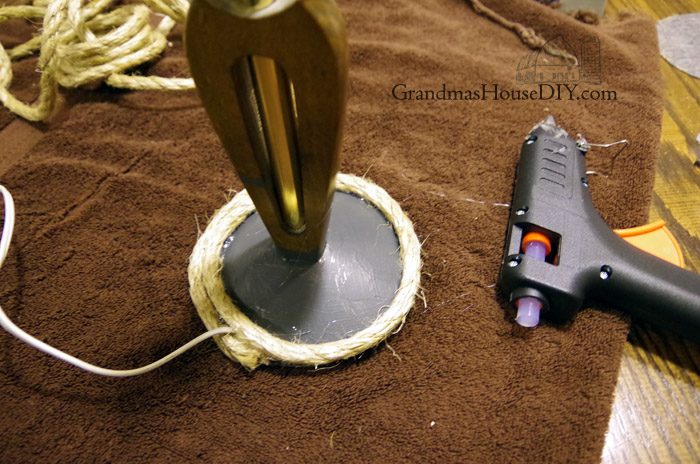
At first I was expecting to make a base out of wood but when I looked around my workshop for some ideas I ran into the big rope I used to hang my window planter boxes and it just seemed like the perfect fit! First I did a coat of paint on the base.
(The paint is not perfect I just wanted to make sure that none of the gold would show through any gaps.) Then I used a glue gun and I simply wrapped the whole base up with that big rope.
I am absolutely excited to see this little lamp transformed. All in cost was $6 for the lamp and $12.99 for the new shade at my local Walmart. The twine, paint and rope I had on hand and that was it! I think the lamp fits right in to my little guest bedroom. Not many more projects left now until I finally get to reveal it here on the blog!
Materials used for this project:
- Large rope (local fleet store)
- Glue gun and glue (Amazon)
- Lamp (Thrift store)


No comments