Wine Bottle/Old Window WALL ART
In 1978, when my husband and I bought our first home together, one of the first things we did was replace the drafty wooden basement windows with more energy efficient windows. Even way back then (40+ years ago), I couldn't throw those ugly; but beautiful to me, solid wood windows out.
While I have transformed every one of these windows over the years, the last one eluded me. Until NOW!
Time: 3 Hours Cost: $11 Difficulty: Easy
I had seen something on Pinterest that caught my eye, so I gathered my materials and got to it.
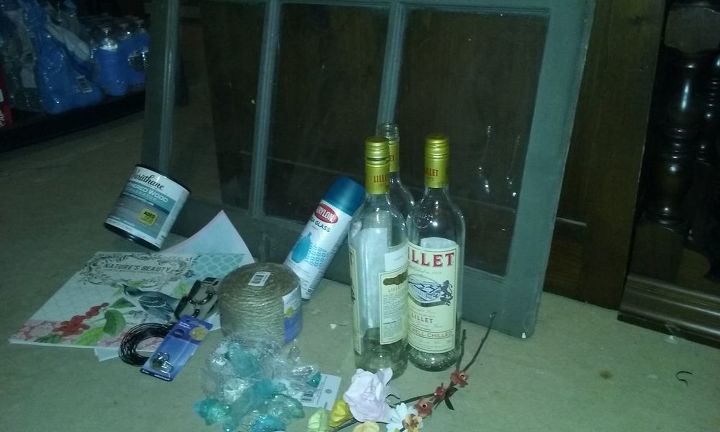
I decided to start with the wine bottles (of which I have quite the collection) removed the labels and gave them a good clean.
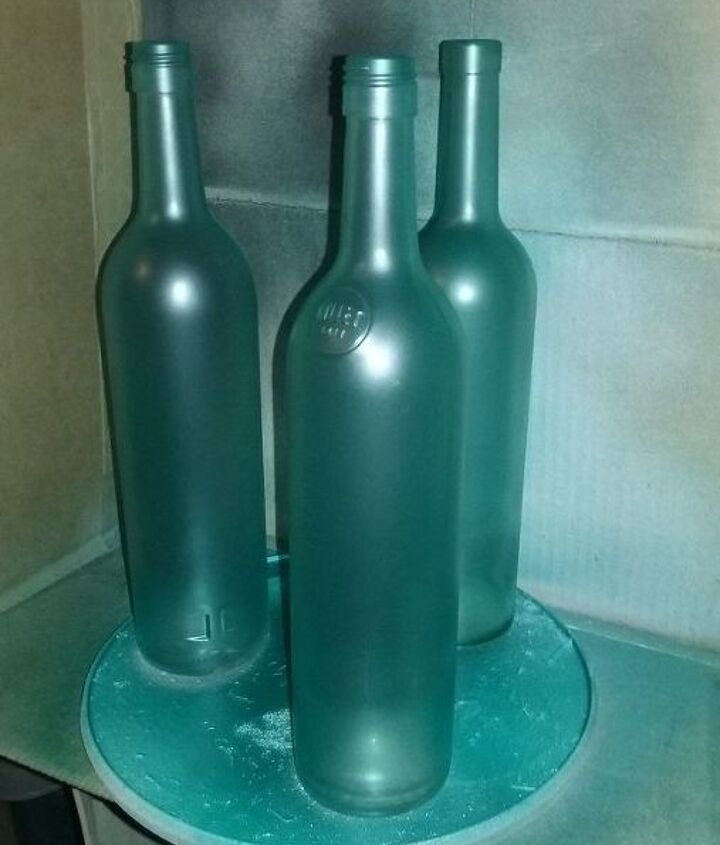
I am really into beachy colors/looks so I bought a spray can of seaglass/aqua and gave the bottles two coats - allowing the paint to dry between coats. Love the way they turned out
After Christmas, I found this great twine in the clearance section of my local HOME GOODS; didn't know what I was going to use it for, but for $3.00 how could I not buy it?
I used the twine to wrap around the bottles, securing the beginning and the end, with hot glue. It took about 3 yards of twine per bottle; but that totally depends on how much twine you want to use for your project; but I suggest that you measure out the twine ahead of time to be sure you have the exact lengths of twine you need for all the bottles.
Added faux sea glass from the $$ store and some of my paper flower creations; bronze wire (that I found in the jewelry section of Michaels) around the neck for hanging - you will see why in a bit.
Next I turned my attention to the 75 year old window. Wearing a mask, I sanded as much of the old grey paint off the window. This took a while, but was worth the effort. I was going to leave it in its raw state, but then decided to do a wash of watered down turquoise paint on it, and I am glad I did.
I then cleaned the glass panels and above each of the panes, I mounted a bronze hook. Using the wire that I wrapped around the neck of each bottle, I was able to create a loop
which allowed me to mount/hang the bottle in front of each of the three glass panes on my old window.
And there you have it! My wall art project.
This project holds special significance for me; since after my husbands passing, I had to sell this home of 38 years, the home that we had raised our 4 children (now adults) and welcomed our first grandchild into the world in, I am so filled with joy that a little piece of that house is now hanging in the guest room of my new home and every time I look at it, the memories of what we lovingly called "Bunker Manor" come flooding back to me.
Happy crafting everyone!
This is a post project additional instruction: There have been some questions regarding the wire around the neck of the bottle and the "rabbit ears". To create the twisted wire, I guessed at how long it should be...it turned out the finished twisted wire was more than I really needed, so when I went to hang the bottles on the hook, there were a couple of inches of wire that weren't really necessary (the "rabbit ears"); but I decided I liked the way they looked (of course I didn't see them as rabbit ears, just added interest) so I didn't clip them. A happy accident, as they say.


No comments