How To Make Tue-Dye Shaving Cream Easter Eggs
Getting ready to dye eggs for Easter??!! Why not shake things up and try this SHAVING CREAM TIE DYED EASTER EGG method! It’s a great sensory activity for toddlers and a super cool art project for older kids! They also make beautiful decorations!!
I’ve always loved dying Easter eggs, ever since I was a little girl. I have so many fun memories trying different decorating tricks with my siblings from over the years. I’ve continued the tradition with my kids and we have fun dying our eggs every Easter. However, to be totally truthful, I’m not a big fan of hard boiled eggs so if my hubby doesn’t eat them, they get thrown away – I know, shame on us.
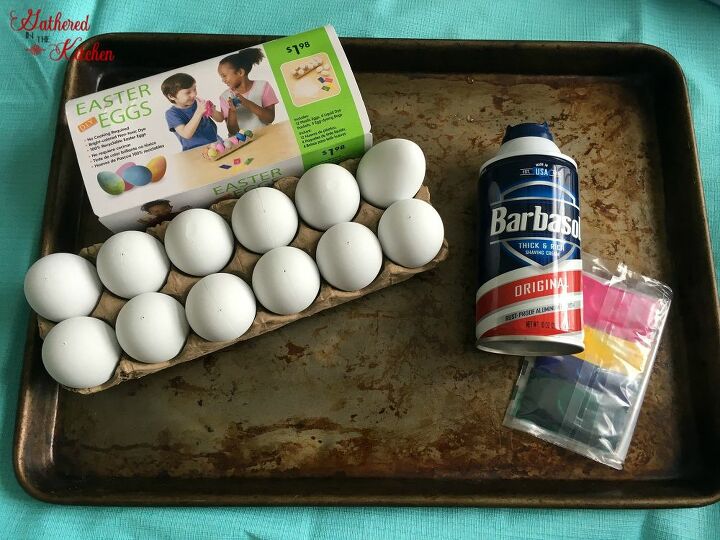
As luck would have it, however, one day I was browsing the Easter isles at Walmart and found these amazing plaster-like eggs! They are artificial and can be dyed colors!! I bought 4 packages of 1 dozen eggs and knew immediately I wanted to make them tye-dyed with shaving cream.
I have since made several “batches” of tie-dyed eggs with shaving cream – at my son’s preschool and once with a playdate at our house. They really are that much fun to make, just like these He Is Risen Easter Preschool craft! or even this fluffy slime!
Spray shaving cream all over a baking sheet
Using a spatula, spread the shaving cream evenly over the baking sheet
Carefully sprinkle food coloring all over the shaving cream
Use a wooden skewer and gently run it through the colors like so
Now the fun can begin!! Grab an egg and start rolling it throughout the shaving cream until it is competely covered.
Set aside and let the eggs rest while covered in the shaving cream for about 10 minutes. Using a baby wipe, wipe off the excess shaving cream and see the beautiful colors emerge!
I love that the eggs can be kept from year to year. I placed the ones my son made in a ceramic basket with an adorable little handmade ceramic bunny that I bought at my favorite thrift store


No comments