
DIY Decoupaged Kitchen Counter Recipe
I had no budget to replace my kitchen counters so I came up with this idea to do it on the cheap.
Time: 10 Days Cost: $4 Difficulty: Medium

I started with this little counter between my fridge and stove because it was small and if I messed it up it wouldn't matter that much. This is the before.
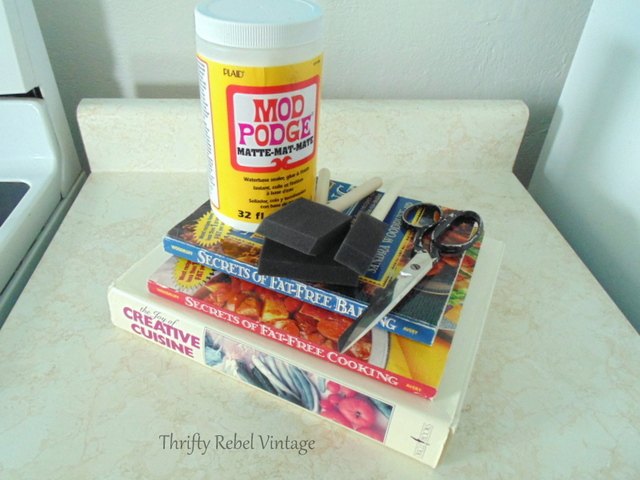
I already had everything I needed for this project, which was mod podge, some foam brushes, and scissors.. and some Stays Clear poly that didn't make it in this pic. The only thing I had to find was a cookbook with pages that I liked. None of my own fit the bill.
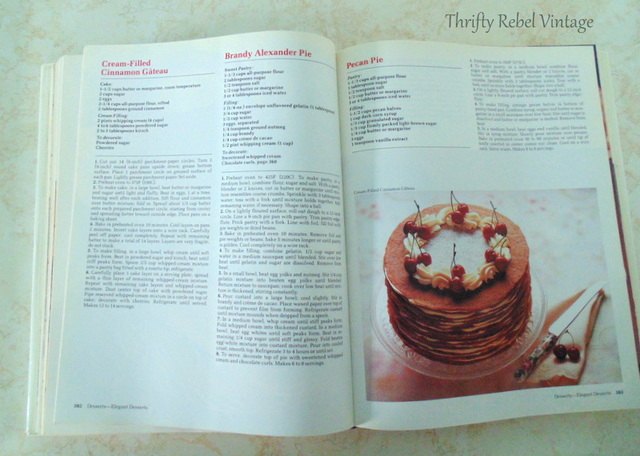
Thankfully one day my hubby found this one at a thrift store for $4, and it was perfect because it was large and had more than enough recipes to cover all my kitchen counters.
And the best thing was that it had red recipe headings to go with the red accents in my made over aqua and red kitchen.
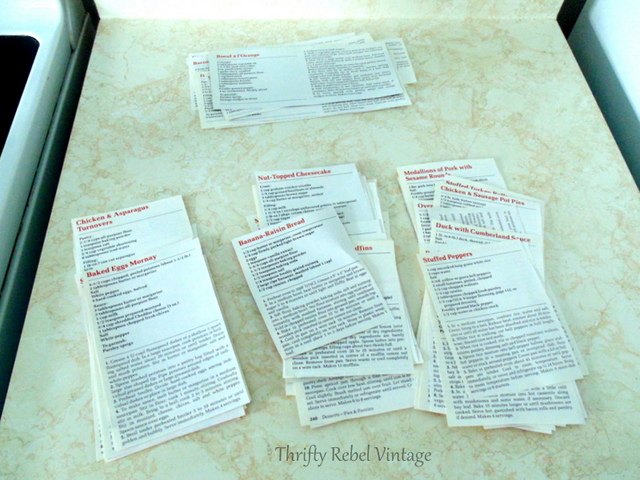
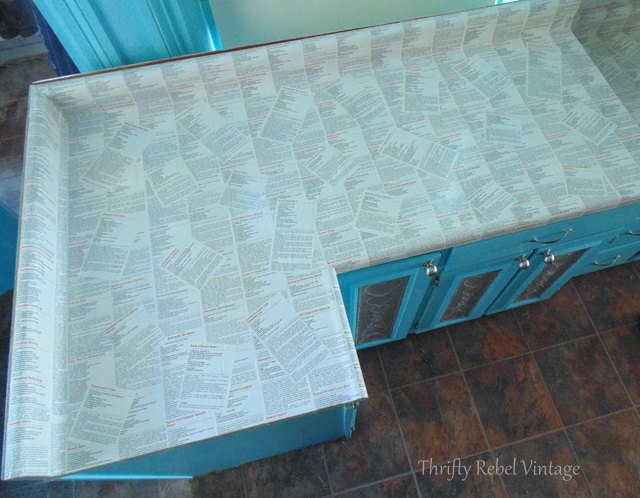
I cut out what seemed like a kajillion recipes.
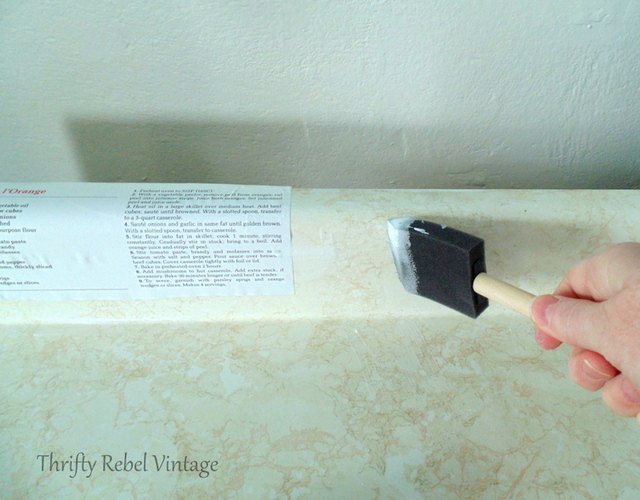
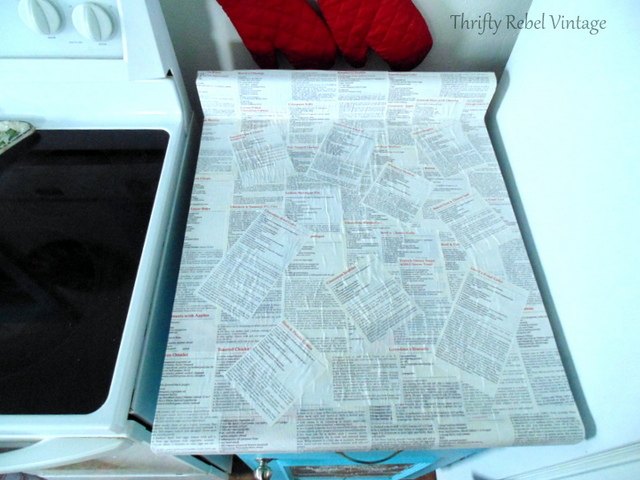
All my old counters have this built in back splash, so I started there.
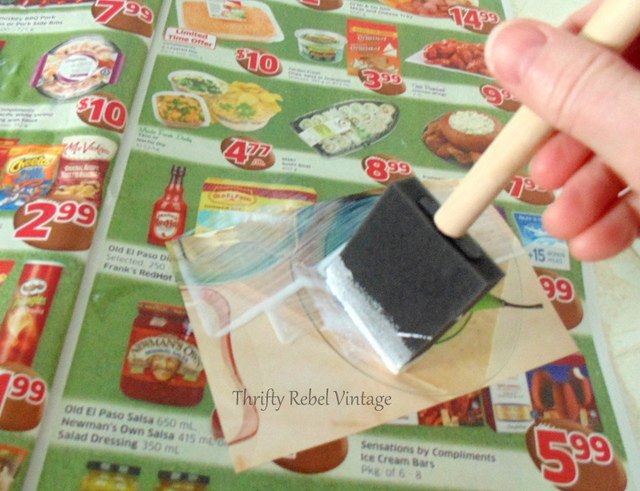
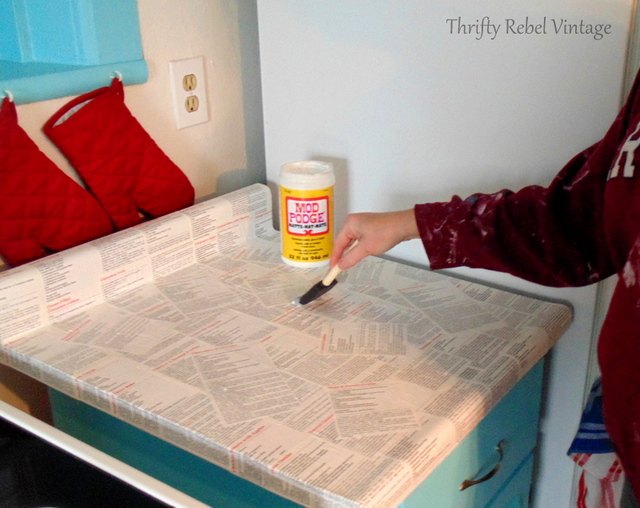
I just added mod podge to the back of the recipes and on the counter.
Then I applied a very light coat of mod podge once each recipe was in place. I flattened the recipes as much as I could with the brush, my fingers, and a brayer.
Here you can see that I worked from the outside in. Not sure it really matters but this just felt right to me.
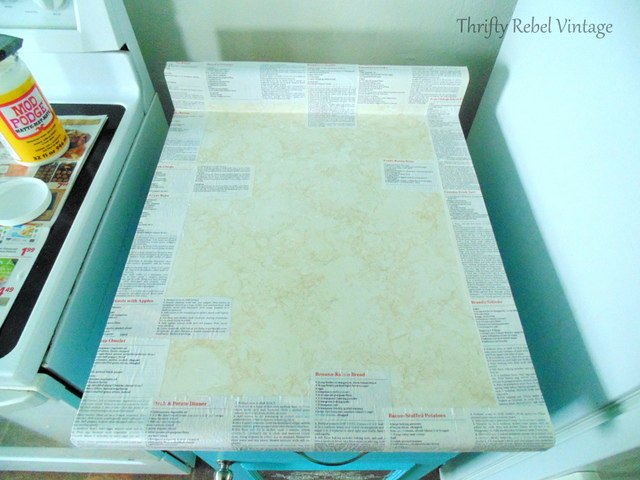
Then I filled in the middle parts, and to finish it off I angled some of my favourite recipes from that book on the top so I can use them if I want to. It also adds some interest. You can see there are a few wrinkles, but most of them disappeared as it dried.
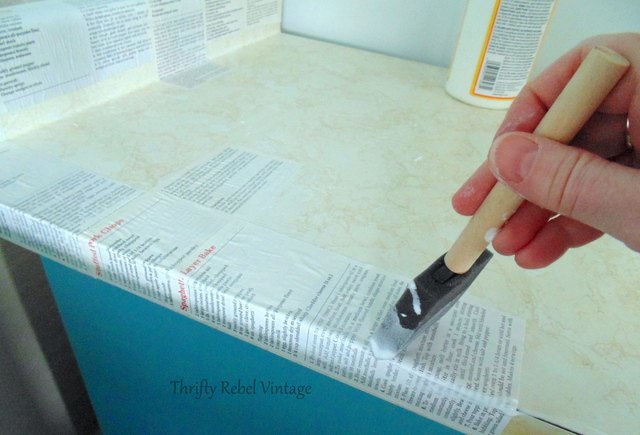
Once the counter was dry I applied one coat of mod podge all over.
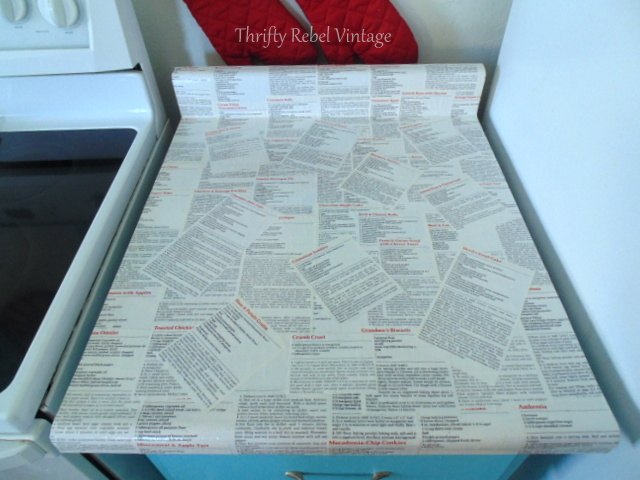
Here you can see most of the wrinkles are gone.
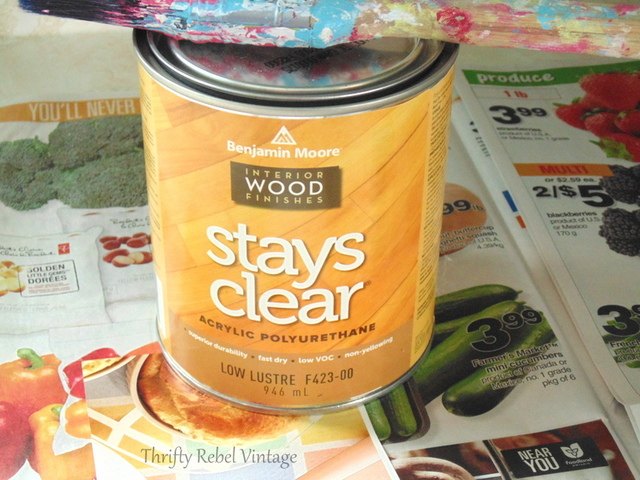
Then I did 4 coats of Stays Clear poly. I love this stuff because it doesn't yellow.
The poly is an absolute must. It protects the recipes, and makes the counters easy to wipe clean with a lightly damp cloth.
I have plenty of recipes left from the book I used so if I ever do get a stain I'll just cover it up with a new recipe. So I have no worries about that.
Here's the before again of the little counter area.
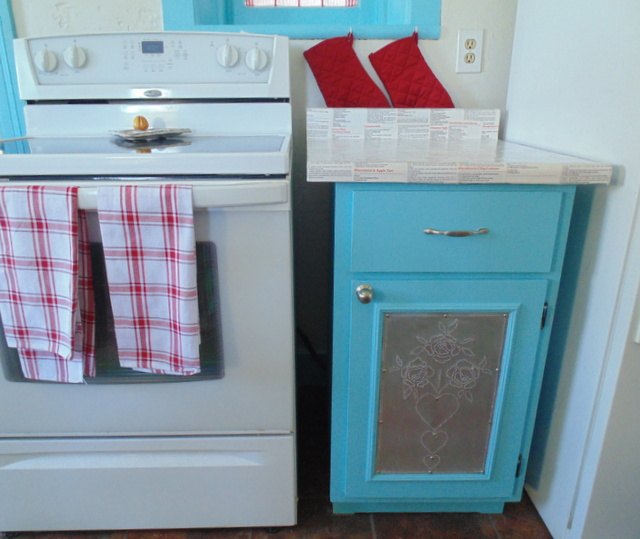
And the after. I was so happy with the results that I continued on and did all of my kitchen counters.
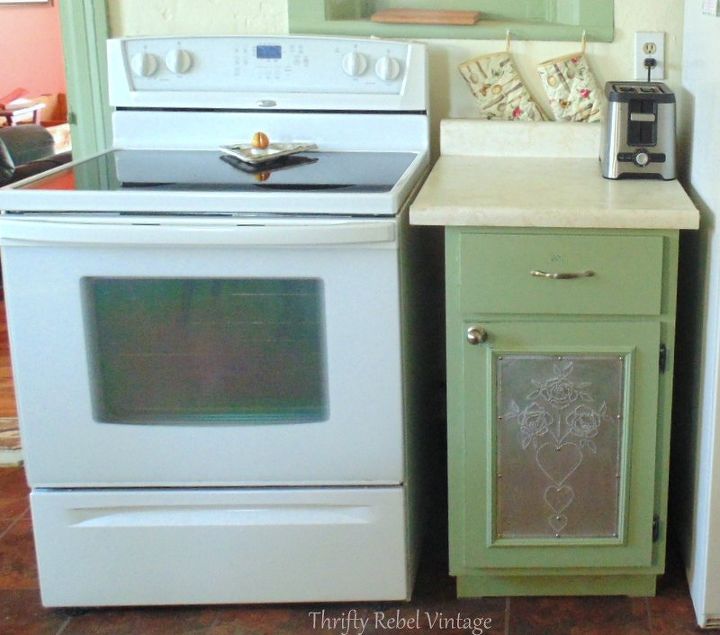
Here's a picture of my corner cupboard counter completed. To see the rest of my decoupaged kitchen counters please visit my blog post here.
It took 10 days to complete all the counters because of drying times between the coats of the poly. Also I couldn't do all the counters at the same time because we needed to be able to use the kitchen while I was doing this.
When I first did this counter makeover I thought it was going to be temporary until I could afford a new one, but I love it so much that I've decided to keep it.
No comments