
DIY Wood Planked Accent Wall
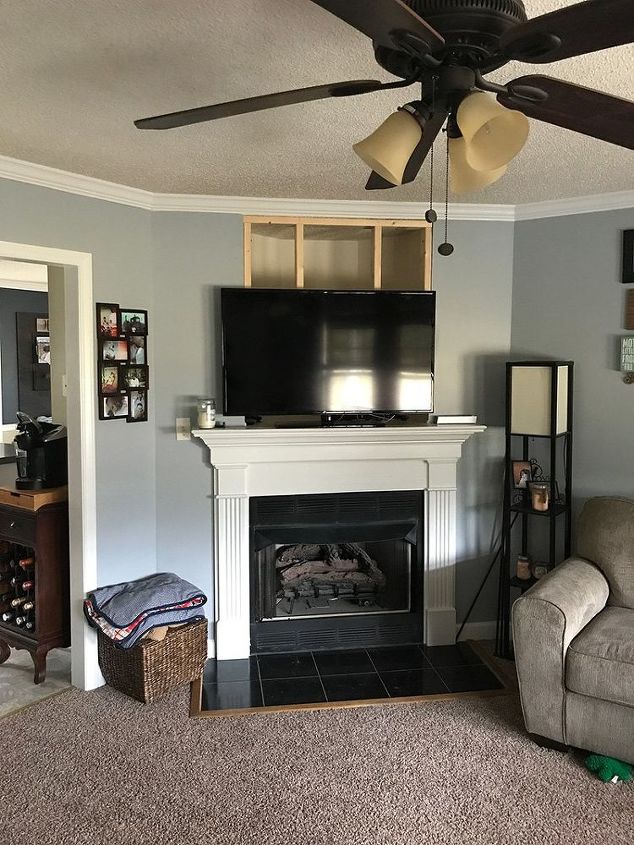
A wood accent wall above the fireplace mantle that adds character and a nice farmhouse cabin feeling design touch. Inspired by a useless open space that left us unable to mount our TV like we wanted.
Time: 5 Hours Cost: $100 Difficulty: Medium
I have been smoozing over wood walls for a couple years now. And when we moved back in June, I made a vow to myself….
My desire for a wood wall would be fulfilled. Plain and simple.
I don’t care if the wood wall was in the laundry room friends. I wanted a wooden wall and what momma wants, momma gets…. Most of the time.
So a few months ago when we were strolling the aisles of Home Depot, which may or may not have been a date night for me and the hubs (Hey it happens…), I stumbled on these weather wood plank boards.
One of the things that had been holding me back from entertaining a wood wall was all of the layers of work it would take.
- Cutting the boards
- Sanding the boards
- Staining the boards
- Cutting the boards again
- And hanging the boards
That could have taken, the way my life is set up, another lifetime.
So these boards, to me, meant I could have my wood wall. In all it’s glory. With only like half the work.
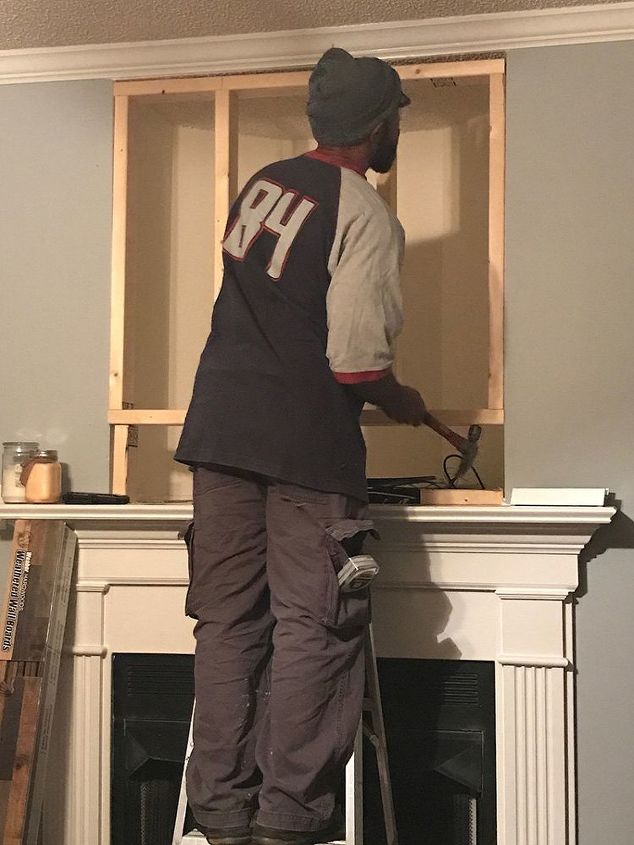
We had to frame it because we had the open space. Which if you have an open space too, you will need 2x4's and wood screws to build the frame.
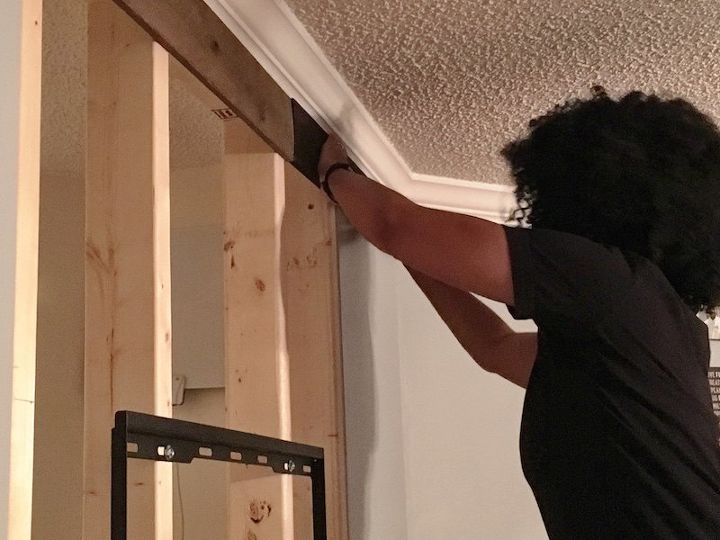
After measuring and cutting the wood boards we adhered them using liquid nails and the finishing nail gun.
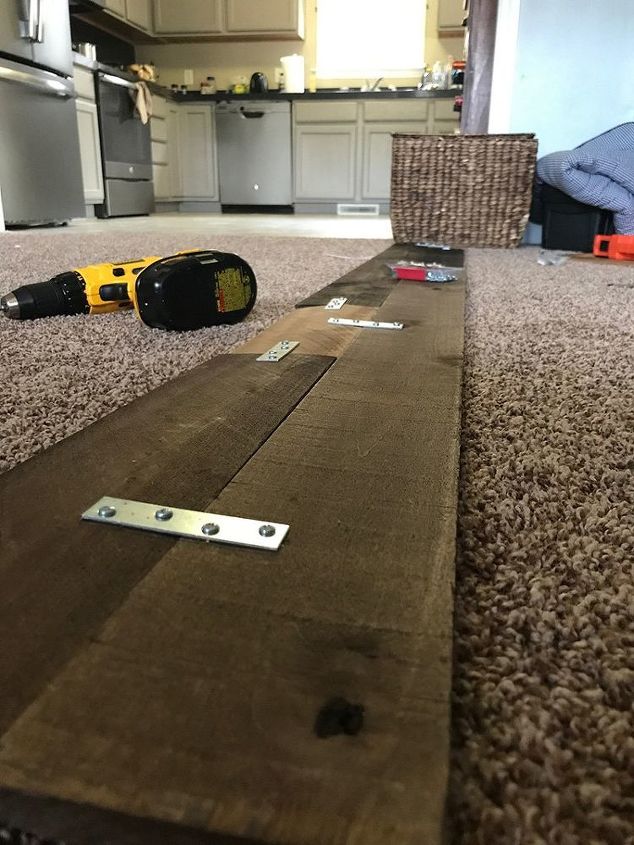
I used flat brackets to put pieces of wood together to make the access door so that we could access the electronics and outlets where things are plugged up.

We left and open space to mount the TV mount so that it could be flush with the wall.
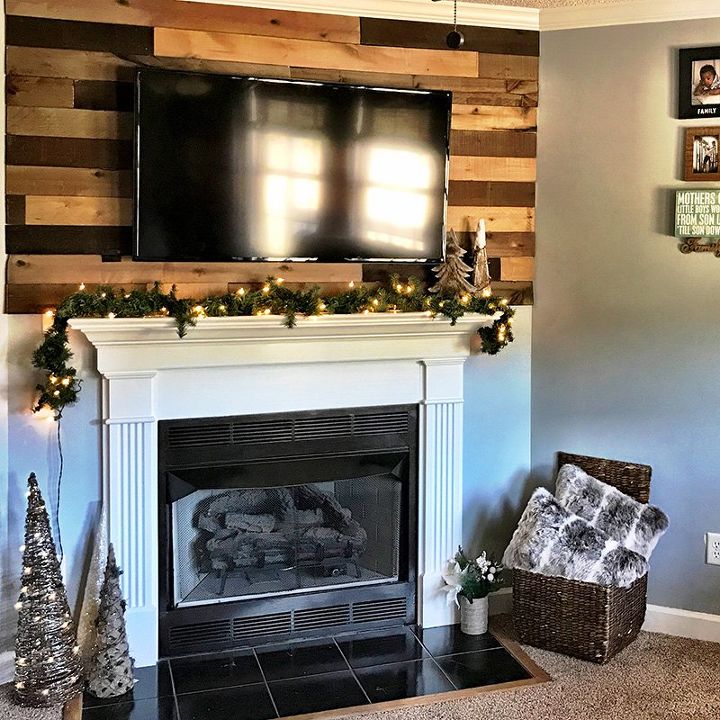
The finished product is so comfy and cozy! Be sure to check out my website to get the full deets and see more in progress and finished photos of the project.
No comments