
EASY DIY FARMHOUSE STYLE WAINSCOT
DIY farmhouse style wainscot is a step-by-step tutorial on how to install your own wainscot. Adding wainscot to your home is a classic and timeless design that will last for years to come.
Time: 6 Hours Cost: $200 Difficulty: Medium
Step 1: To begin any project, you need to do some homework. Let’s start with Pinterest to look for some ideas. Think about details of the style and height of your wainscot. Then measure for the trim.

Step 2: Start with measuring the space and writing down what you will need. Also, inventory your tools just in case you need a tool from the hardware store. Measure the width and height of each wall then take some chalk and draw out the design on the wall. Then, start with one piece of trim, like the shelf piece, and measure that part of the wall where you chalked it out and add it all up. This measurement is how many feet of that trim you will need. I used 1/4″ x 2″ vertical pieces, 1″ x 4″ horizontal pieces, and a 1″ x 2″ shelf. Now continue to measure for each piece until you have them all written down.
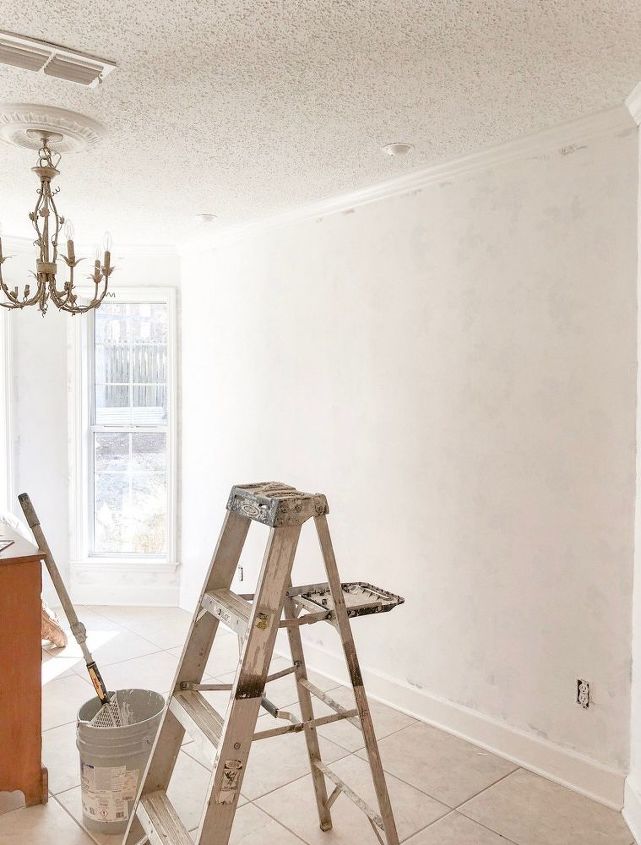
Step 3: Now that you have all your tools and pieces of trim it is time to apply a coat of white paint on the wall. It is easier to paint the background now rather than after the trim goes up.
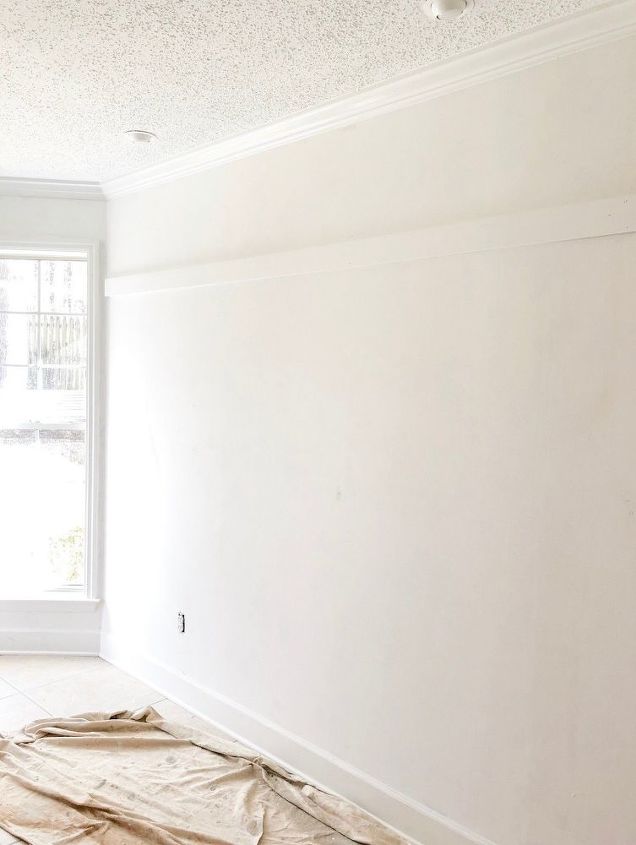
Step 4: Remember me saying this is easy? Well, using your miter saw cut the longest horizontal piece and nail it on the wall. Continue this step around the room.
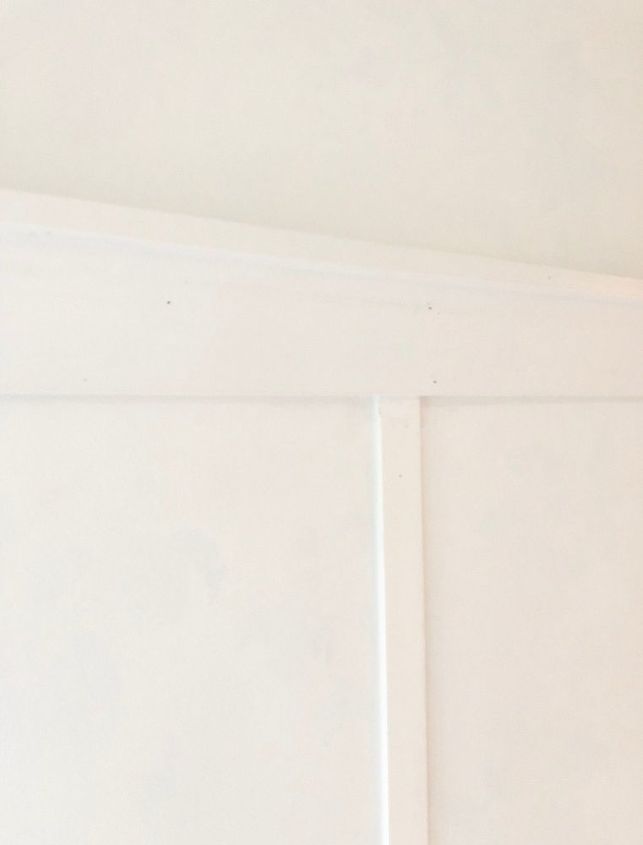
Step 5: Now add your vertical pieces by measuring each piece and using your miter saw. The reason why I suggest measuring each section is to make sure that there is no variation from the horizontal top piece down to the baseboard. Nail them to the wall and now we move on to the last board.
Step 6: Cut this part according to your measurements. This time nail it down into the 1″ x 4″. Can you believe you are almost done?
Step 7: Take some putty and swipe it into each nail hole then sand it down a little. Next go ahead and start painting. If it looks like the paint is covering all the cracks pretty good, then keep going, but if not I would suggest adding some caulk.
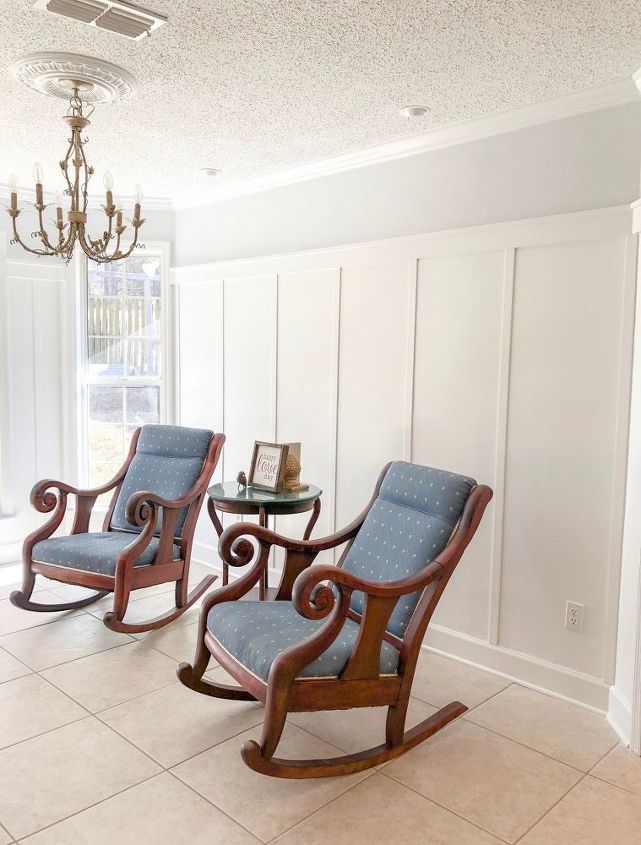
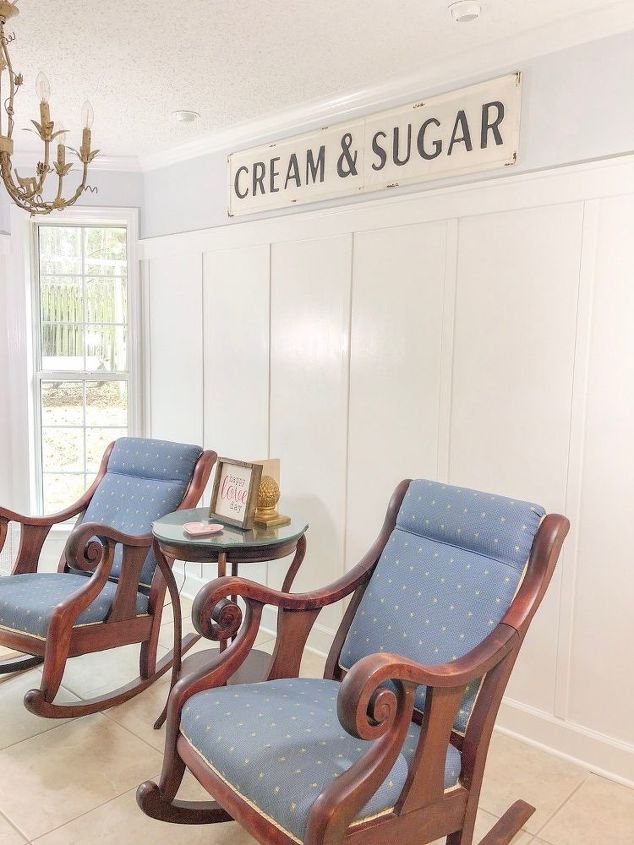
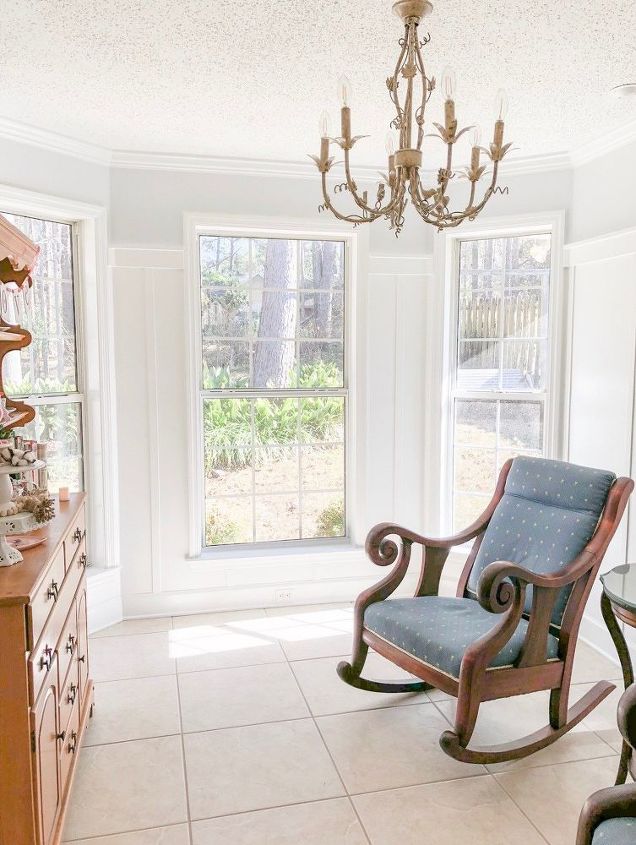
Yay! It's all finished. This project was perfect! We didn't have to remove the baseboard because the vertical pieces were thin enough that it didn't sit over the baseboard. Talk about easy!
Materials used for this project:
- Wood, nails, measuring tape, ladder (Home Depot)
- Paint and supplies (Sherwin Williams)
- Chalk (Walmart)
No comments