Marbling Glass Bottles With Nail Polish
This simple tutorial explains how to marble glass bottles using nail polish - it's a great way to use up all those polishes you never wear, with stunning results!
Time: 30 Minutes Cost: $5 Difficulty: Easy
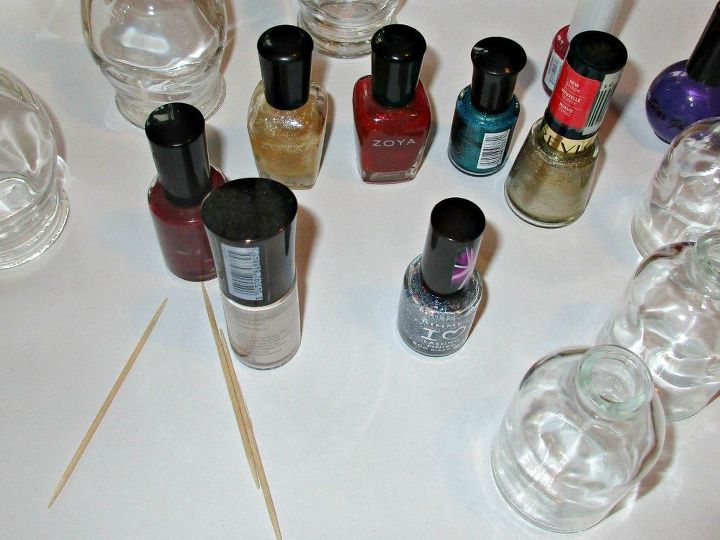
The inspiration for this project came from all the beautiful images on Pinterest of marbled fingernails. We used a selection of old nail polishes that I never wear. Commonsense would suggest that newer nail polish would be thinner, giving the best result, but I just hid the ones that I love, and let the kids choose from the rest.
Before we started, we also planned how we would dry the bottles, as they wouldn't be safe left upended on their necks. Our solution was pencils stuck into an old, (very manky-looking - but I knew it would come in useful one day!) floristry oasis, anchored into a pot.
Use warm tap water, and gently drop the polish on to its surface. If you just tip it in quickly, it may sink to the bottom, so use the brush held just above the water to control the flow.
Once you have added your choice of colours, use a cocktail stick to mix them up to get a marbled effect. Use a container that you don't mind ruining as it won't be easy to clean when you finish.
Pop the sides of the bottles into the water and turned them gently. The nail polish grips the glass immediately, so you will find that all the nail polish from the surface of the water clings straight away.
If you try this technique with larger objects, you may have to go through the process more than once to cover it all.
Leave the bottles to dry. Once dry you can remove any smudges using cotton wool and nail polish remover if you wish. The polish is tough once dry, and these bottles hand wash happily.
If you've enjoyed this tutorial and fancy checking out some more of our recycled craft ideas, why not take a look at our Recycled Magazine Basket or our upcycled soap.
Materials used for this project:
- Nail Polish (Home)
- Selection of Glass Bottles (Craft Shop)


No comments