
Guest Bathroom With Toilet Closet Makeover
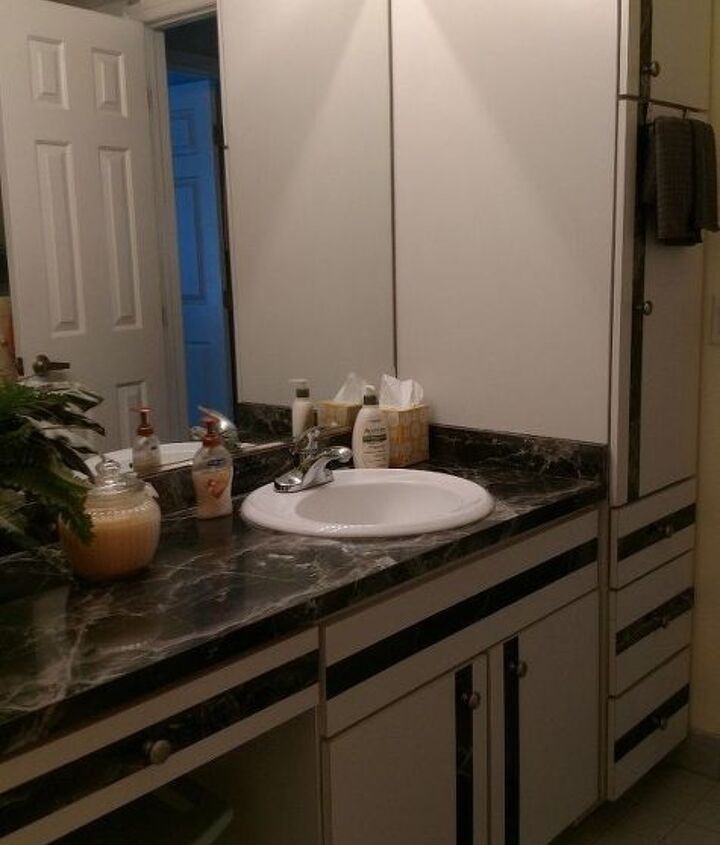
My basic bathroom lacked personality, color, style and decor. In other words? It was just boring. So here I am going to show you step by step how I transformed the water closet.
Also, I will show you the before and after of the entire bathroom makeover.
Time: 2 Days Cost: $140 Difficulty: Medium
My favorite part!! DEMO TIME! DEMO TIME!! I took out the sink, the faucet, the cabinets, the mirror, the shower doors, the shower tile and the toilet.
Did I mention my favorite part? DEMO TIME!! 

Here you see me removing the tile from off the floor with a tile scrapper. This was the hardest part of the entire project. Please wear eye and ear protection. This tile scrapper does get loud and small pieces of tile do fly around. I am going to be honest with you all...this is messy. No matter how much you try to stop the dust from going all over the house, it just doesn't work. I turned off my air conditioning so that the dust would not go into the a/c ducts and get dispersed throughout my home. I taped plastic up around my doors ways. It still went all over, but I guess it could have been far worse.
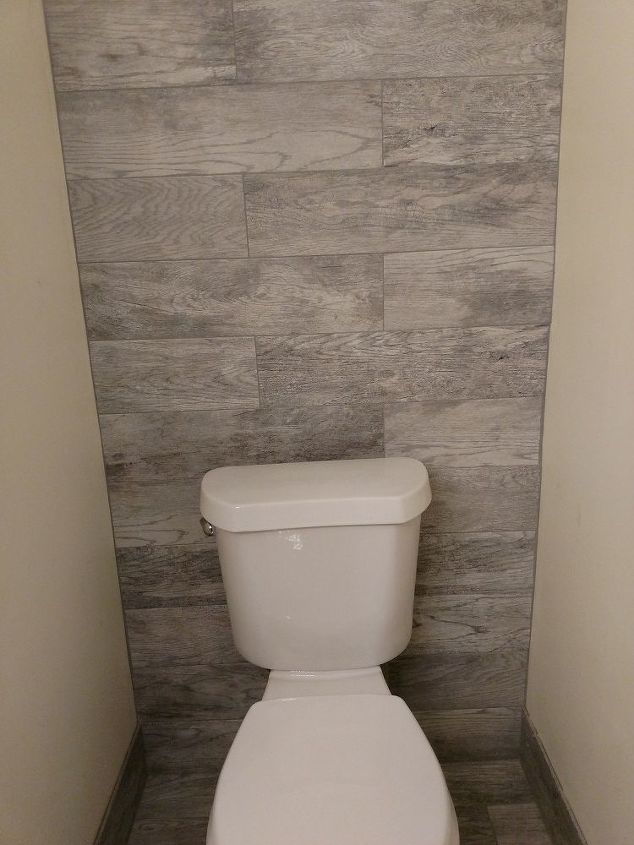
I installed approx. 2 1/2 boxes of the Dapple Gray Porcelain Tile using the thin set/mortar. After 24 hours of allowing the mortar to dry, I then used the Delorean Gray Grout.
(If you noticed, I used the same tile on the floor)
Now, you can use laminate flooring or other flooring of your choice here. I choose the tile because I live in South Florida and the humidity can cause problems with wood flooring.
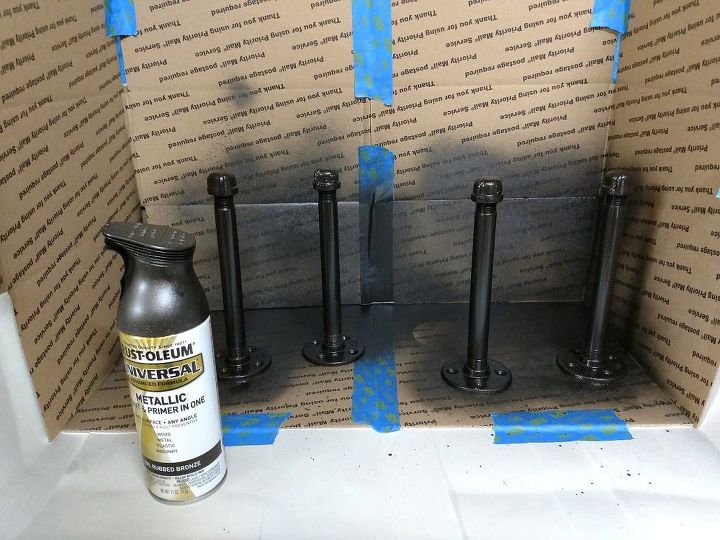
I then took the flange, the steel pipe and the cap and put it together like so.
Painted all four pipes with 2 coats of Rustoleum spray paint.
Set aside and allow to dry.
These pipes will now work as my shelving brackets.
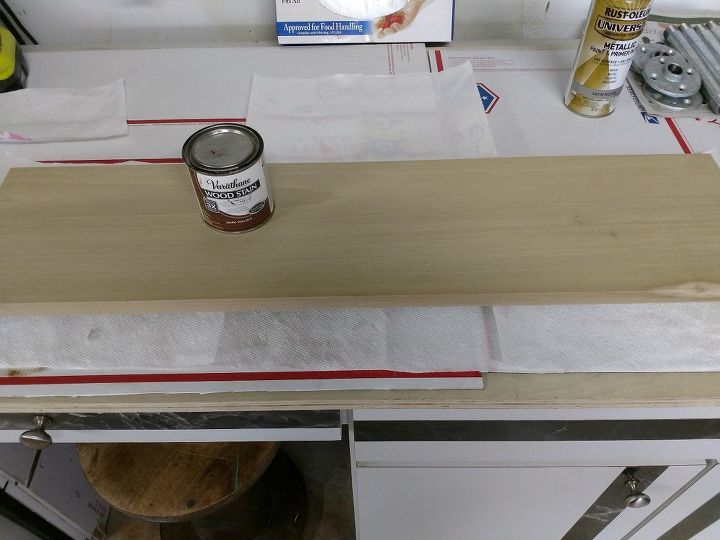
While waiting for the pipes to dry, I cut down the poplar 1 x 8 x 8 wood down to 2 -30 inch pieces to use as the shelving. I then lightly sanded and stained the two pieces using the Varathane Dark Walnut wood stain with two coats.
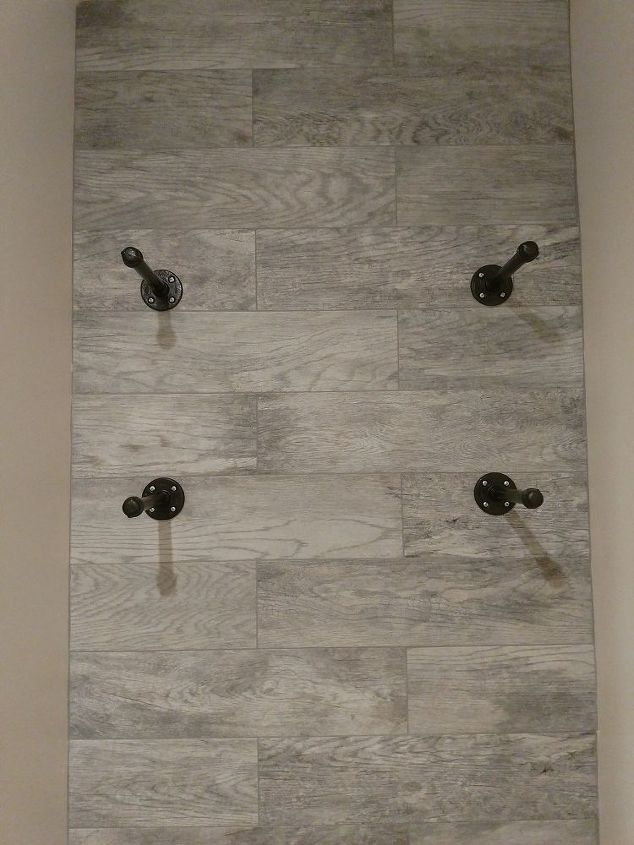
I figured out exactly where I wanted my shelving brackets to go. I held them up and penciled in the holes. I then drilled the holes using a tile drill bit. I then inserted wall anchors into each hole that I drilled. Once all the anchors were placed, I simply installed each shelving bracket.
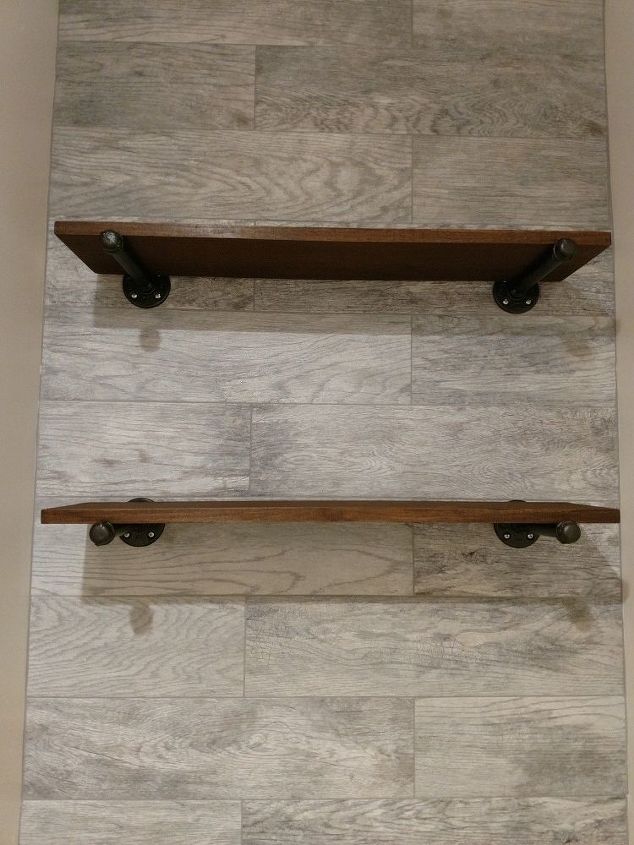
I then simply laid the dried shelving ontop of the shelving brackets.
I did not screw down the wood shelving to the brackets.
(this picture makes the shelves look uneven, but I can guarantee you that I took a level to make sure it was straight. It's just the way I took this photo) 
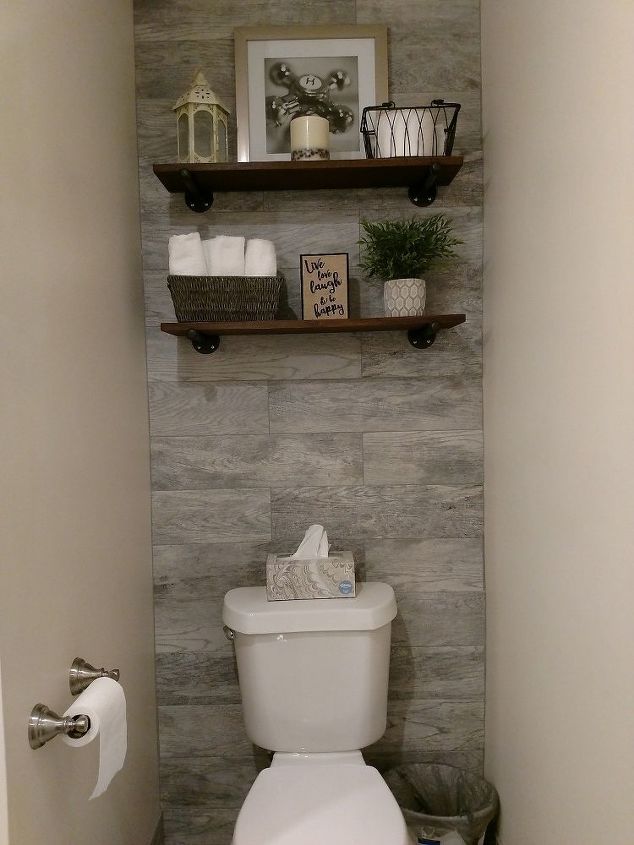
Here is the toilet closet finished.
No comments