Make a Shabby Chic Valentine Pillow With a Straight Pin!!
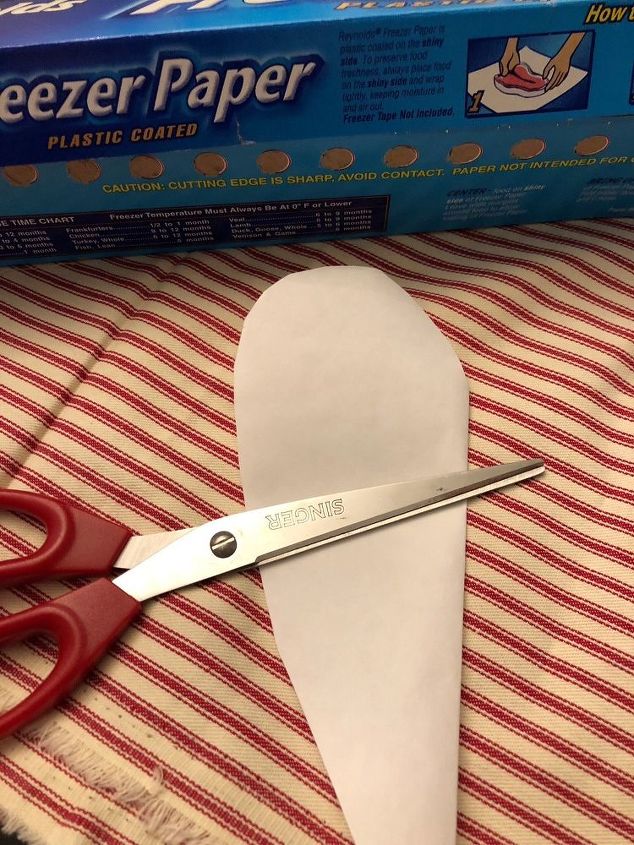
I had purchased a half yard of pillow ticking at Joann fabrics before Christmas but never got around to making my intended project. So with the fabric challenge approaching and Valentines Day right around the corner I thought I’d make a small pillow. Taking a square of Freezer Paper and folding it in half I cut out a pattern of a heart. I wanted it long and thin.
Time: 90 Minutes Cost: $1 Difficulty: Easy
I folded the fabric in half so the right sides were on the outside and laying the freezer paper wax side down I ironed it onto the fabric. I chose my pillow to be on the diagonal of the stripes. After ironing I pinned the fabric all around to keep the 2 sides together and keeping a good 2 inch allowance, cut the fabric around the heart. Not necessary at this point to cut it to the shape of the heart.
I planned on making long running stitches around the heart so with a pen I made marks all along the edge of the heart pattern indicating where I would be placing the stitches. I also indicated with arrows where to stop the stitching so I could stuff the pillow. I’m using a cranberry colored 3 strand embroidery floss to sew it.
I started sewing around the heart with long running stitches. Basically up, down, up and down using the indicator marks on the pattern. when I got to the arrow, I stuffed the pillow with fiberfill using long bladed scissors to push the filling down to the point of the heart. Now you can remove the paper heart and remove the pins that were holding the fabric together. I did use a few pins to hold the filling in the heart and resumed sewing the last few stitches.
Now taking a ruler, I measured 1 1/2 inches from the seam and marked this all around the heart and cut this allowance all around. Now by pulling the edge threads begin fraying the allowance. The straight edges will be simple but the curves, because on the bias you will need the help of your new best friend, a long straight pin or dressmakers pin!
Go around the whole pillow over and over using the straight pin to pull out the threads. This is a little time consuming but you’ll find that with the pin you can pull out about 6 threads at a time.
If you’re really patient you can choose to fray the other side of the pillow too but I just cut the back allowance down about an inch. If it frays on its own, that’s a bonus! Choose how deep you want your fraying to continue. After an hour I was done!


No comments