
Mom Podge the Mother of Gesso and Modeling Paste
This project is meant to be a tutorial for making your own art supplies at a minimal cost. And so we begin by making Mom Podge (I'm coining that phrase, as I've never seen it before). Mom Podge is very versatile and is generally used as a media for decoupage, and/or gluing a paper product to some other product, such as glass, porcelain, baskets, metal, etc.
Time: 3 Minutes Cost: $5 Difficulty: Easy
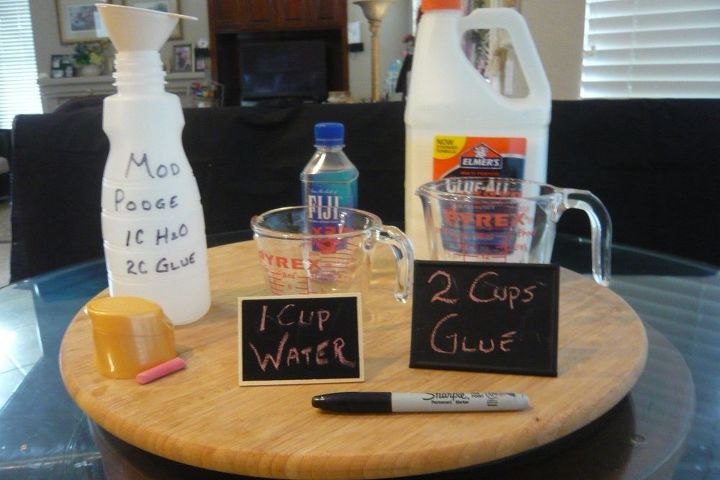
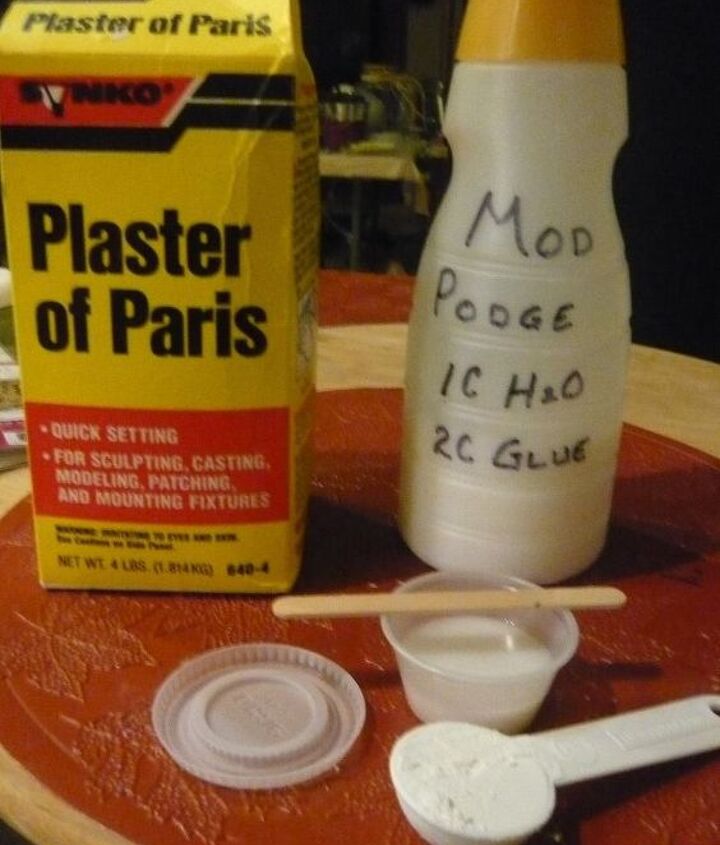
It is perhaps the easiest product to duplicate in that it only requires 2:1 white glue:water. In my case I'm using 2 cups glue and 1 cup water. The container I'm using is from International Delight creamer. I love this container, as it has an easy pour spout, easy snap closure (1 handed) and the opening is large enough to use a funnel. When using a jar, I found it too awkward to keep it closed at all times, except when pouring.
I pour out my Mom Podge into a 2 oz plastic cup (you will see later) and it is the one product I do no hesitate to add back into the bottle if there is I have any leftover. Always shake just before using, as the water tends to separate if left over a long period of time.
PS: I use a purified water to avoid unwanted chemicals in my mix. I understand you can boil tap water to remove these chemicals. Notice, I write my recipe on the bottle w/a permanent marker.
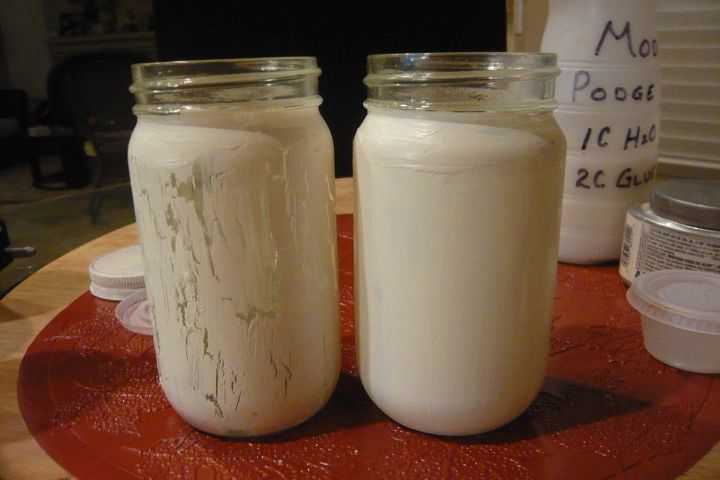
The jar on the left is first painted with Mom Podge, the second not. Both were then painted over with a chalk paint. Notice the crackle effect on the left vs the smooth effect on the right. Although the Mom Podge on the left felt "dry", the chalk paint was applied within 30 minutes. Crackle happens because the paint dries faster than the glue. I haven't tried it on wood, but I think the reaction would be the same.
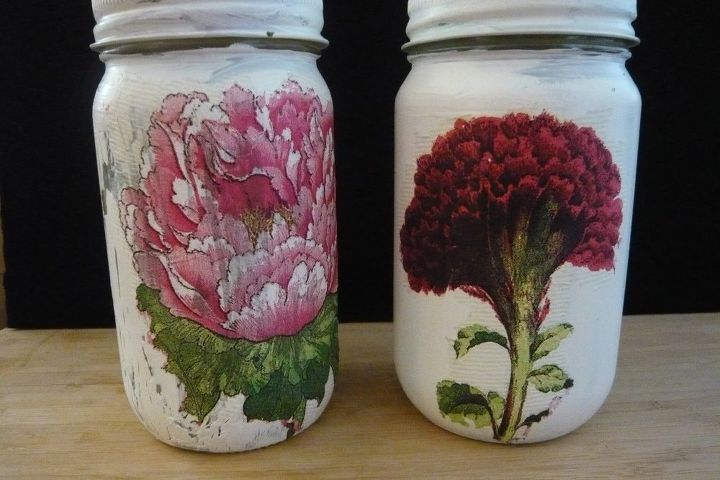
And so the final step for the jars is to use Mom Podge to apply cut out napkins pieces. Apply the Mom Podge to the jar, adhere the napkin flower and then apply Mom Podge on top. It is easier to smooth out the napkin if you use a piece of shrink wrap to smooth it out. Also, I might add, that to "cut out the flower", I use a paint brush dipped in water and saturate the surrounding area. Makes it very easy to tear away and avoid the tedious cutting with scissors.
PS: Finding napkins was a real chore. The internet, BBBY, grocery stores, Pier One, etc, finally found a beautiful variety at Tueday Mornings. Use 2-3 ply.
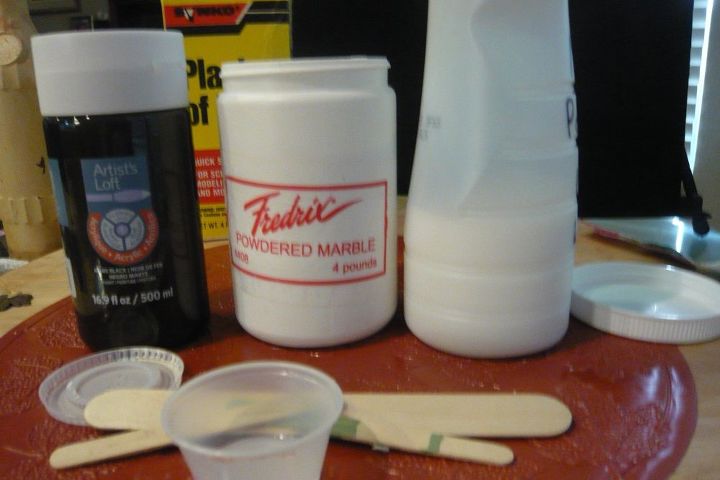
And now we get to Mom's first child, Gesso, I only ever mix enough Gesso that I think I need for my project. I use these little 2 oz plastic cups to mix. I pour about 1-2 tablespoons Mom Podge and mix in a small amount of powdered marble (calcium carbonate) using a Popsicle stick to dip in (probably less than 1/8 teaspoon. Then mix.
At this point, what you have a clear gesso. You might want to test your gesso at this point, paint on surface and let it dry, then test for the "tooth" or "grit". While my test surface is drying, I put the cap on the small plastic cup. I've come back hours later and it is still ready to use, or add more powdered marble if you need more grit. You can use Plaster of Paris (POP) instead of powdered marble, but since POP, tends to harden faster and unless I intend to use it up immediately, I prefer the powdered marble as it give me a little more lead time also, unlike POP, it gives me a nice clear gesso. Whereas, POP adds a lot of white color. To get to black you really need much more black acrylic paint.
You can see here, the Powdered Marble w/the Gesso. If you mix just these two items (Mom Podge+powdered Marble), you end up with a clear Gesso. By adding black acrylic paint I get black Gesso or you can add white acrylic paint to get white Gesso. I like this method because I can use a minimal amount of paint to get the black or white gesso. And, YES, clear gesso has it's place in the artist's universe. So we have three offsprings from Mom Podge, Clear Gesso, White Gesso and Black Gesso.
Believe it or not, I use these cups 2-5 times over until they fall apart. Cleaning out my brushes with a little soap added cleans the cup as well. How frugal is that??
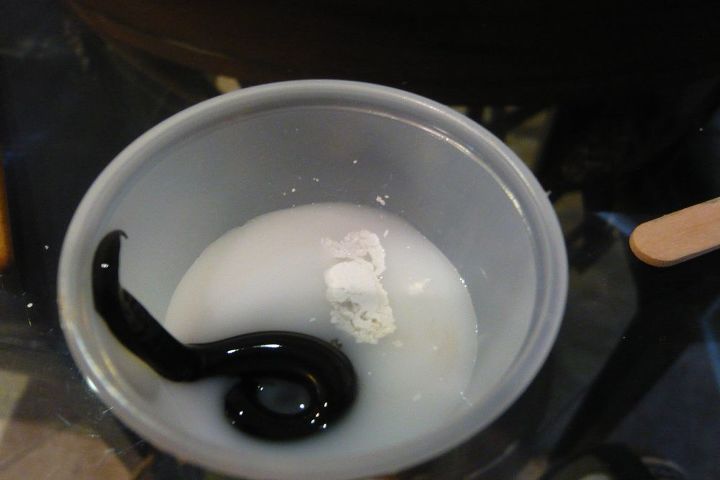
And so we move onto modeling paste - the next generation of Mom Podge. My modeling paste will be used with stencils to add dimension to my art piece. The I use POP instead of the marble powder primarily because it is way cheaper, I will be applying it immediately, and any leftovers will be discarded because it will become hard as a rock. Now if you have any molds ready to go (I'm waiting for my order to arrive) this would be an excellent way to use up any leftover.
I like having a secondary project waiting in the wings to maximize the use of my products.
Mix approximately 1 tablespoon Mom Podge to 1.5 tablespoons POP.
I've also seen recipes using cornstarch or baby powder (which is simply cornstarch with a scent additive) and backing soda, instead of the POP or marble powder. The cornstarch has a thickening aspect as you know when making gravy. Using these little cups allows you experiment with other products.
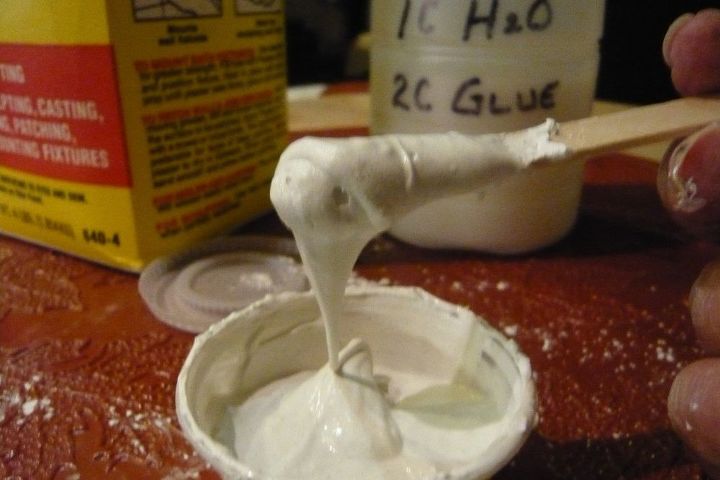
And so you can see the consistency of the modeling paste I will be using. If you feel it needs to be a little thicker, you can wait a minute or two.
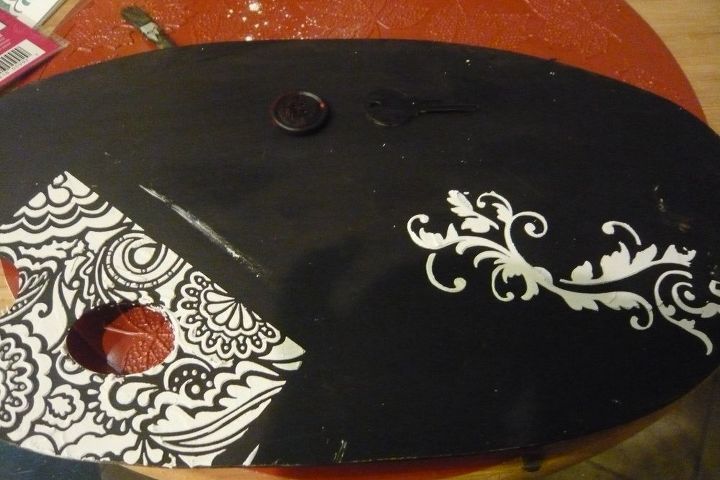
So here you can see, 1.) the black Gesso in the background and the modeling paste from two different stencils. The sloppy spill over can easily be wiped off with a wet cloth or simply painted over with the black Gesso.
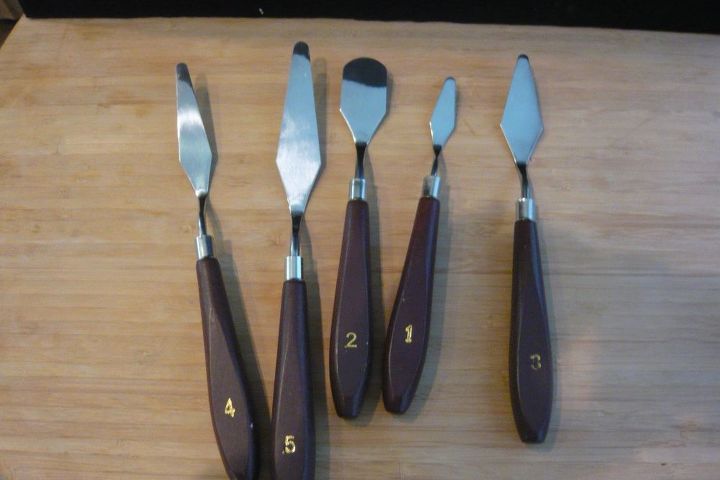
I found this set of 5-Piece Painting Knife Set on Amazon and it is terrific for spreading the modeling paste on stencils. Only $5.50 - generic but it works.
No comments