
Recovering a Patio Lounge Cushion
Spring time is coming and my lounge chair needed to be renewed since the old covering had worn out and finally developed a tear. So I wanted to recover it for my sunny window in the patio room.
Time: 1 Hours Cost: $0 Difficulty: Easy
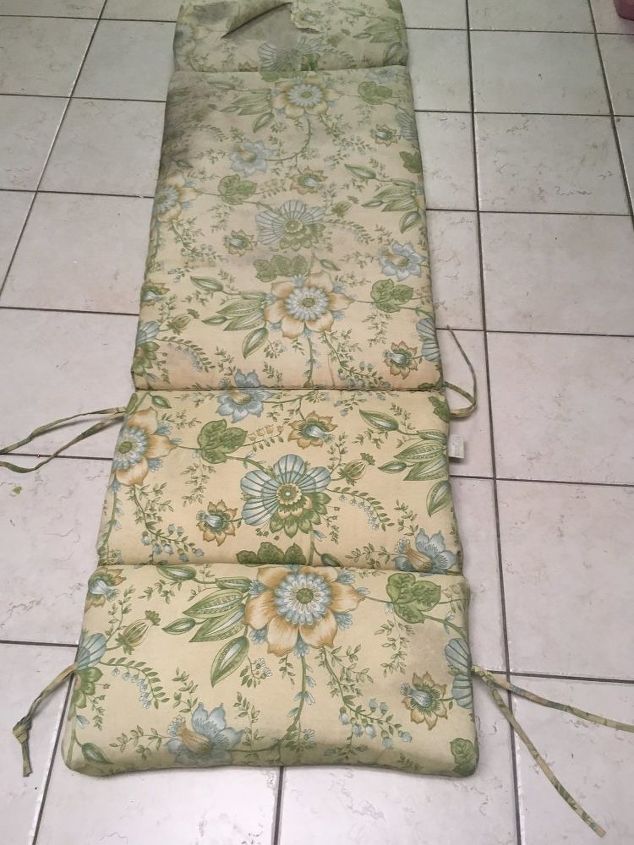
my first step was to measure the cushion to see if the fabric I was wanting to use would be enough to do the job.
The old cushion had ties so I removed them. There was no piping on it so I chose not to use piping either.
I cut off the ties and tag. Now to begin cutting the fabric.

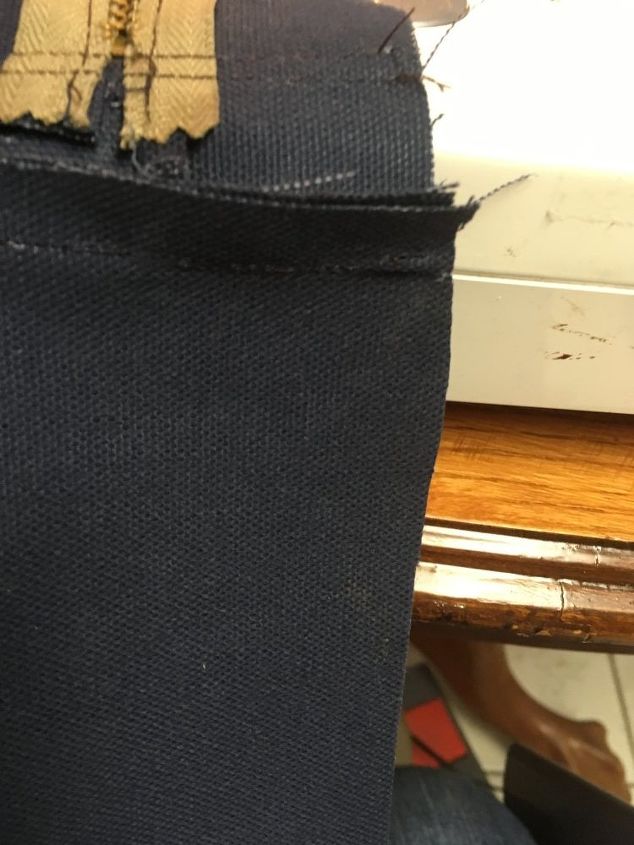
The fabric I had on hand was wide enough but not quite long enough to cover the length. Since I had plenty of fabric I spliced pieces together. I sewed the pieces together to get the length I needed. This resulted in a seam on the top panel and also on the bottom panel. I put this seam on the upper section of the cushion so it would get less stress. After the piece were sewn together, I top stitched the seam to reinforce it and to add a better finish.
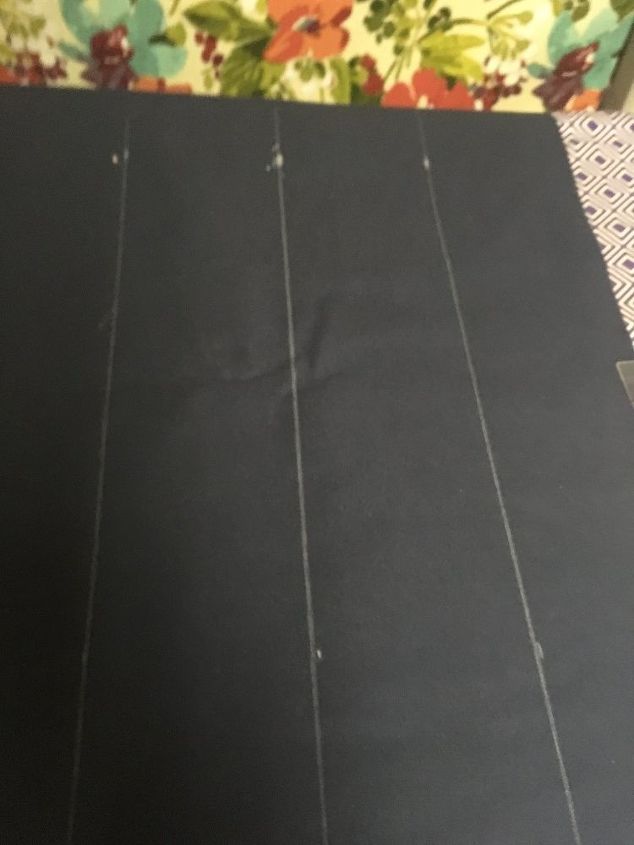
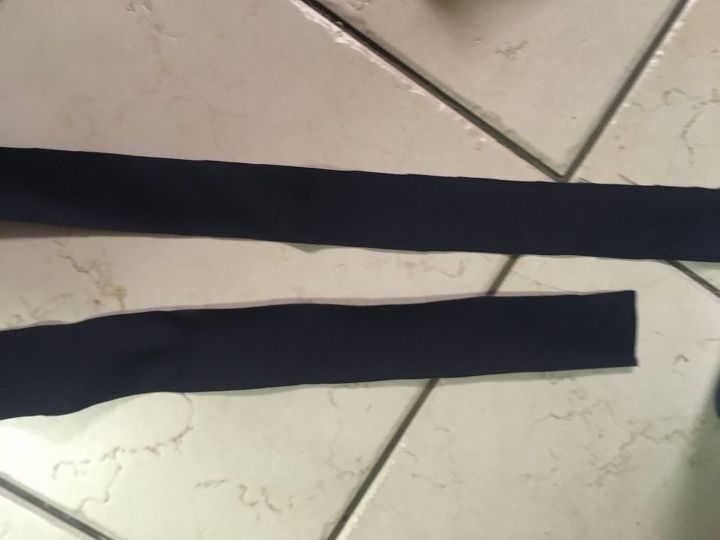
After the length was achieved, I marked and cut strips for the side panels of the cushion. I made them 4 inches wide and cut enough strips to go around the 4 sides of the cushion.
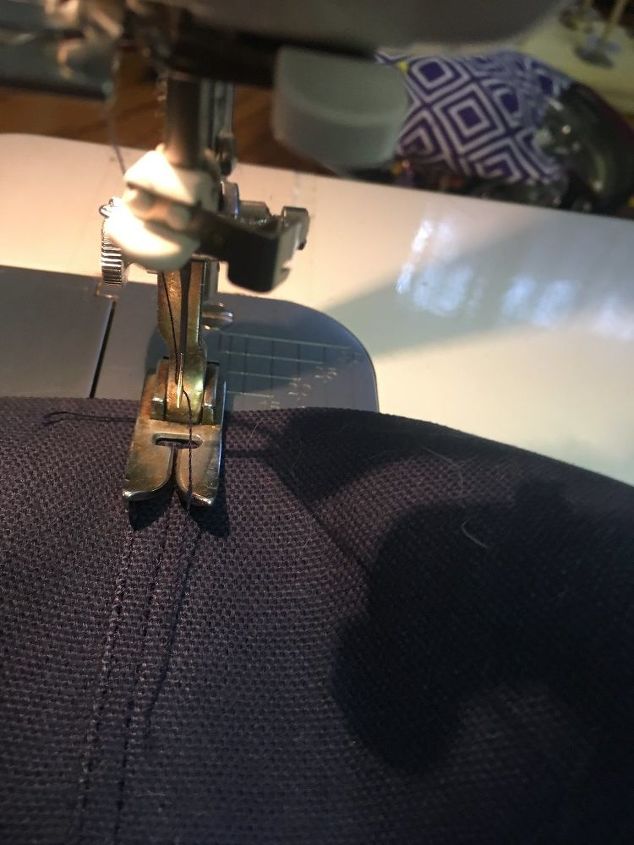
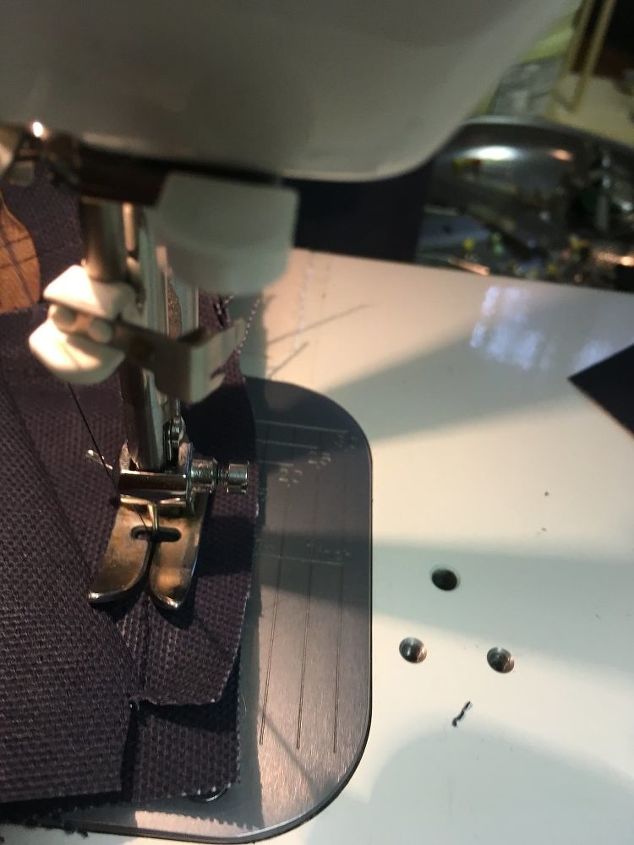
I then sewed the strips together and topstitched each seam for reinforcement.
I marked the center of the cushion top panel. This is where I am centering the zippers.
I than cut one of the 4" strips in half.
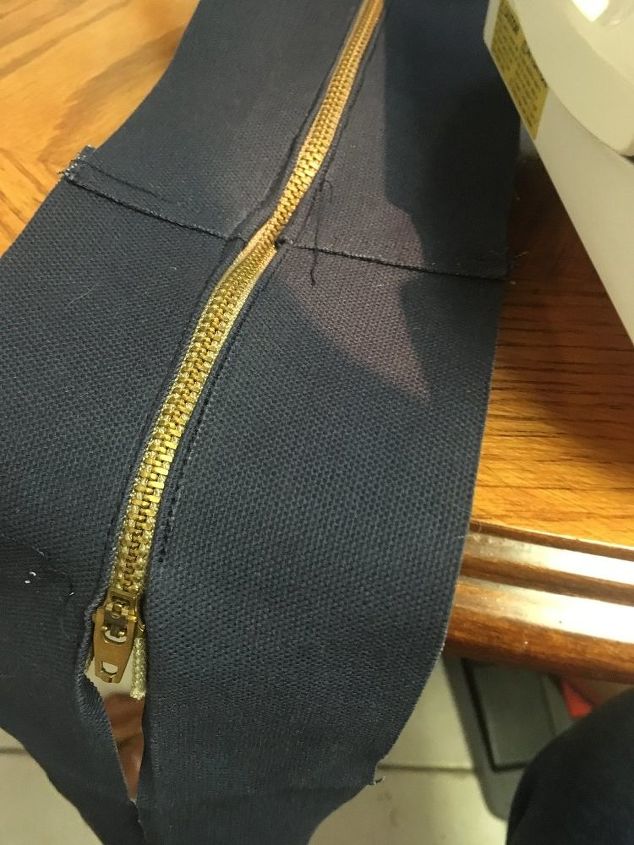
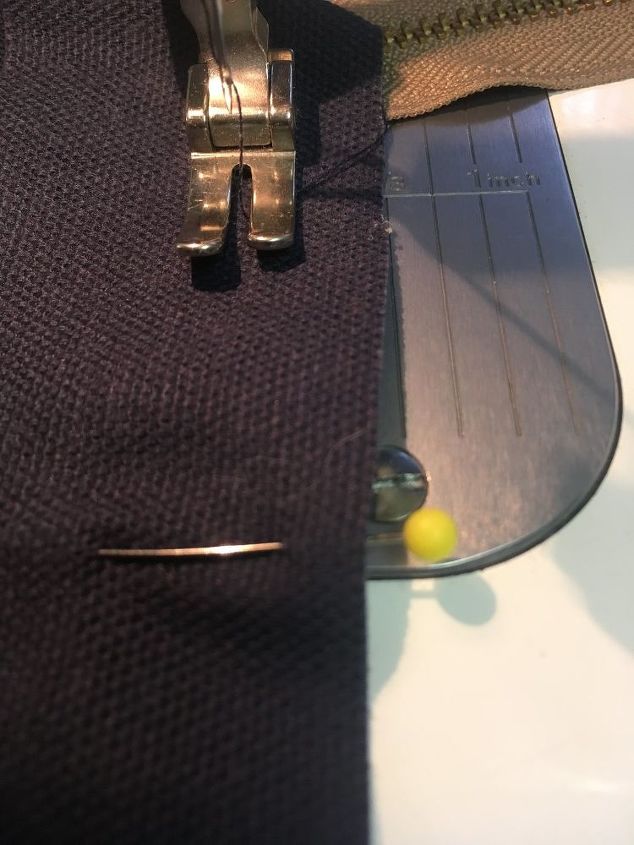
I folded 1/4" under and laid it along the zipper. Since the zippers I had on hand was not the full length that I wanted for the cushion, I simply used two zippers and butted them together at the side center of the cushion top. I now have a two way slide zipper for the opening I need to insert the original cushion.

After I had the zippers in, I finished the end off with a scrap of fabric.
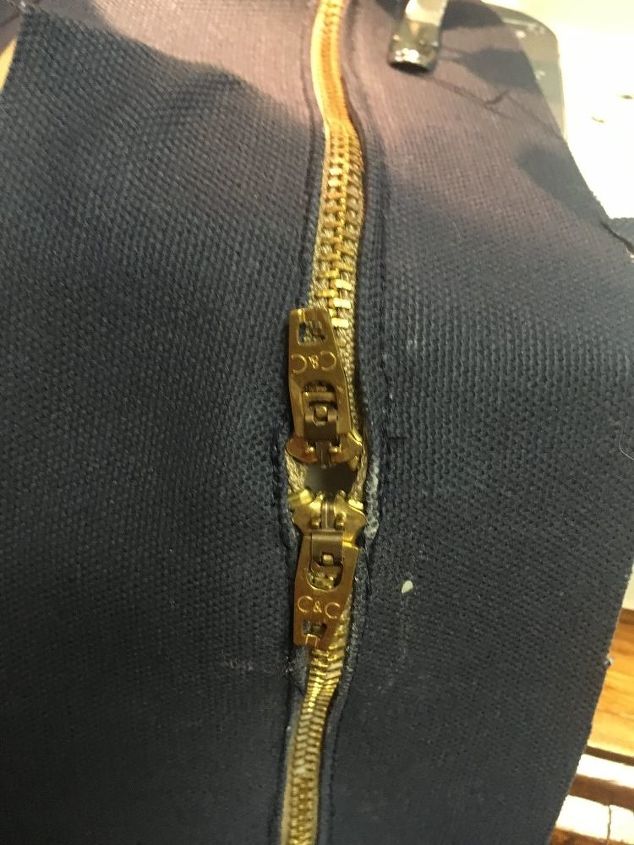
Here you can see the two zippers installed.
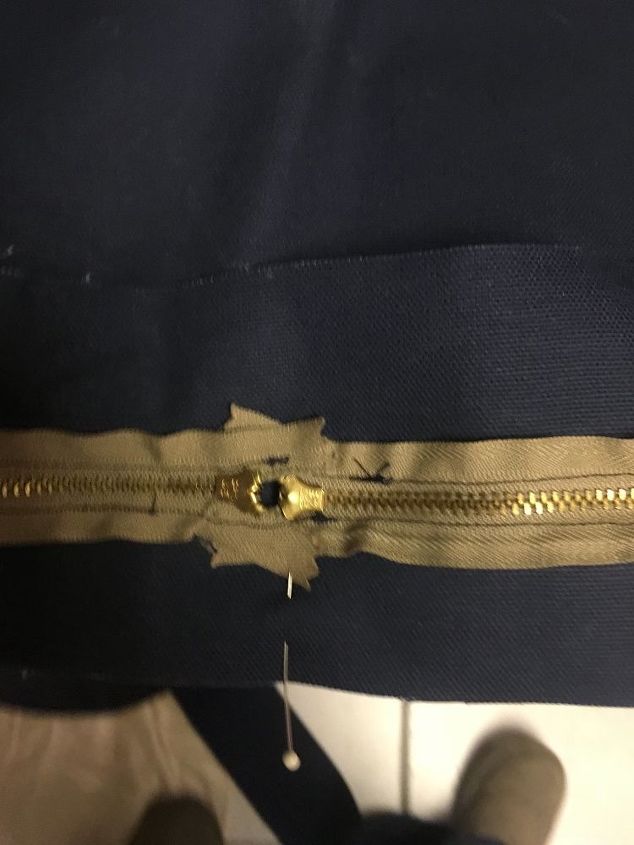
Another view of the installed zippers from inside.
After the zippers were in, I sewed the 4" strips together. I centered the section with the zipper onto the side of the cushion top panel.
Next I sewed the side strips onto the cushion top panel. To finish the corner areas, I simply cut a slit the depth of the seam I was using which was a 1/2" seam allowance. So 1/2" from the corner, I made the slit. After cutting the slit, it allowed me to turn the corner. I double stitched this area. I left the end of the strip unsewn until I attached the bottom cushion panel. I allow the end to "adjust" for any difference when I attached the bottom panel.

Here is how the corner looks when finished. After the top panel was attached. I than pinned and attached the bottom cushion panel. By opening the zippers, I was able to easily turn the cover right side out after sewing.

By using the two zippers, it made a large opening on the one side of the cushion making for easy insertion of the old cushion. Here it is all finished and ready for my afternoon nap in the sun!
Materials used for this project:
- Navy blue duck cloth (had it from another project)
No comments