
Repurposed TV Hutch Top Now a Gorgeous Farmhouse Style Cabinet
I was recently given this old hutch top. It was doomed for the garbage, but I knew I could make something unique and functional with this piece :-) and I absolutely LOVE a challenge!
Time: 3 Hours Cost: $40 Difficulty: Medium

After pondering over this for several weeks, I decided, yet again, to turn the cabinet upside down. I just wasn’t feeling it right side up :-) and the drawers were broken, so after deciding to remove them it just flowed better upside down. Also, I had to remove all the lightning fixtures that were broken, which left huge holes on the top. So I knew it would be better on the bottom and easier to cover up.
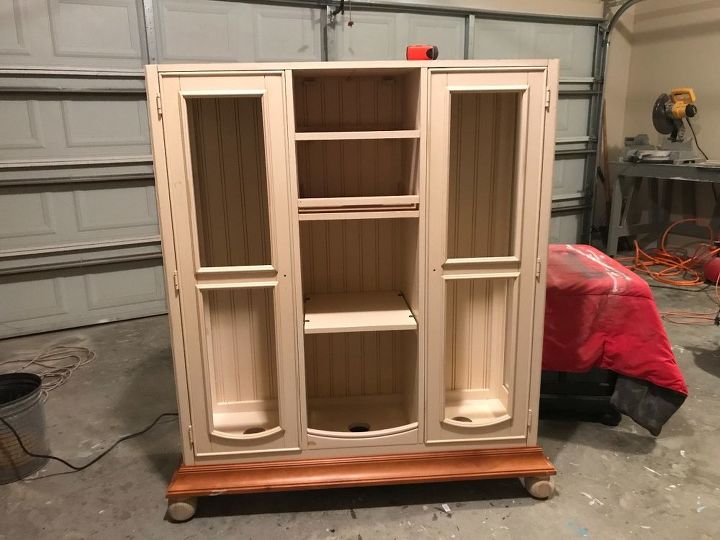
The back was still in perfect shape and I loved that it had the bead board look so I decided to keep it as is. I removed the drawers and all of the hardware that was still intact, but no longer useful. The glass in the doors was damaged, so I decided to use chicken wire. The hubs cut me three shelves from plywood scrapes that I used on the bottom to cover the huge holes the light fixtures left. I kept the glass sides. I gave it a good cleaning with TSP. You can get this at your local hardware store, the stuff is amazing at getting all the grit and grime off!

I knew I wanted to add feet to the bottom to give it a more cabinet feel. After looking at the furniture feet at Lowe’s, I knew I wanted something a little more studier than regular feet. We came across these in the fencing isle. I think they are used on top of fence posts, but they were super sturdy!
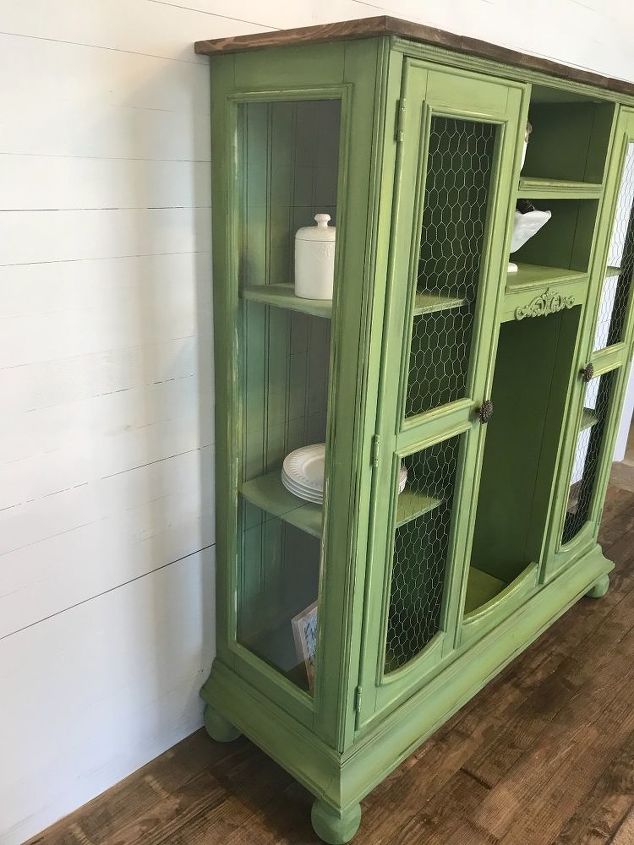
The Hubs used some left over plywood pieces we had to make shelves. He just cut them to size. For some reason, I have been on a green kick lately! So I mixed together two greens that I had from a previous project. Once I painted the green onto the piece, I loved the way the yellowish color of the original piece came through! It gave it that blended, color affect that is all the rage now!
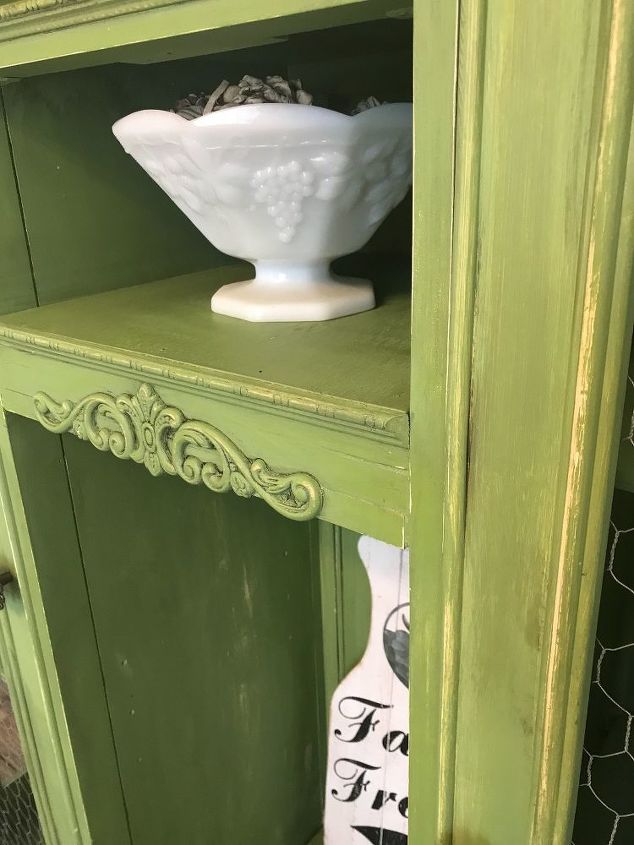
I added a wood applique to the center, to give it a more shabby chic feel. Once I painted it with the green (of which I call Morning Meadows), I distressed it heavily so that the yellow, original wood color would show through. I then used antique glaze to give it a more older, worn out feel. (Note: I normally poly before I glaze to keep the glaze from seeping into the color, but this time I wanted it to).
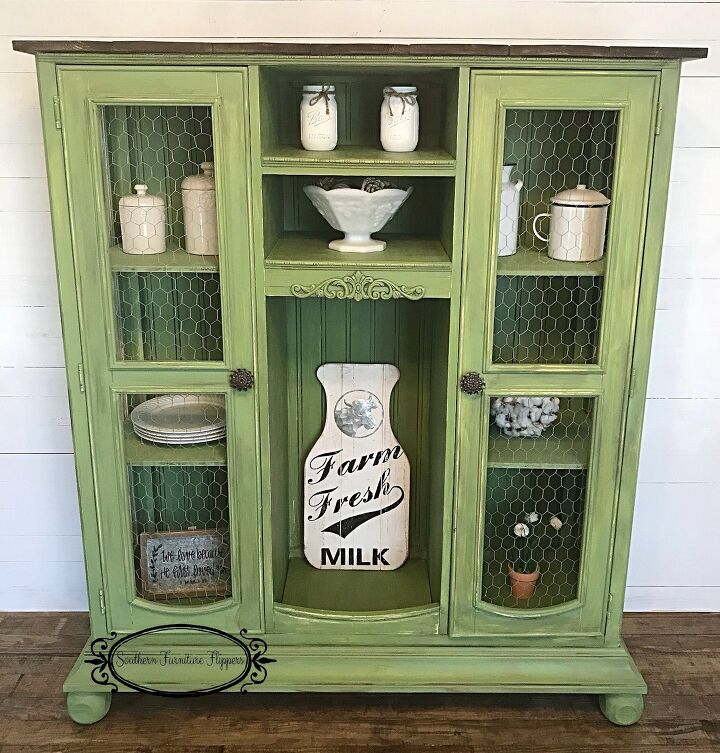
To finish it off, the hubs used 2 x 4‘s and added a plank wood top! I stained the top in Dark Walnut. Here she is! Look at all the farmhouse goodness :-). I was super happy with the way she turned out!
Materials used for this project:
- Old Hutch Top (Free)
- 2 x 4’s (Lowes)
- Plywood (Scrap pieces)
- Minwax Dark Walnut Stain (Lowes)
- Morning Meadows Green (Mixed together two green paints)
- Valspar Antiquing Glaze (Lowes)
- Chicken Wire (Lowes)
No comments