Master Bathroom Upgrade
We had done the tile work previously, but that just showed us how desperately the rest of the Master Bath needed an upgrade!
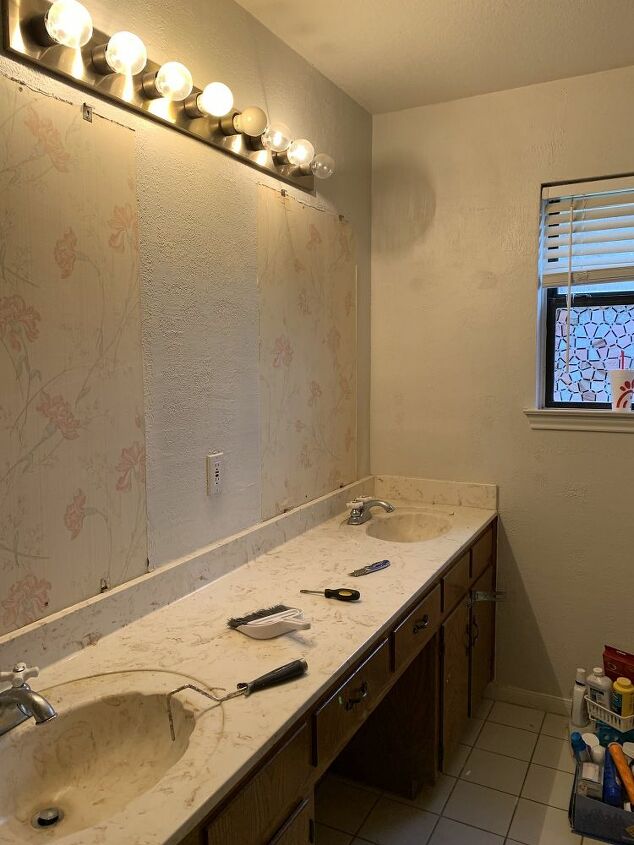
This was our really large, extremely dated, custom built vanity before...
Due to the fact our vanity was custom built, we couldn't use the same footprint for our new vanities, so we laid some extra wall tile down to even out the floor before laying the new flooring. We had a tile saw from doing previous tile work. This is a must.
Next we laid 100% waterproof flooring from the Home Depot. We chose Home Decorators Collection that can be laid directly over existing tile.
Due to the fact we could not find another double vanity as a single unit to replace our old one, we chose instead to purchase two free standing vanities. We got these on sale at Lowes for $259 each. They came with tops.
This was our boring toilet room with its awful flat trim.
After a coat of paint and some floating shelves (Home Depot, espresso) we felt there was much improvement. Note: The paint in the toilet room is the same color as the bathroom, but the lighting causes it to appear yellow in this photo.
After we painted the trim and doors a bright white, we reinstalled them.
New paint around our shower and tub.
The finished project! We purchased a ladder shelf from Lowes, 2 tile sheets to use as backsplash to match our shower tile work, and oil rubbed bronze faucets (also from Lowes) to match our shower and tub faucets. We also made the surround for the mirror using wood trim and Rustoleum metallic spray paint from Walmart.


No comments