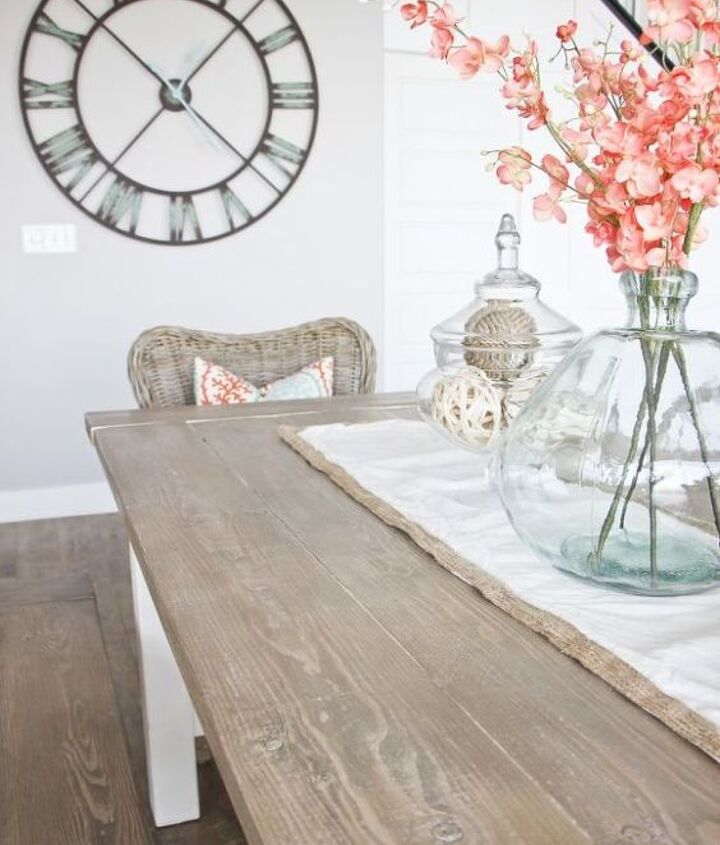
DIY Weathered Wood Finish
in my DIY Farmhouse Table and Bench post, I talked all about building my table from scratch. This post is all about how I got my DIY Weathered Wood Finish! If you haven’t read the table post, you’ll definitely want to check that out first.
Time: 4 Hours Cost: $30 Difficulty: Easy
I painted the entire base of both the bench and the table in Chalky Finish paint in Everlasting. To get the distressed weathered wood look on top, I tried a new method that I think I will only ever do again. I’ve tried so many different things without success or they just took so many coats of things that it was hard to repeat. But this one worked great and was simple!
WHITEWASHED BASE LAYER
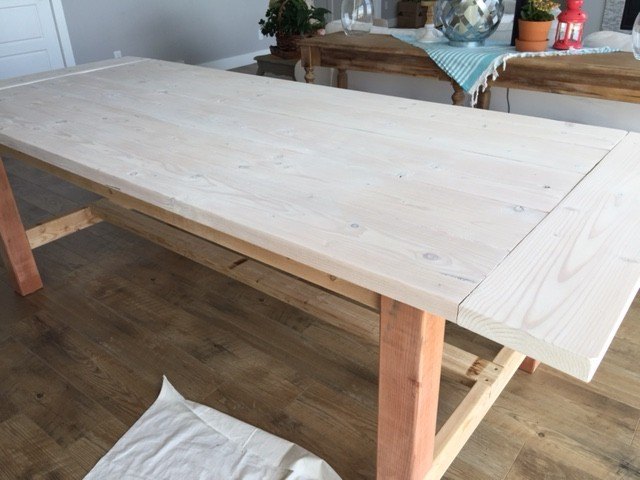
First, whitewash the wood. I watered down the rest of my Chalky Finish paint about 50%. It was still relatively thick, not super watery. Then I painted it on and wiped off the excess. I let that dry for a little while.
APPLY DARK STAIN ON TOP
The next step seems a little weird but I promise, it works. You get a can of dark stain–I used Dark Walnut by Minwax. That is scary right? How can such dark stain make the light gray look? But think about it–white and black mixed make gray. So it makes sense. Then wipe on some stain–it doesn’t take a lot. Then you immediately wipe it off. I used it rather sparingly, I found that the stain left on my wiping rag worked great for coloring the edges and sides of the table top. What you are left with is a grayish wood that has white underneath in the spots the stain didn’t touch–like nooks and crannys. Perfect! You could heavily distress the wood first with chains and hammers and whatnot if you wanted, but I wanted my dining table to be as smooth as possible to make cleaning it easier.
SEALING YOUR TABLE
How I sealed it is also my new favorite. I used DecoArt’s Soft Touch Varnish. I LOVE this finish. You get that soft, smooth, silky finish without it being shiny or changing the color at all. No yellowing at all, not even a trace of color. I put on several extremely thick coats in the hopes that it would also help fill in the cracks between the planks of wood.


No comments