
Flanged Pillow Shams
If you saw my first post on the Guest Room Makeover, you are already aware that I have a slew of projects to do to get this room guest-ready. While I am waiting for my bed to arrive, I’ve been formulating my vision. I have chosen several fabrics to work with and dusted off my sewing machine. I had also mentioned in that post that I used to sell custom draperies. When I am making my drapes, shams and pillows, I want them to look custom – not homemade. I don’t have a big budget, but I have learned a few tricks along the way and I will share them with you here.
First of all, you need to make a few decisions before beginning - fabric, size and placement. When I use shams, they are generally placed against my headboard and are the largest of my pillow collection. I am working with a double bed so I am going to make two shams, each for a king size pillow. I chose fabric that will bring together the color of the headboard (gray) and the colors of the room (cream, gold). I always use home decor fabric that is 54” wide for these kinds of projects – it is wider and stiffer than most fabric for clothing. The real trick to getting (faux) custom furnishings though is to line everything – even if you will never see the lining. It’s only an extra step in the beginning, but it will reap a beautiful finish! (Cheap Trick (love that band) – for the lining, I used an old sheet and old pillow cases that I saved for just such a project)
Note – this is an intermediate sewing project. You will need to know sewing basics because I am not giving blow by blow details here. You will have to gather a few sewing supplies such as scissors, straight pins, hem gauge, thread, bobbin, disappearing ink marker, ironing board, and an iron.
For the rest of this tutorial, I will give directions for one sham, but obviously, you can make two or more by following the same directions. When cutting, try to cut all of your shams at the same time. Line up you fabric and lining (sheet or pillowcases) and cut the lining out with the fabric. This will ensure that the pieces are identical.
Time: 2 Hours Cost: $20 Difficulty: Medium
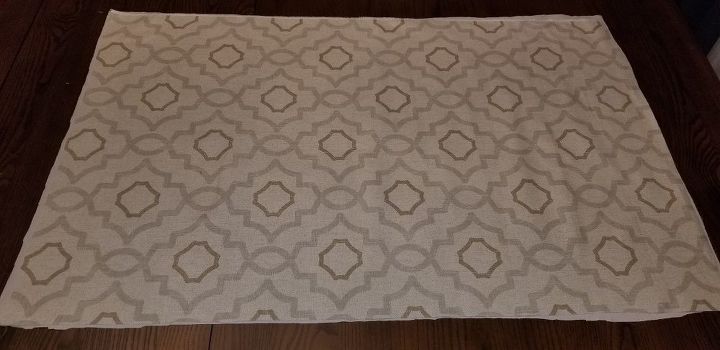
You will need to cut out rectangles for a FRONT and two BACKS. To calculate the cut sizes for the FRONT, use this guide:
Length: the length of the pillow + 2x the flange size (2” to 4”) + 1” seam allowances (1/2” each)
My pillow was 34” long and my flanges were 4” so the math looks like this:
34” + 8” + 1” = 43” long
Width: the width of the pillow + 2x the flange size (2” to 4”) + 1” seam allowances (1/2” each)
My pillow was 18” wide and my flanges were 4” so the math looks like this:
18” + 8” + 1” = 27” wide
Personal Note: My flanges were 4”, but I think if I were to do it again, they would be 3”.
My rectangle for the front is 43” long x 27” wide
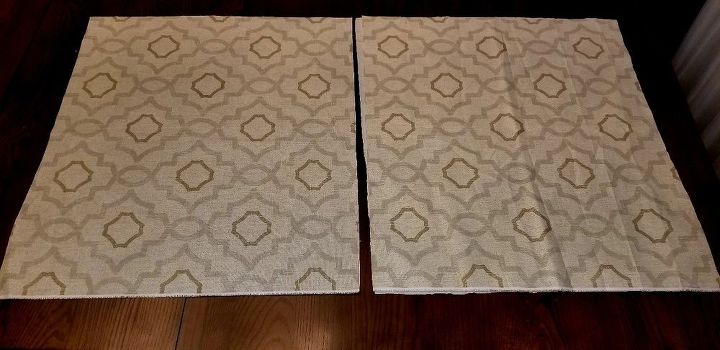
To make the rectangles for the back, just add 6” to the length, and keep the same width. In my case, it came out to 49” long x 27” wide. Once cut, fold in half so that the ends of the width are touching. Press down on the crease with your hand and run a scissor up the crease. Now you have the two rectangles for the back and their lining pieces.
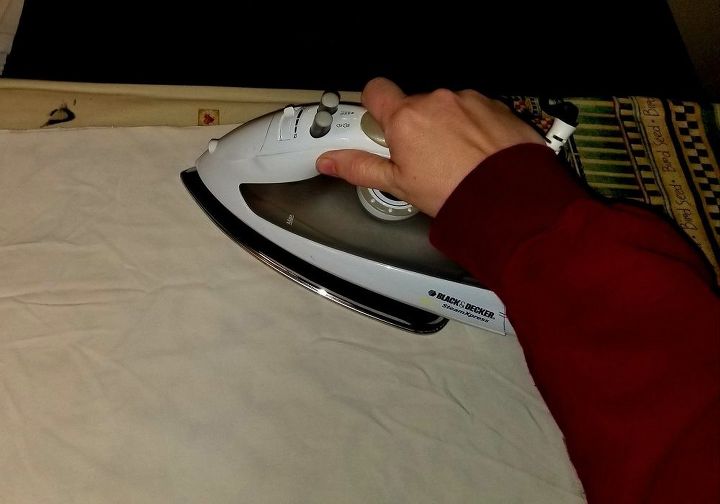
Next, you will iron each of the rectangles along with their linings. When ironing the front rectangle, place the fabric wrong sides together. When ironing the back rectangles, place the fabric right sides together.
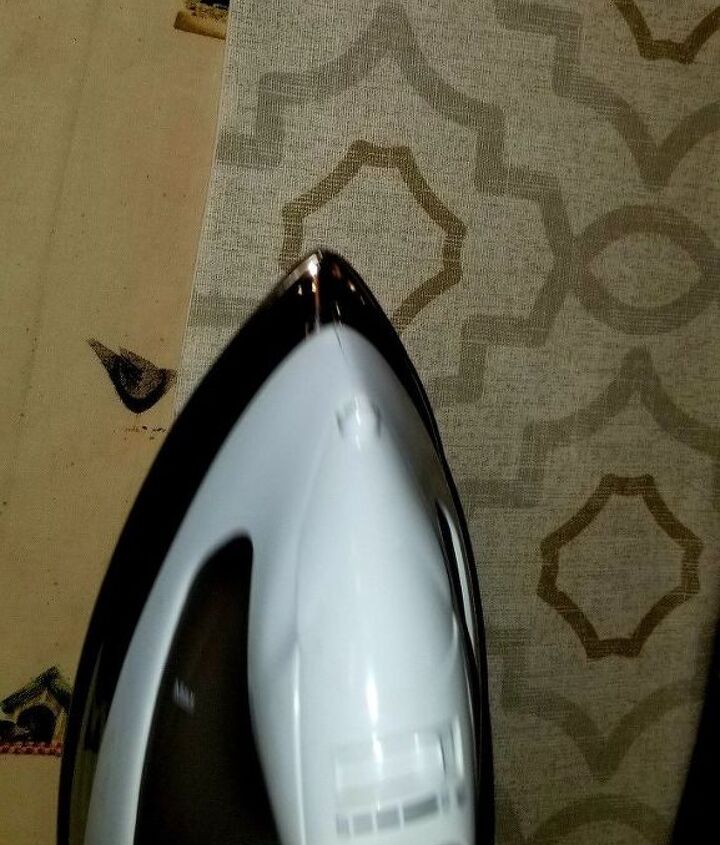
After ironing the back pieces, you will need to run a seam up one of the long sides (with right sides together. Then, fold the lining back so wrong sides are together and press the seam so it is nice and flat. Do this with both back rectangles.

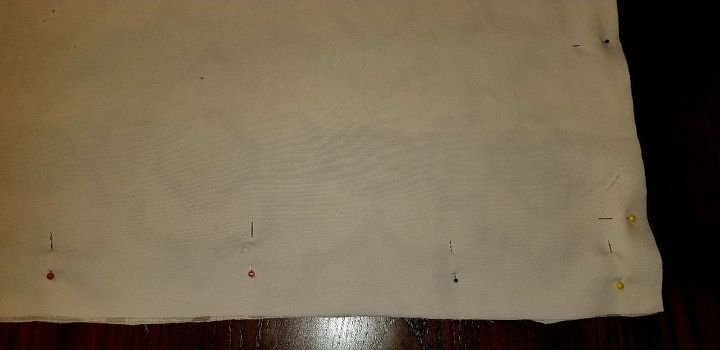
With the front piece fabric facing up (right side) and its lining beneath, place each of the back pieces on top (right sides together), matching raw edges with the front. The finished edge of the back pieces should be running down the center of the sham, overlapping approximately 3”. Pin all around the sham.
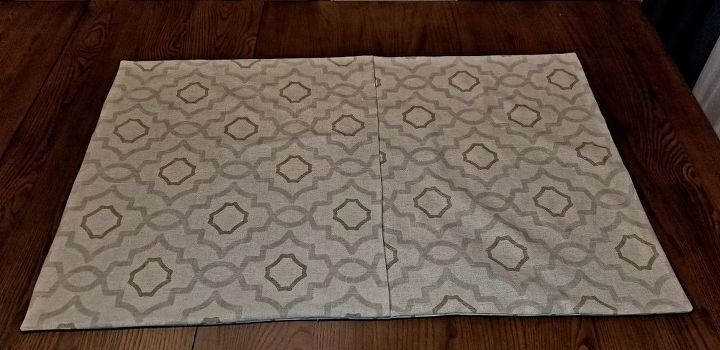
Sew a ½” seam allowance all around the sham, through all layers of fabric and lining. Be sure to clip the corners to remove bulk and then turn the sham right side out. Using a sharp object (like your scissors), push out the corners from the inside so that they are nice and crisp, being careful not to poke a hole through your almost completed sham. Press the seam flat all the way around.
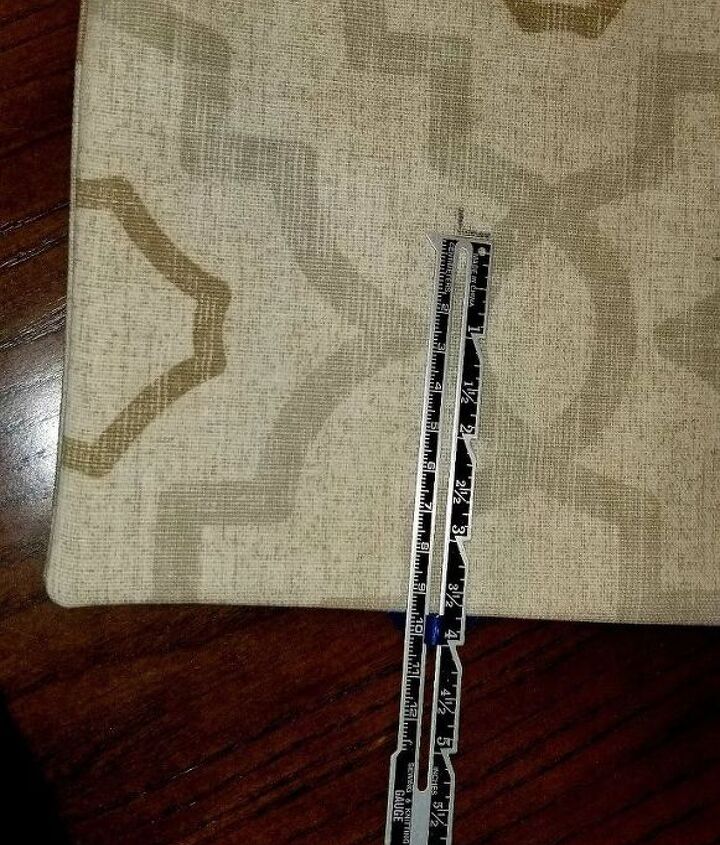
Lastly, take your seam gauge and set it to your chosen flange size. With the disappearing ink marker, mark out the sewing line all around the sham. I do this on the back of the sham. Back to the sewing machine one last time…sew around the sham, over the marked out line, using a pivot turn at the corners. When I cross over the edges of the back pieces, I always reinforce the stitches there so when I insert my pillow, it doesn’t come apart.
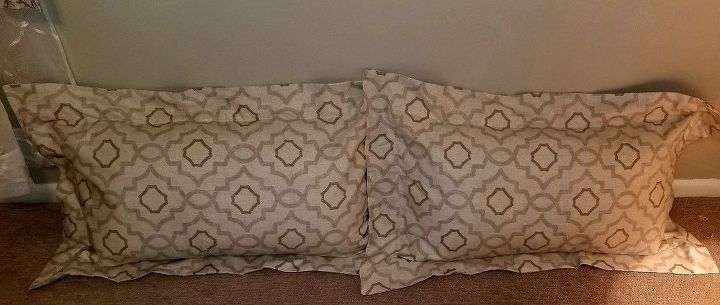
That’s it! You now have a beautiful sham for your wall / I mean bed. I'm sure they will look even better on my bed, once it arrives.
This is a fairly inexpensive way to change your decor seasonally. You can also apply this technique to making smaller throw pillows. Have fun!
Materials used for this project:
- 1.5 yards of 54" wide fabric for each sham (fabric.com)
- 1.5 yards of 54" wide lining for each sham (I used an old sheet set)
- 1 king size pillow for each sham (amazon.com)
No comments