
Old Lamp Given Farmhouse Style
When I was newly married with a baby some 20 years ago we had to fill our home with somethings we purchased at garage sales. Bought two lamps and have had them ever since. They were these cream and brass lamps with a fabric shade over a metal frame and looked like they belonged somewhere in the 80's. We needed the lamps so we purchased them. I have been working on incorporating farmhouse style in my home and decided this would be a piece that would definitely be one of things I would do.
Time: 3 Days Cost: $20 Difficulty: Easy

This is the lamp base I was contending with after removing the shade. God awful cream and brass and it had to go. Taped it off so I could spray paint it to a color that would go well with the farmhouse style.
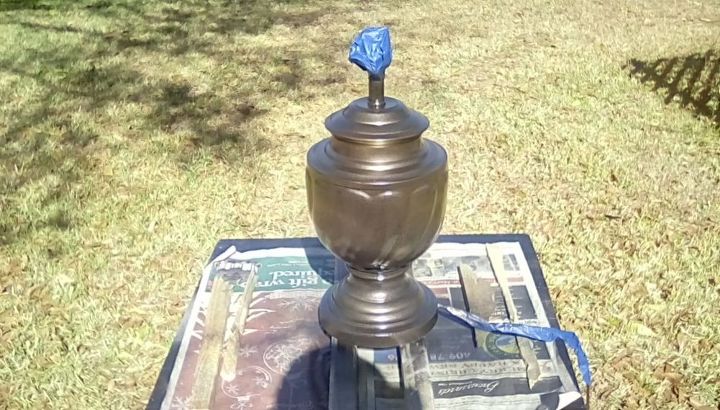
I decided I wanted the base of the color to be a brown tone. Oil rubbed bronze fit that bill. This is after two coats of Rustoleum Metallic Oil Rubbed Bronze spray paint. I will let it dry for a couple of days and start on the shade. Thinking at this point I might want to also spray a cream color chalk paint and distress it a bit.
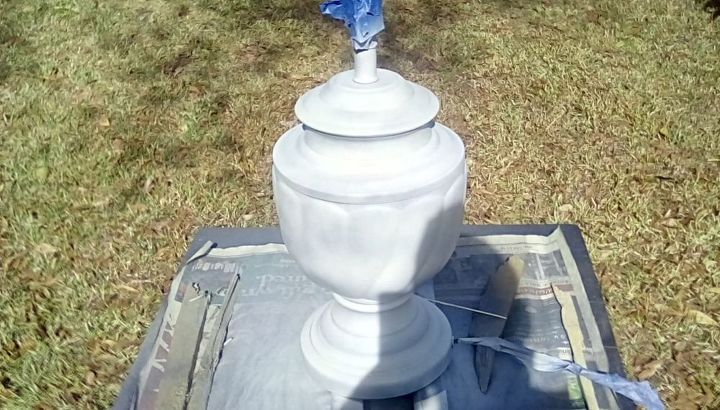
Sprayed it with Rustoleum Cream chalk paint. This was after a couple of coats. Repeated till I got the coverage I was looking for. When the color I wanted was achieved I liked it so much I decided to keep it that way for now. I can always distress it later.
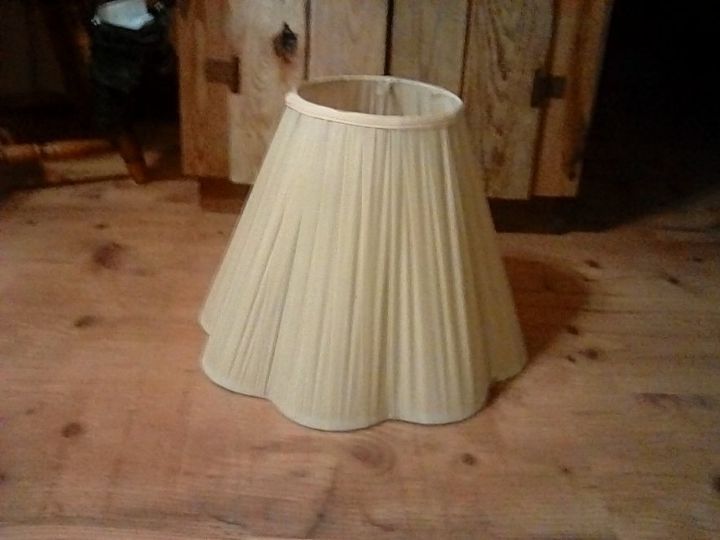
Lamp shade with the fabric. This had to go. It has been to long.
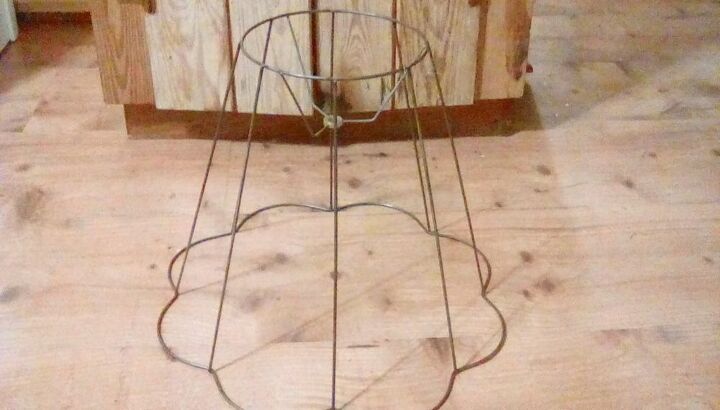
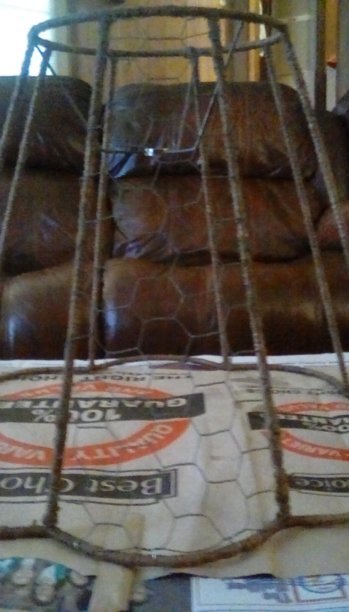
This is what was left after I took the fabric off the shade.
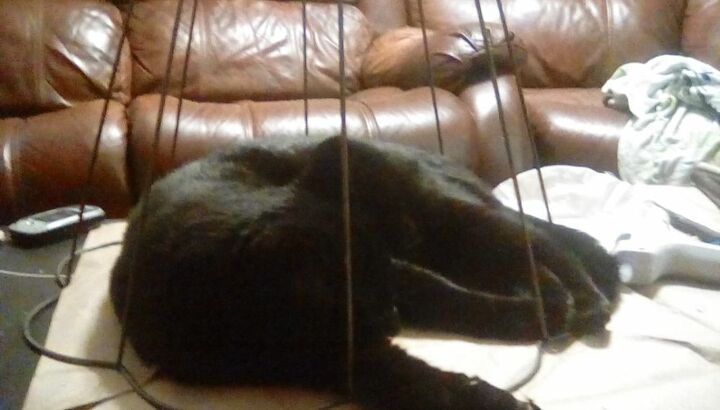
As I got ready to start working on the the metal form my cat was tired of being ignored and decided to have a sit in!! LOL. Had to include this.
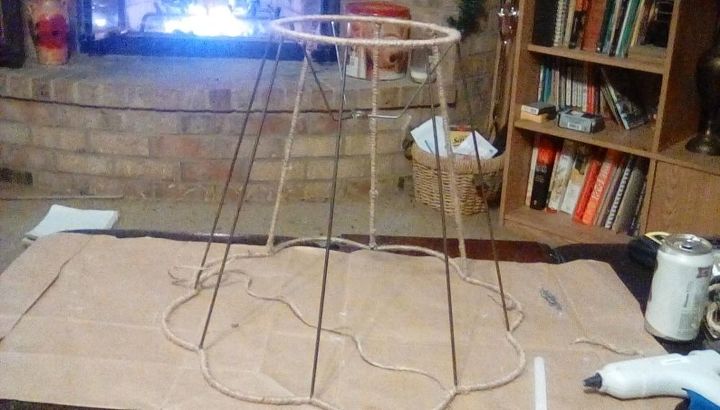
My plan is to wrap chicken wire around the frame but first I wanted a little more texture so I decided to wrap twine around each section of the frame. I wanted more texture and also wanted to give the chicken wire more to grip to than just metal. I started at the top of each section first. I would put a dab of hot glue to attach the twine at the top and started wrapping it tightly around the metal. At the bottom I would hot glue it again. Working my way around the shade on all vertical areas. I did the same to the top and bottom sections. Then worked on the top and bottom in the same manner. When wrapping the twine around the metal parts you want to make sure the twine is tight as you work your way through each section of the frame.
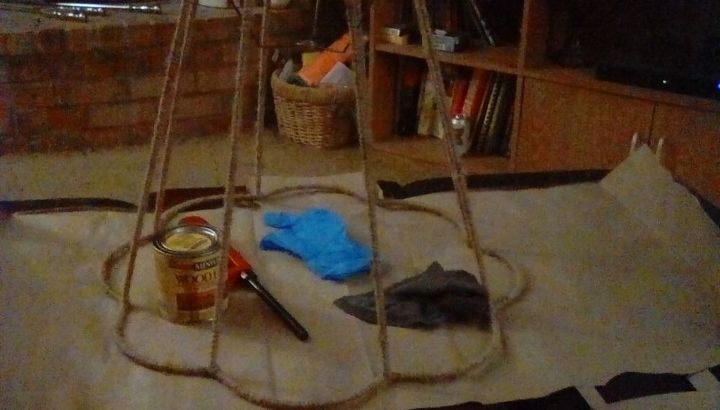
When I was done with the twine I took a long lighter and burned off all the hairs of the twine because I knew I was going to spray paint it and did not want to have all those little hairs catch fire once I put a bulb in. I thought at first I would just wipe the the twine with some minwax special walnut but decided after just to spray the whole shade a Rustoleum Metallic Oil Rubbed bronze.
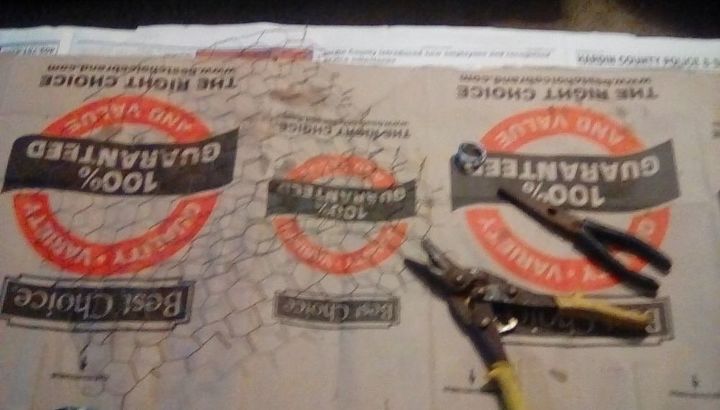
After I was done burning the twine hairs it was time to start to measure the chicken wire panels that would go into each section of the metal lamp shade. All I did was measure each side section of the shade which for me was smaller on top than the bottom and took those measurements and transferred them to the chicken wire You want the chicken wire to be a little bit larger so you can take the ends and wrap it to secure it to each section. For me it was easier to do one section at a time versus the whole shade at once because it was much easier to attach it to the frame. I cut the wire using the tin snips and got them ready to attach to the frame of the lamp shade.
After cutting the piece for the first section I lined the piece up so it would be even over that section on all sides and attached the bottom with picture hanging wire. Using the picture hanging wire allowed no movement up or down while I was attaching the sides of the section in place. I then bent the cut ends of the wire around each section of the frame with pliers to make sure they were good and tight. You are going to have to make sure the wire ends are firmly attached so no movement is possible.
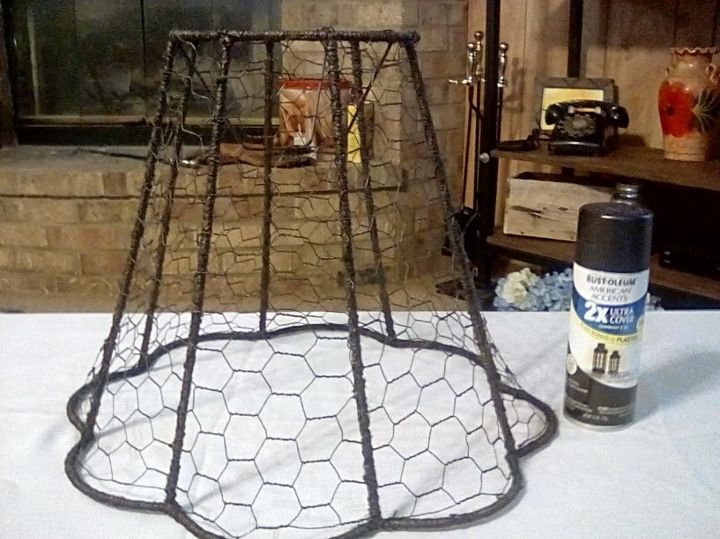
After I finished wrapping the chicken wire around the metal frame and burning the twine to remove hairs I sprayed it with a couple of coats of Rustoleum Metalic Oil Rubbed Bronze to finish the look. I think it came out pretty nice.
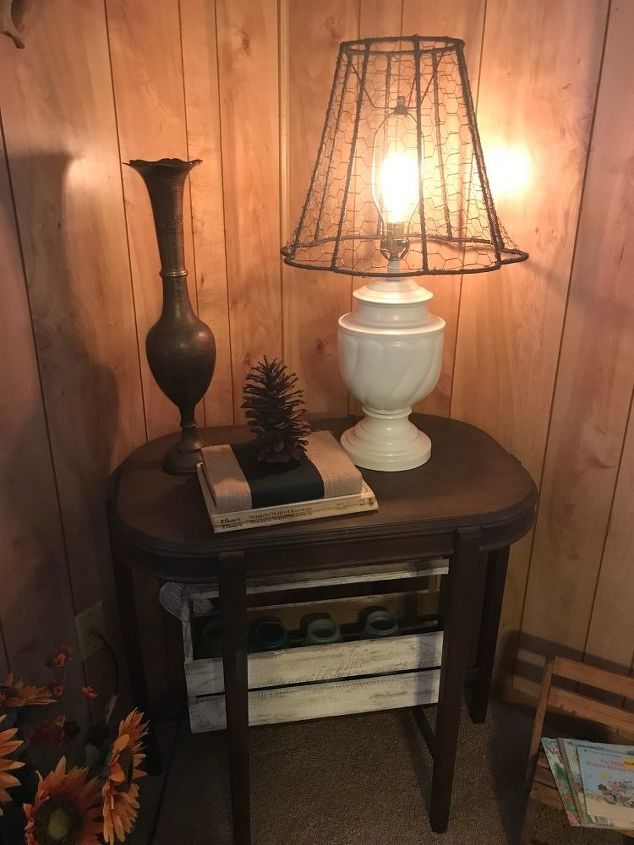
My finished lamp which I love. I did buy a special light bulb for it. It is a Vintage Edison 40w bulb bought through Amazon.
Materials used for this project:
- Lamp
- Chicken Wire
- Rustoleum Mettalic Oil Rub Bronze (Walmart)
- Twine
- Hot glue
- Picture Hanging Wire (Walmart)
- Pliers and Tin Snips
- Rustoleum Chalked Chiffon Cream (Walmart)
- Lighter
- Vintage Edison 40w 110 bulb (Amazon)
No comments