Easy How To Paint Buffalo Plaid Mason Jar
All I can say is that the Buffalo Plaid craze has hit me too! What is it about this simplistic lumberjack pattern that is making Farmhouse lovers all around go gaga for this look? Every year it seems to grow in popularity, and this year is no exception. Today I want to show you just how simple it is to add this pattern to mason jars. You can add this pattern to many surfaces, but I particularly love the
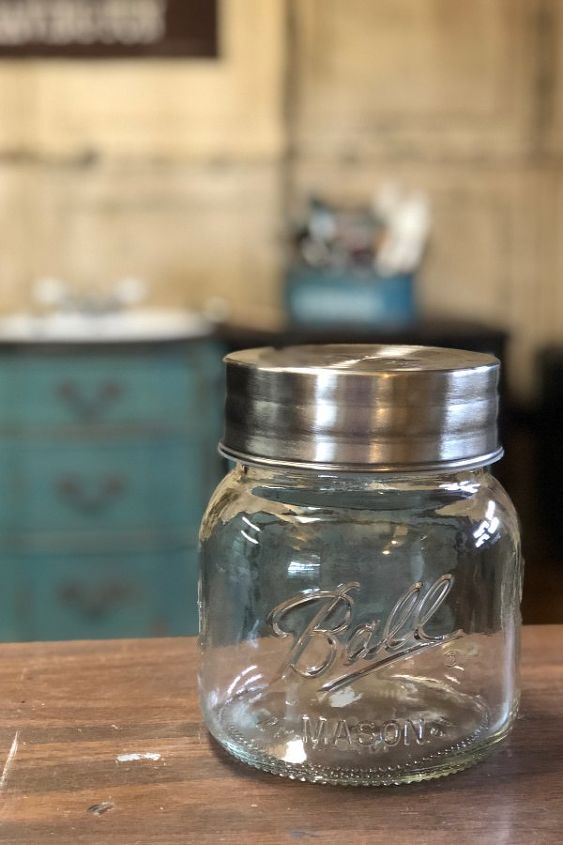
I chose this replica Mason Jar to paint the buffalo plaid pattern on because of its size and lid. It has storage potential and I can always use another container. It would make a cute gift too!
I began my project with a base coat of Dixie Belle's chalk mineral paint in the color Cotton. One coat was applied to the jar and allowed to dry. Easy peasy!
Here's the scary part. You gotta hand paint the stripes. Of course if you want to get those clean crisp lines, use tape. By all means, make it perfect if that's what you're going for. For this project, I wanted that rustic hand painted look. I mixed the Cotton and Caviar with about 50/50 mixture to create the perfect gray and started the process. The first line I started in the center of the jar and worked my way around. It was easy to judge the next two lines using this method. One above and one below. Using a 1 inch artist brush was the trick with this project. This made it so much easier to control the size of the lines with the buffalo plaid design. 1 inch brush = 1 inch stripe. Well, pretty close to one inch.
Not too bad for free hand. Don't worry, it won't be so noticeable once it's done. Most of my creations look bad before they look good. You too?
I was in the home stretch and getting excited! The last thing to really make the buffalo plaid design pop was adding the darker squares. With my 1 inch brush, I carefully painted the squares with Dixie Belle's Caviar (black) where the lines overlapped. Not hard at all my friends. But you may want to hold off on the double shot espresso right before painting this design. My hand was a little shaky. 

After the jar had dried overnight, I went back with a 220 grit sandpaper and smoothed all the rough and raised areas out. I wanted the wording to pop out, so with a tiny artist brush, I highlighted the letters.
It's so stinking cute! I'm pretty happy about this one. And the imperfections just made it look even more rustic and homey. Sometimes imperfections are prettier than perfection.
Thanks for joining me today for this fun, easy project of creating buffalo plaid home decor. I hope this inspires you to paint without having to fuss about being perfect. Perfectionism is WAY overrated in my book. 

Until the next project... xo, Do


No comments