Vertical Herb Garden
Last year, I spent a small fortune planting tomatoes and basil for my summer bruschetta. Between the birds and chipmunks, I yielded exactly 6 tomatoes, and my basil burned up in its overly sunny hotspot. Not what I had in mind! I will buy them this summer, thank you very much! This year, to satisfy my green(ish) thumb, I'm going with herbs. To get plenty of planting space, I'm building a vertical planter for my back deck.
I got to work cutting the lumber according to the plans, which were free online at:
https://bonnieplants.com/gardening/how-to-build-a-vertical-herb-planter/. (SEE LINK AT BOTTOM OF THIS POST)
I won't lie, this is not a cheap build, even with buying pressure treated instead of cedar. But...it's not much more than making decent raised beds to handle the same amount of plants.
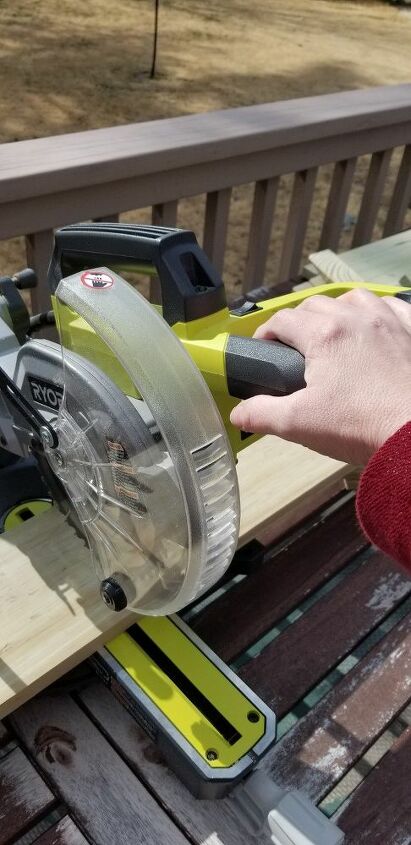
Most of the cuts were straight but a few pieces required angles. With those, you have to take your time and pay close attention to the instructions or that planter will get a lot more expensive! (please ignore my shadow; it was really sunny out)
To help keep myself out of trouble, I printed the cut sheet and checked off the cuts as I made them. DO NOT CUT THE FRONT SUPPORT OR THE SHELVES YET!!!
ALSO, I made my shelves out of 1x10s, not 1x8s.
I'm not going to walk you through every single step since the plans are pretty clear, but I do want to point out the tricky steps so you can avoid the do-overs I had to do.
Here's my cut lumber all ready for assembly.
When setting up your legs, there are several things to pay attention to...1) use something straight to but the tops up to, and 2) determine your best sides for the outside surfaces. Look closely at the photo in the plans and lay out your boards accordingly.
When making the leg braces, look carefully at the diagrams in the plans. Be sure you have the angles going in the right direction.
Before jumping ahead, stand your leg pieces up to be sure everything is as it should be.
The cleats are a pain!!! Measure carefully to be sure everything is right. If I ever make another one of these, I am going to make a paper template for cleat placement! Be sur to drill pilot holes to prevent splitting the wood.
Once all the cleats are in place, hold the sides together to make sure it all lines up. Make any necessary adjustments.
Don't just look at the diagrams in the plans...READ THE DIRE TIONS!!! I have more holes in the back of this panel than necessary because I made assumptions. Also, whe putting together the tongue and groove pieces, tap the in place with a rubber mallet.
Here is why you dont want to cut the front support until after you have made the back panel...the length of the support must be the same as the width of the tongue and groove panel or it won't fit properly.
Another important thing is to screw in the back panel on one top corner and the opposite bottom corner. Lift the whole thing up into a standing position, get it to stand without wobbling, and then screw in the rest of the boards.
Dont forget to make the drain holes in the front support. I used a paddle bit.
Lastly, measure and cut your shelves to size. Slide them into place and you're ready for planting.


No comments