
Daytek Retractable Clothesline Restring Part 2
Here's part 2 of the Daytek Clothesline restring project
Time: 1 Hours Cost: $10 Difficulty: Easy
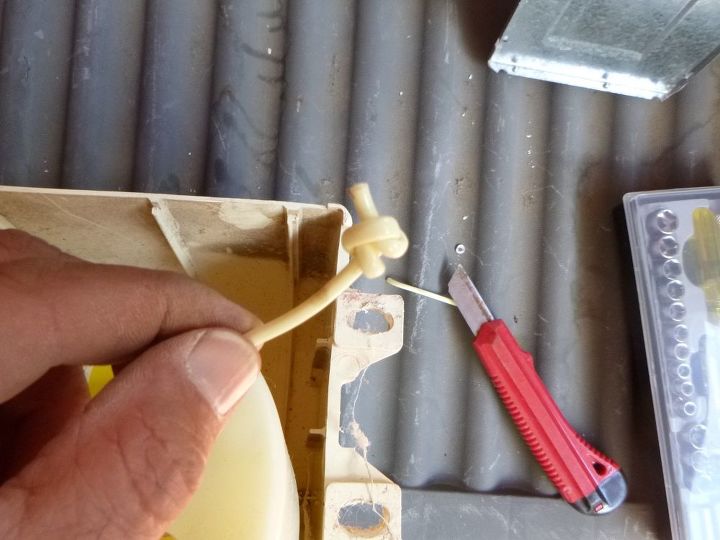
Knot tied and tightened in the reel, cut off the excess with a sharp knife so it won't foul the drum and stop the line retracting.
Screwdriver still in place keeping tension on the drum and reel prior to feeding the line through the front of the housing
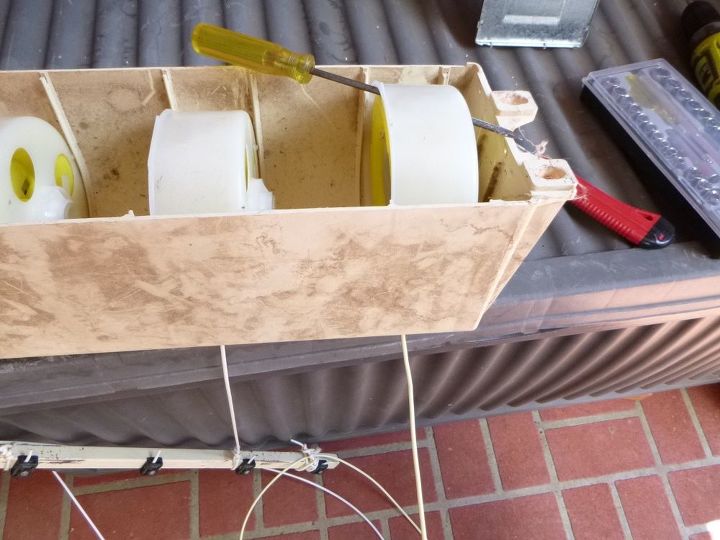
Carefully feed the new line onto the reel and slowly release the screwdriver and slowly allow the reel to run through the drum, this will 'wind' the new line onto the reel inside the drum as the tension in the spring is released. You need to measure one of the other lines to ensure you have enough line to fill the drum, (I had a new piece of line about 21' (6m) long to ensure I had enough to tie off when it was loaded.
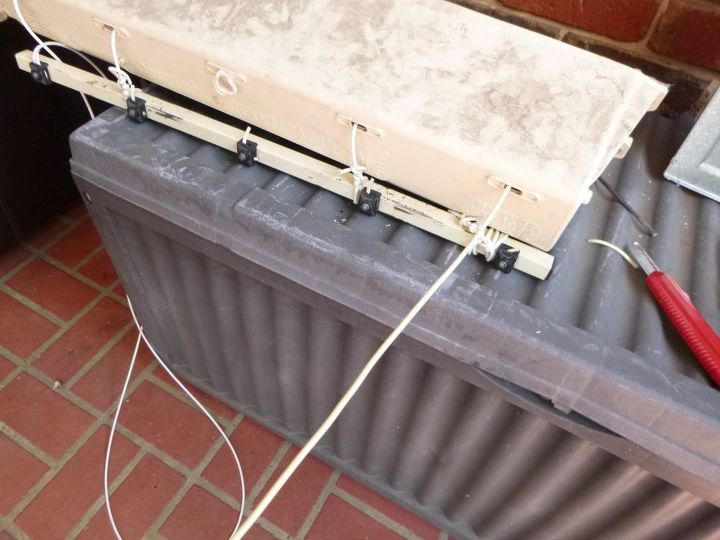
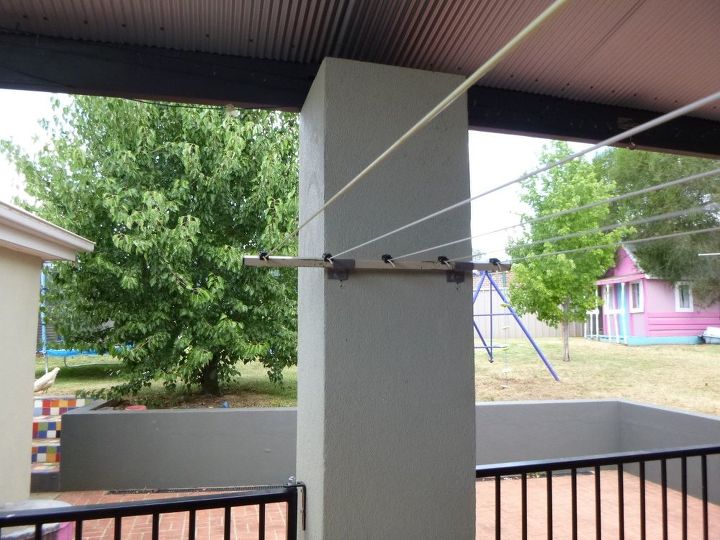
Here is the draw bar which is fixed to the other wall. (notice how the line is wrapped around the bar as the line has sagged to try and maintain tension, the whole line needed some restringing and tensioning, notice the clamping system to keep the line correctly tensioned). Once the correct length is measured, just cut off the excess line with a sharp knife and no more tangled lines.
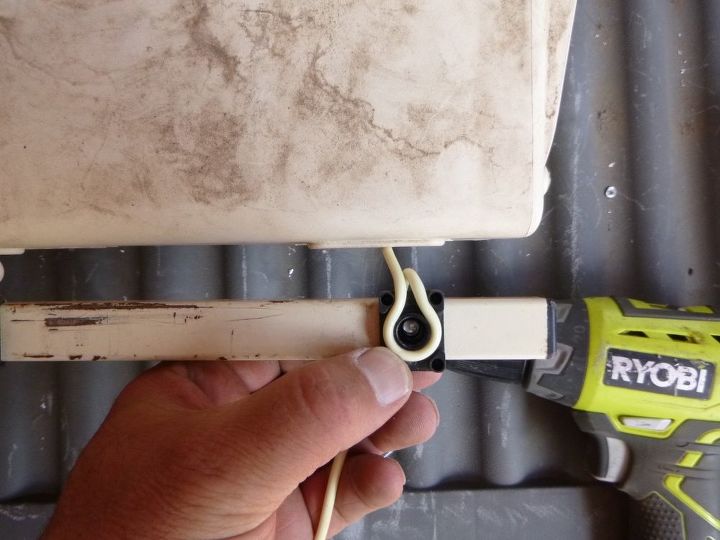
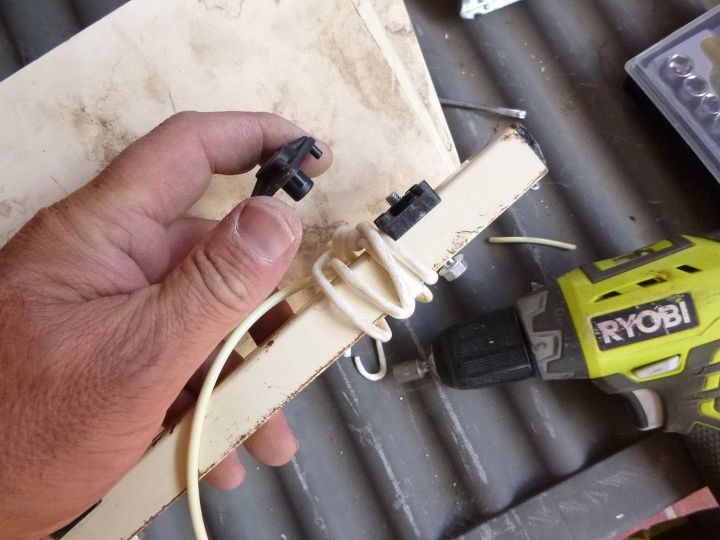
Correctly looping the new line into the clamp on the draw bar, which is securely attached to the other wall. The top clamp is screw fixed in place and the excess line is trimmed off once the correct line length and tension is checked.
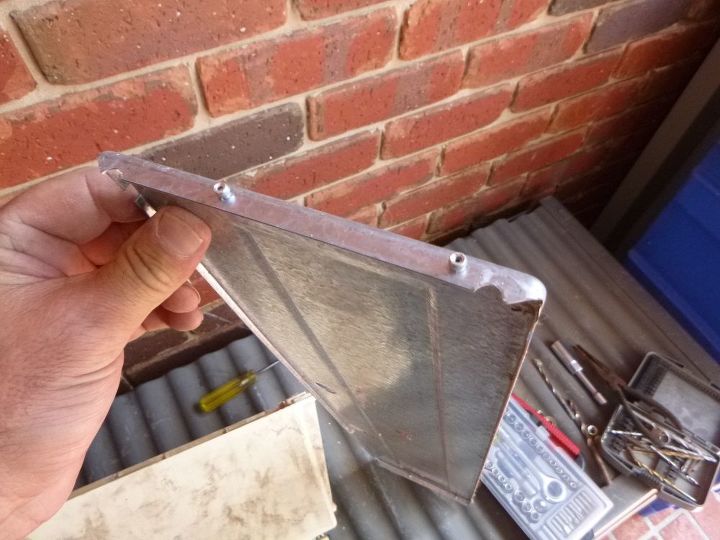
Removing the old pop rivets from the back of the unit before reinstallation. The pop rivets can carefully be filed off, I decided to use screws to replace rivets so next time I needed to get access it would be much easier (I'm glad I used screws because 1 of the drums was binding and needed to be re-tensioned to work properly).
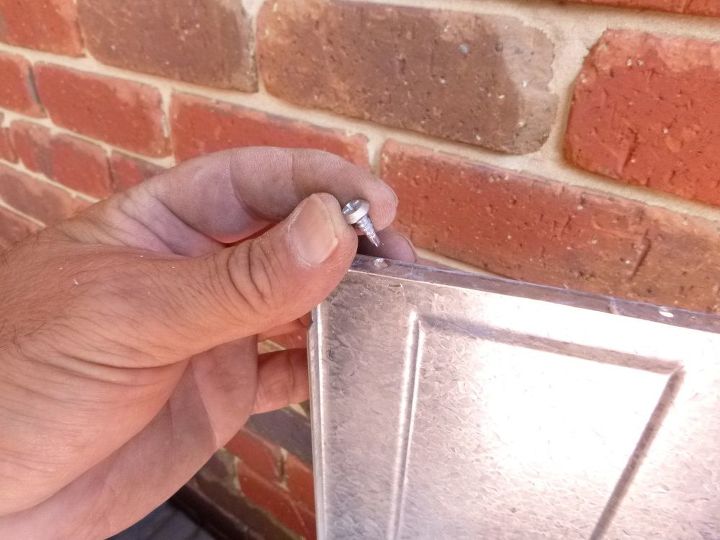
The 8g screws
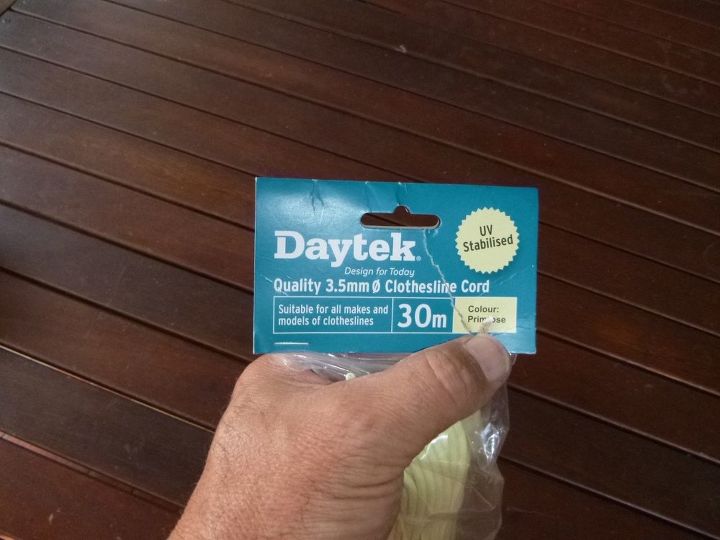
The replacement line 100' long (30m).
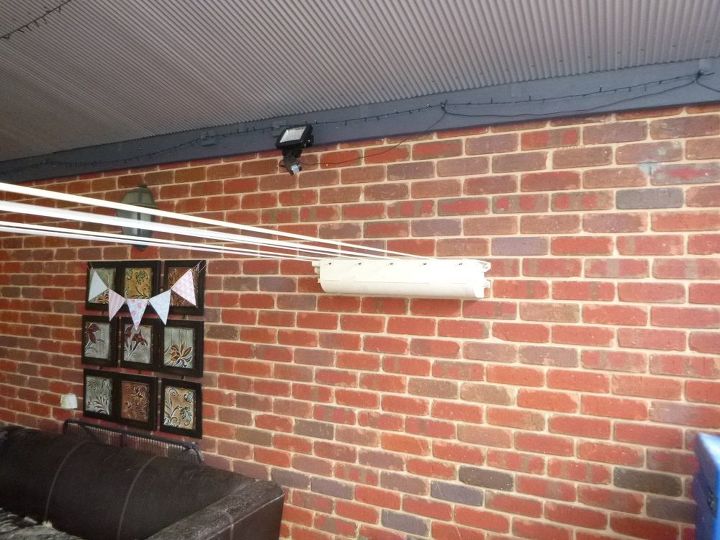
Looking good..
Here's the finished restring from the other end.... You can just see the $30 cubby house and cinderblock walls from previous projects in the background.
Materials used for this project:
- Daytek Clothes line 30m (Hardware Store)
- Various tools etc.. (Home Stock)
No comments