
DIY Picture Frames
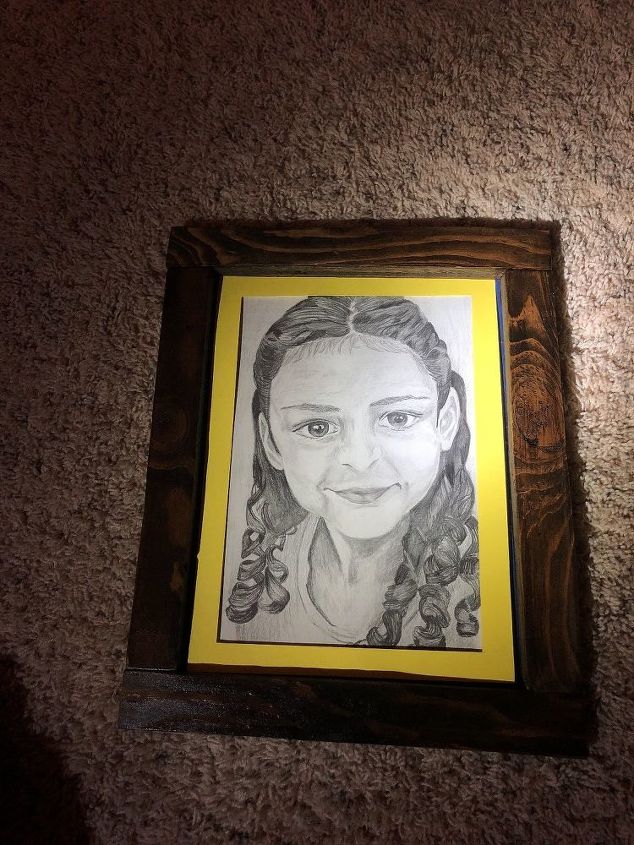
I had been working on a new skill - learning to draw - and wanted to hang my work on my walls to mark my progression. But! Picture frames are super expensive so I decided to make my own out of scrap materials from previous projects.
Time: 4 Days Cost: $30 Difficulty: Medium

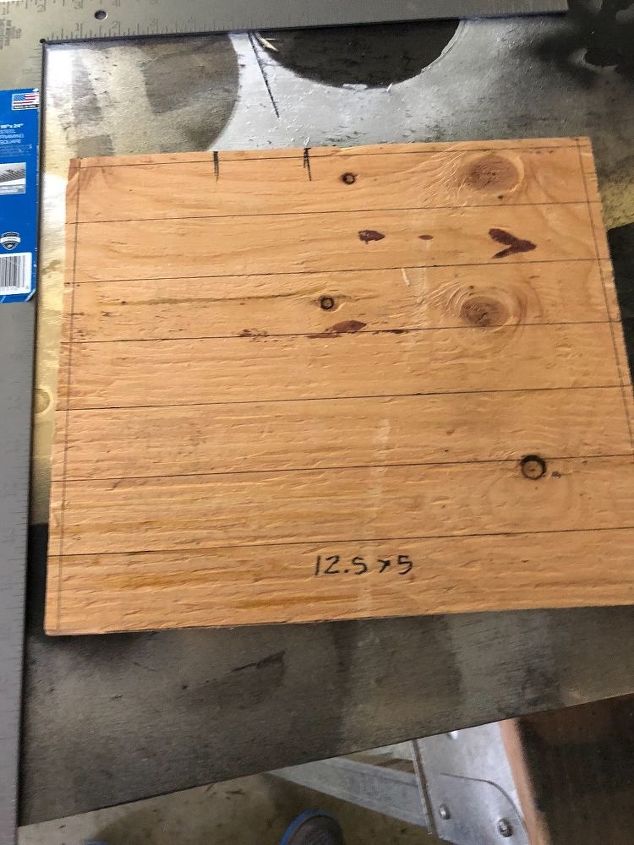
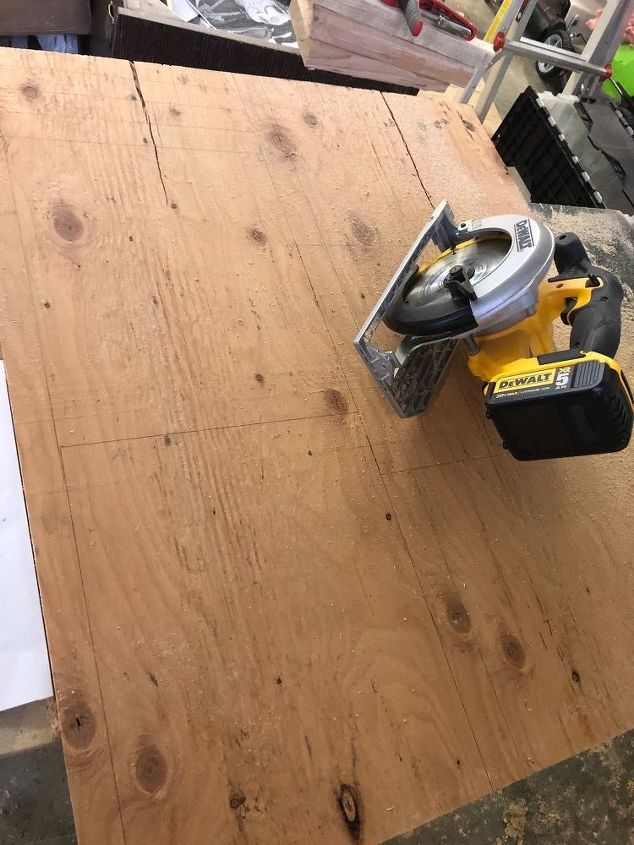
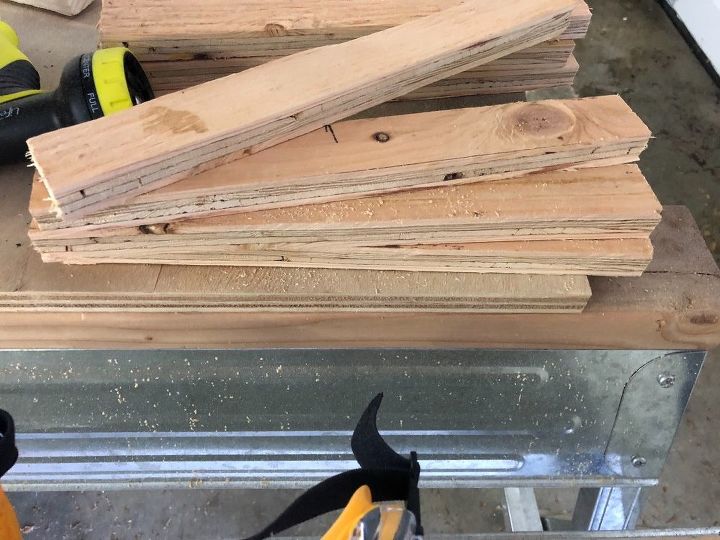
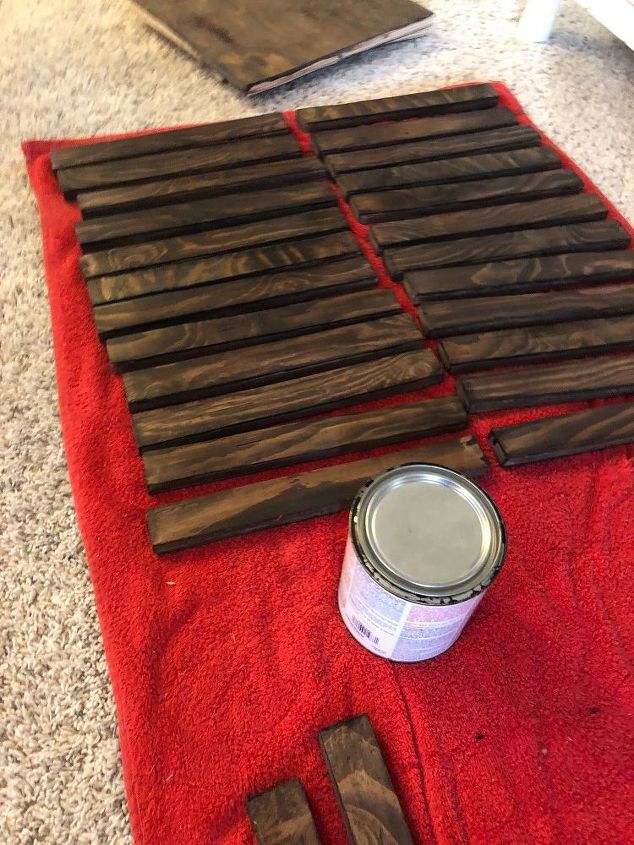
So, I had some leftover plywood. The cheapest kind from HomeDepot. Then, cut it into 12” strips
Then, sanded them down with a power sander.
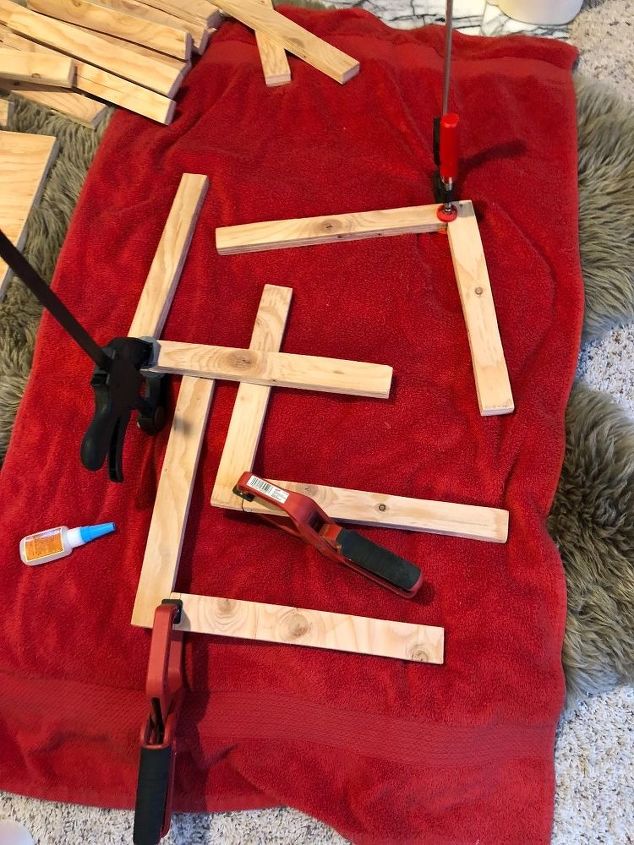
After that, I used wood glue and a grip to connect pieces.
After that, I used Kona wood stain - leftover from many other projects! - and let them dry with 3 coats.
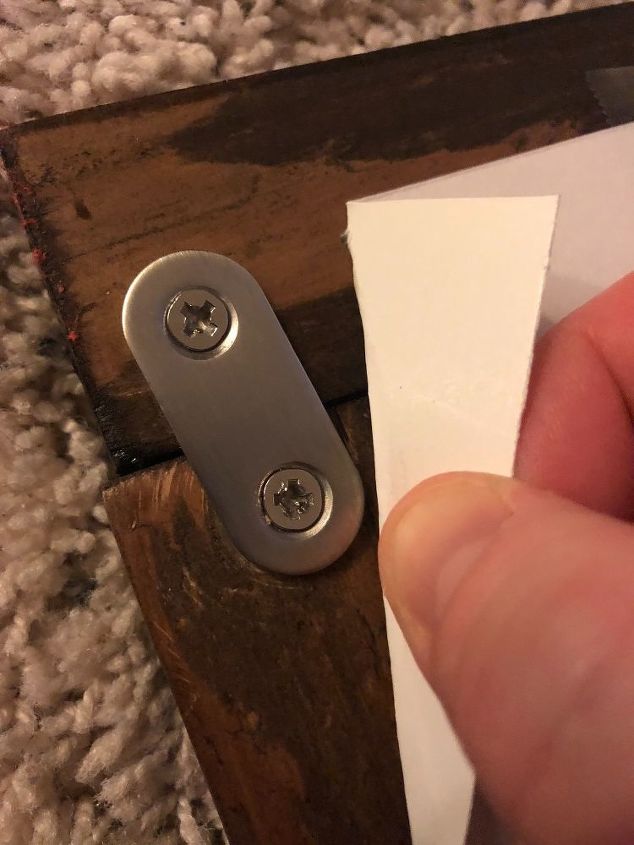
After that, I used polyurethane on each piece. Probably 4 coats total. Then, I used some brackets from Amazon to connect all 4 pieces.
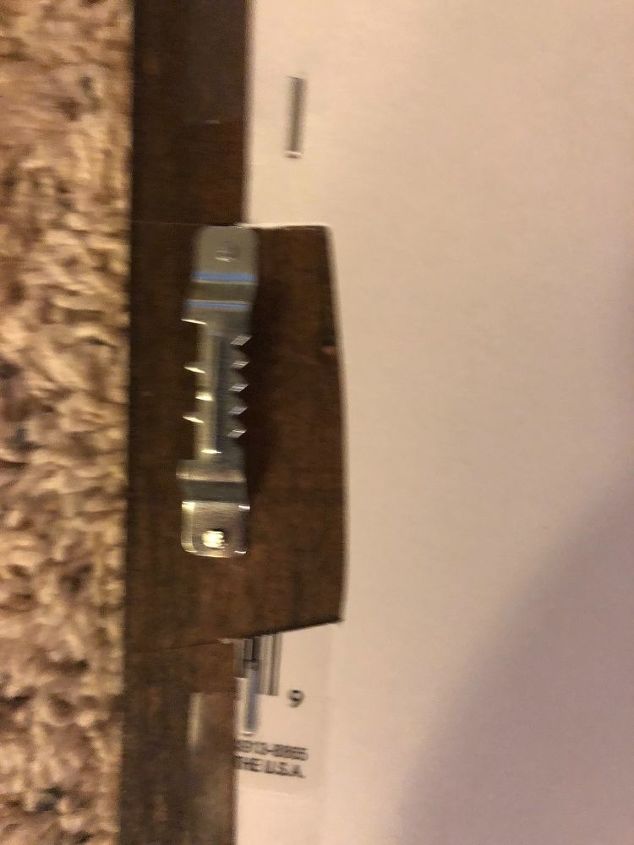
I needed the hook that puts them on the wall so Amazon supplied!
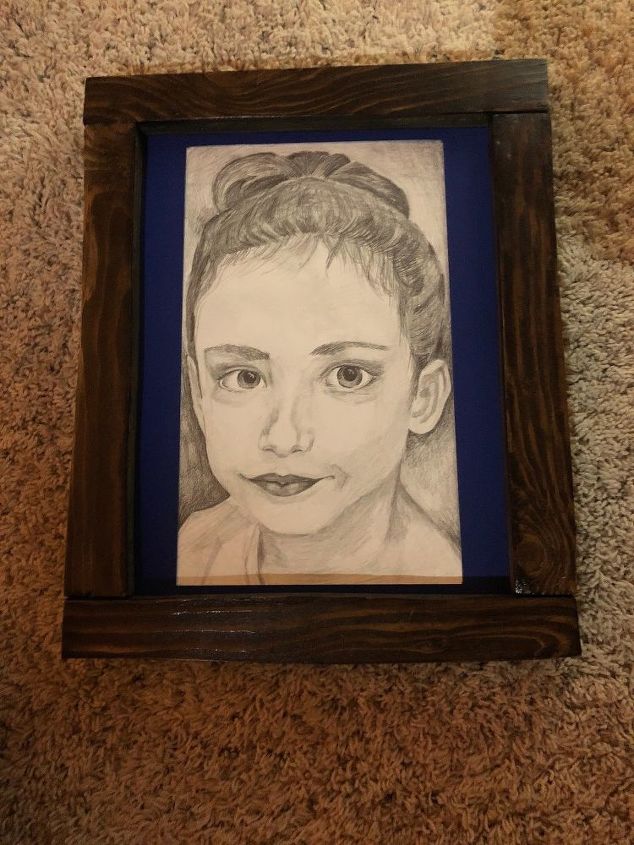
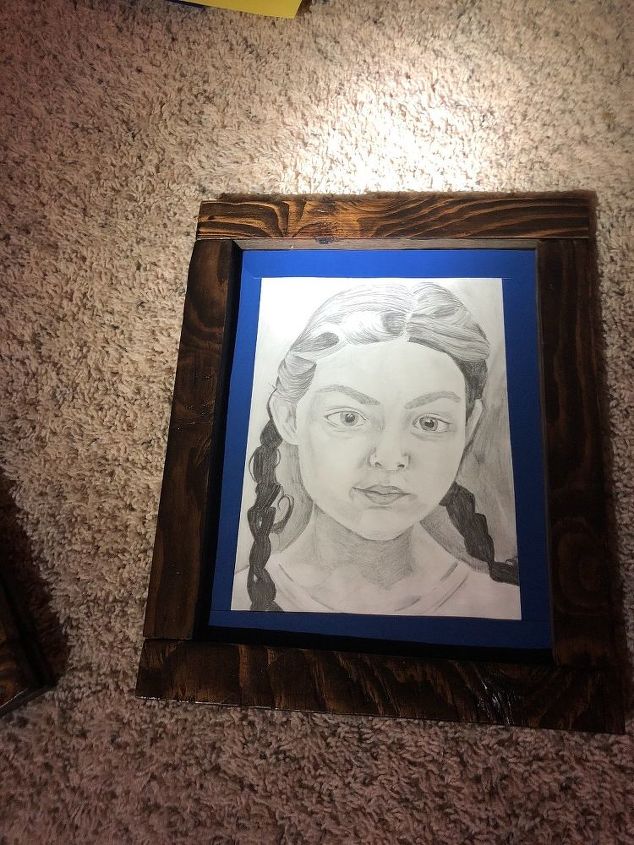
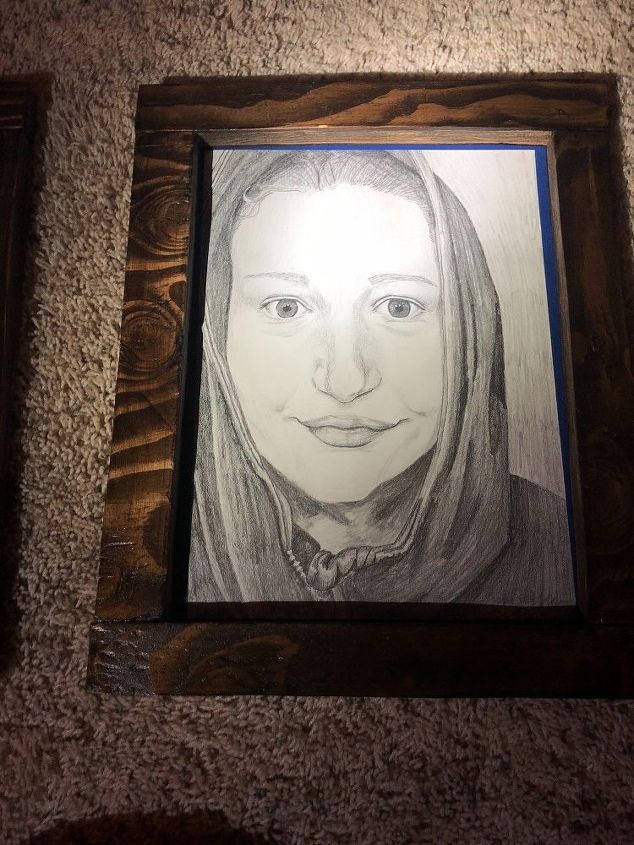
Next I used some poster board from the dollar store for fake mattes. I like the dollar store for poster boards.
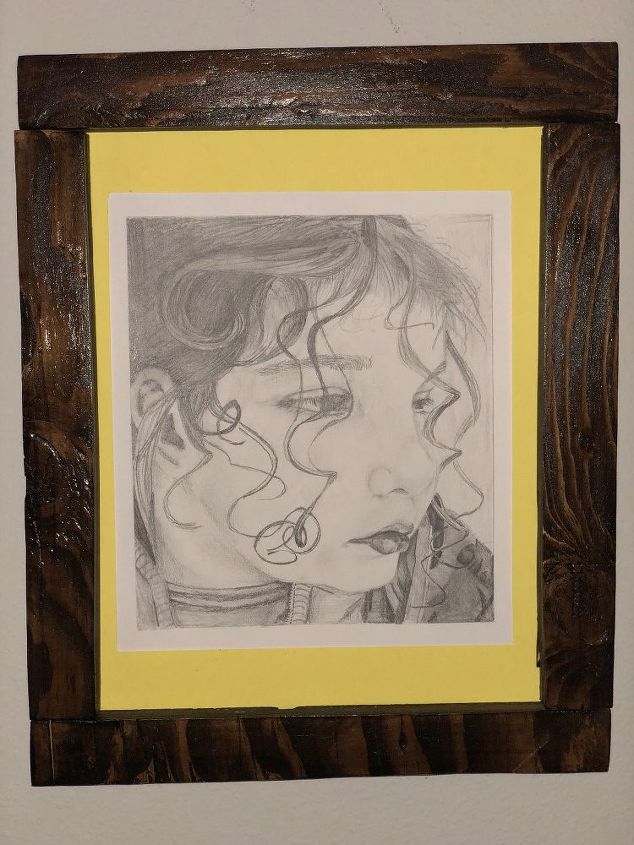
Used some upholstery staples to connect it all together and Viola!
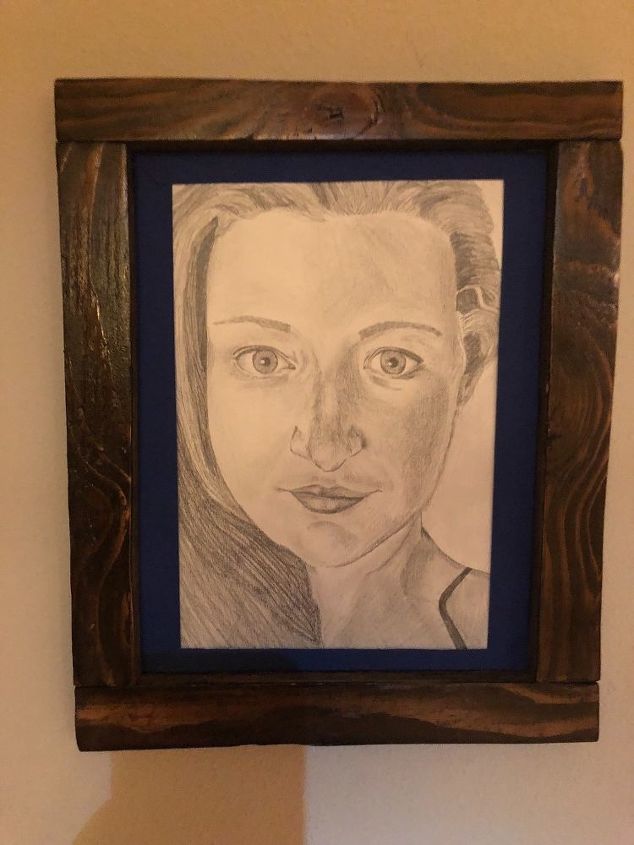

Frames and pictures look....? What do you think?
I frames 7 pieces easily for less than $30! I count that as a total win!
Materials used for this project:
- Ply wood (Homedepot)
- Wood glue (Home Depot)
- Wood stain - Kona (Home depot)
- Polyurethane (Home depot)
- T brackets (Amazon)
- Sawtooth hangers (Amazon
No comments